
Failing a heavy deadlift or fatiguing during loaded carries signals weak forearms, which you can fix using comprehensive grip training protocols.





You reach for a heavy grocery bag, a loaded barbell, or a piece of field equipment, and your fingers slip before your legs or back even feel the weight. Many people look for ways to build grip strength after noticing their hands give out during deadlifts, carries, or daily occupational tasks. Hand and forearm strength requires a systematic approach that balances crushing force, support grip, pinch capacity, and tendon tolerance. This guide delivers a definitive, evidence-backed framework for building durable hands and forearms.
Quick Take: Grip strength is a multi-faceted physical quality requiring distinct training for crushing, supporting, pinching, and wrist stabilization alongside strict tendon load management.
To build meaningful carrying capacity and hand health, you must train the specific grip quality your daily life or sport requires while respecting the slow recovery time of connective tissues. Relying on simple hand squeezers is not enough to carry heavy loads or prevent overuse pain. A complete program combines heavy support holds, progressive loaded carries, specific pinch work, full-range wrist conditioning, and structured recovery periods.
Grip performance is often treated as a single physical trait. In functional human anatomy, the hand and forearm comprise an intricate system of over thirty muscles, multiple nerves, and extensive connective tissue networks. These structures work together to produce different types of force depending on the task. Understanding these distinct grip qualities prevents wasted effort in your training sessions.
Crush grip describes the action of closing your fingers against resistance toward your palm. You use this force when squeezing a hand dynamometer, gripping a thick tool handle, or shaking hands. The primary prime movers here are the flexor digitorum superficialis and flexor digitorum profundus muscles located in the anterior compartment of the forearm.
Support grip refers to the ability to hold an object for extended periods while the fingers maintain an isometric hook position and the wrist remains stable. This quality is central to heavy deadlifts, farmer carries, pull-ups, and carrying heavy ruck sacks or ammunition cans. Support grip relies heavily on muscular endurance and isometric tendon stiffness rather than rapid, dynamic closing force.
Pinch grip occurs when you squeeze an object between your thumb and the opposing fingers without the palm contacting the surface. Pinching relies heavily on the intrinsic muscles of the hand, including the thenar muscle group and the adductor pollicis. Because the contact area is small, pinch grip places substantial mechanical stress on the thumb joints and finger pulleys.
Open-hand and finger strength involves exerting force with the finger joints only partially flexed or nearly straight. This mechanical position is critical in rock climbing, grappling, and handling bulky, awkward objects that cannot be fully enclosed by the fingers. Open-hand positions place high demands on distal finger tendons without relying on palm friction.
Wrist and forearm capacity forms the foundation across all four grip types. The wrist must produce force in six distinct directions: flexion, extension, radial deviation, ulnar deviation, pronation, and supination. If the wrist extensors are weak, the wrist flexors cannot produce maximal force because the joint collapses into excessive flexion. Balancing opposing muscle groups protects joint integrity under heavy resistance.
Tissue tolerance is the final, essential mechanical component. Muscles adapt to physical resistance much faster than tendons, pulleys, ligaments, and palmar skin. Developing high grip force without allowing connective tissue time to remodel leads directly to chronic tendon irritation. A complete training program builds connective tissue resilience alongside muscular strength.
Handgrip strength serves as a standard measurement tool in clinical medicine, epidemiology, and athletic performance. Hundreds of studies have documented how grip force changes across the human lifespan and how it correlates with overall health markers. Understanding these reference points helps you evaluate your numbers without confusing general health markers with specialized athletic performance.
A comprehensive 2024 systematic review compiled normative handgrip data from 100 observational studies involving roughly 2.4 million adults across 69 countries and regions. The research demonstrated that peak absolute grip force typically occurs between ages 25 and 35 for both men and women, followed by a gradual, linear decline across subsequent decades. For example, reference data from the NIH Toolbox project reported that mean dominant-hand grip strength was approximately 49.7 kilograms in men aged 25 to 29, compared to 18.7 kilograms in women aged 75 to 79.
Clinical organizations use established cutoffs to identify sarcopenia, frailty, and functional impairment. The European Working Group on Sarcopenia in Older People uses cutoffs of less than 27 kilograms for men and less than 16 kilograms for women. The Foundation for the National Institutes of Health uses thresholds of less than 26 kilograms for men and less than 16 kilograms for women. Falling below these numbers indicates a need for broad physical rehabilitation and nutritional support.
In broader epidemiological literature, lower grip strength is consistently associated with higher risks of all-cause mortality, cardiovascular mortality, and physical disability. An umbrella review examining grip strength and health outcomes categorized the evidence linking low grip force to cardiovascular mortality and functional disability as highly suggestive. A dose-response meta-analysis indicated that higher grip force across the range of 26 to 50 kilograms was associated with reduced all-cause mortality risk.
These findings represent statistical associations rather than direct cause-and-effect proof. Handgrip force functions primarily as an external marker of total-body muscle mass, neuromuscular integrity, systemic inflammation, and nutritional state. Simply squeezing a hand gripper to increase your dynamometer score will not automatically reduce cardiovascular risk if broader lifestyle factors, aerobic capacity, and total-body strength are ignored. For those exploring healthy aging strategies, grip strength serves as a practical vital sign for general physical capability.
German normative research indicates that mortality risk rises significantly when standardized grip force falls 1.0 to 1.5 standard deviations below the age- and height-adjusted mean. This finding highlights the importance of evaluating grip capacity against relative body dimensions. Dividing absolute force by body mass provides a clearer picture of relative physical capability, especially for individuals carrying higher body weights.
Measuring grip strength accurately requires consistent testing protocols. Hand dynamometer readings vary widely based on body position, handle spacing, wrist angle, and verbal cues. Without strict standardization, you cannot determine whether a higher score represents actual strength progression or minor changes in testing mechanics.
The standard testing protocol established by the American Society of Hand Therapists provides the most reliable framework for clinical and performance tracking. The individual sits upright in a sturdy chair with feet flat on the floor. The shoulder is adducted and neutrally rotated, the elbow is bent to exactly 90 degrees, and the forearm rests in a neutral position. The wrist is positioned between 0 and 30 degrees of extension and up to 15 degrees of ulnar deviation.
The testing device must be calibrated regularly, and the handle setting should match the user hand size. Most hydraulic dynamometers feature five handle positions, with the second or third position fitting most adult hands. Using an incorrect handle setting changes muscle length-tension relationships, which artificially lowers force output. Record the exact handle setting used so every subsequent test matches your baseline.
During testing, perform three maximal trials with each hand, alternating between dominant and nondominant sides. Squeeze as hard as possible for three to five seconds without jerking or swinging your arm. Provide consistent, neutral verbal cues throughout the effort. Allow at least 15 seconds of rest between trials to minimize immediate neuromuscular fatigue.
To maintain an accurate historical record, log the following parameters during every assessment session:
Never test through acute joint pain or sharp tendon discomfort. A single testing score is an isolated data point that can be influenced by sleep quality, daily stress, and systemic fatigue. Look for steady trends across several months rather than reacting to day-to-day fluctuations.
A comprehensive training program must target each primary grip quality using progressive overload. Relying solely on deadlifts or standard gym lifts leaves major gaps in finger extension, pinch strength, and rotational forearm control. Structuring exercises across distinct categories ensures balanced physical development and reduces injury risks.
Crushing strength requires progressive resistance through finger flexion. Begin with manageable tools such as variable-resistance coil grippers, dense therapy putty, or thick rubber stress balls. Focus on complete range of motion by closing the implement fully and controlling the opening phase for two to three seconds.
Progress from high-repetition endurance sets toward heavier, low-repetition closes. Once you can complete 12 to 15 clean repetitions with a given resistance, move to a higher-tension gripper. Perform three to four sets of 5 to 8 repetitions per hand, resting two minutes between sets. Avoid explosive closing techniques that compromise wrist alignment.
Crushing strength developed on narrow grippers does not transfer perfectly to wide-diameter objects. Incorporate dynamic crushing movements on thick-handled dumbbells or cable attachments to build closing force across different joint angles.
Support grip is best developed through heavy static holds and walking carries. Begin with standard double-overhand barbell holds inside a power rack. Set the safety pins just below lockout height, lift the bar, and hold it for 15 to 20 seconds using a stable grip. Once you can hold a weight for 20 seconds with good posture, increase the load by 5 to 10 percent.
Farmer carries and suitcase carries build support grip while challenging the trunk, hips, and upper back. Farmer carries utilize a weight in each hand, allowing heavy bilateral loading that challenges total-body stability. Suitcase carries use a single implement, creating intense unilateral demand that forces the lateral core and grip to resist rotational forces.
Progress your carries systematically by manipulating specific training variables:
End every carry set before your fingers open or your torso leans excessively. Dropping weights abruptly under heavy fatigue increases acute strain on finger ligaments and shoulder stabilizers.
Pinch training builds strength in the thumb musculature and finger extensors. Start with two smooth-sided weight plates held together with the flat sides facing outward. Pinch the plates between your thumb on one side and your four fingers on the other, lifting them several inches off the floor for a timed hold.
Advance your pinch training through specific mechanical progressions:
Pinch work places concentrated stress on the first carpometacarpal joint of the thumb and the collateral ligaments of the fingers. Keep total weekly volume modest, performing no more than four to six total work sets per week.
Balancing the flexor and extensor compartments of the forearm prevents overuse syndromes and builds a solid base for heavy lifting. Perform wrist curls with the forearms supported on a flat bench to load the flexor group. Lower the weight under control until it rolls down to your fingertips, then curl the weight upward by flexing your fingers and wrist fully.
Reverse wrist curls target the extensor digitorum and radial wrist extensors. Position your forearms across a bench with your palms facing downward, and extend the wrists upward against a barbell or dumbbell. The extensor muscles are smaller and fatigue faster than the flexors, so use lighter loads and focus on controlled 10 to 15 repetition sets.
Address rotational capacity through pronation and supination exercises using an offset load, such as a sledgehammer or an adjustable forearm wand. Hold the handle near the bottom with your elbow bent at 90 degrees, and rotate the weight slowly inward and outward. Incorporate radial and ulnar deviation by levering the weight upward toward your thumb and downward toward your pinky finger.
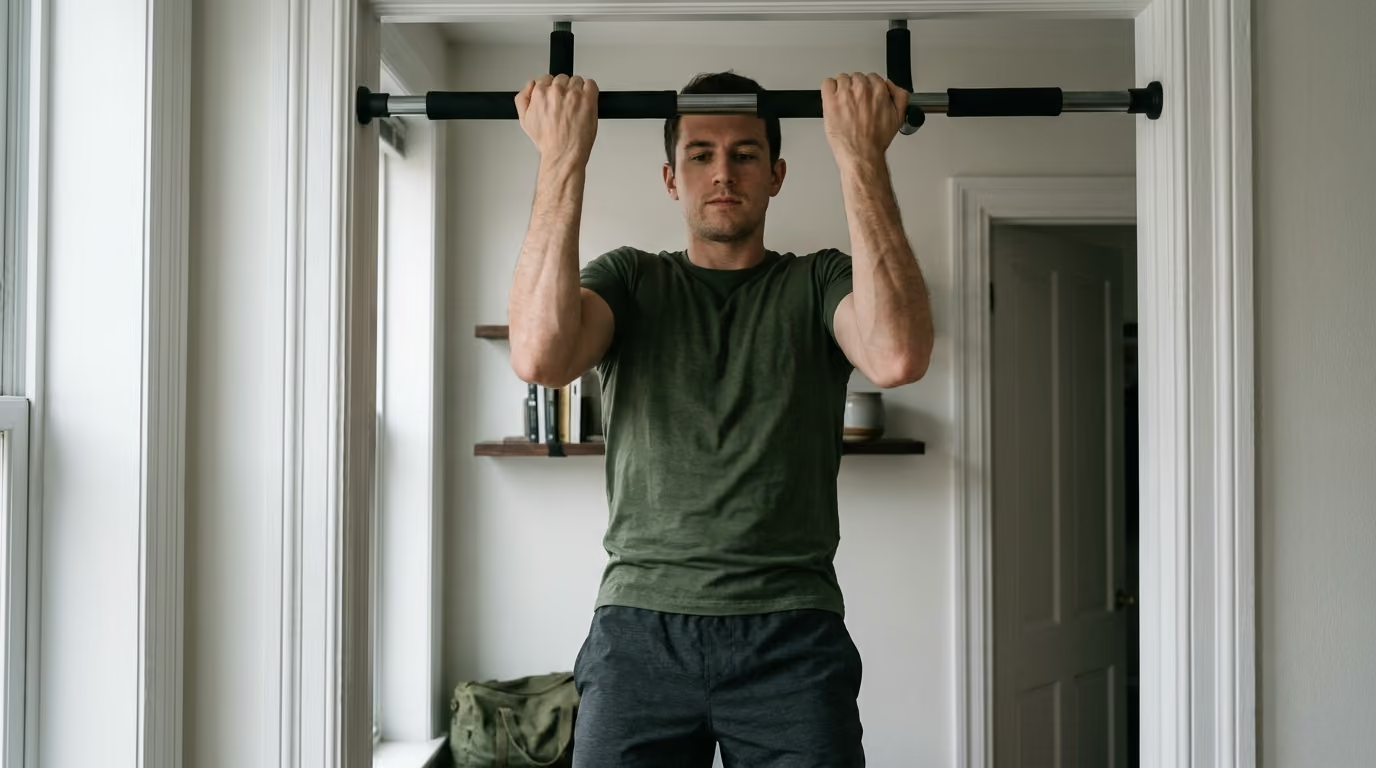
Bodyweight hanging builds passive shoulder mobility, latissimus dorsi stretch tolerance, and finger support endurance. Begin with two-arm passive bar hangs, keeping your shoulder blades slightly engaged to avoid impingement. Work toward sustaining a continuous two-arm hang for 60 seconds with comfortable mechanics.
Climbers and advanced trainees require specific finger loading on shallow edges. Research on hangboard training shows that ten weeks of supplemental fingerboard exposure significantly increases finger-flexor force compared to climbing alone. Use an open-hand or half-crimp grip on edges measuring 20 millimeters or wider before attempting smaller rungs.
Progress hanging capacity through careful steps:
Avoid closed-crimp grips where the thumb wraps over the index finger during general training. Closed crimping places extreme shearing force on the A2 and A4 finger pulleys, increasing the risk of acute tendon sheath ruptures.
Grip training must be programmed in context with your total physical workload. The hands and forearms are constantly used during upper-body pulling, deadlifts, occupational labor, and daily tasks. Adding excessive direct forearm volume on top of an already demanding schedule can lead to chronic fatigue and tendon inflammation.
Review the programming frameworks below to match your specific physical requirements. Trainees working on comprehensive training and performance goals can adapt these templates into their weekly routines.
For general strength athletes, direct grip training should follow heavy compound pulling movements rather than preceding them. Fatiguing your hands before deadlifts or rows reduces the load you can safely handle on primary exercises.
This framework targets individuals preparing for load-bearing events, tactical assessments, or manual field tasks requiring high sustained work capacity. Explore our broader strength and body composition resources for additional conditioning frameworks.
Climbers must manage total finger loading carefully. Fingerboard training, campus board work, and hard climbing draw from the same biological recovery pool. Treat fingerboard training as a high-intensity neurological session.
Workers exposed to continuous tool use, vibration, or repetitive typing must prioritize recovery and task variety over high-volume fatigue. Clinical guidelines recommend introducing regular micro-breaks and task rotation to reduce repetitive strain on the common flexor and extensor origins.
Incorporate simple antagonist movements throughout the workday. Periodically extend your fingers against light elastic resistance, stretch your wrist flexors, and rotate your wrists through pain-free circles. Keep heavy resistance training for days when occupational manual demands are lighter.
The tendons of the wrist and hand have limited direct blood supply compared to major muscle bellies. They adapt slowly to increased training volume and mechanical tension. When training loads exceed tissue capacity, micro-damage accumulates, leading to tendinopathy or peripheral nerve irritation.
Tendinopathy represents a failure of the tendon matrix to remodel effectively under load. Rather than acute inflammation, chronic tendon pain usually involves cellular changes, collagen disorganization, and increased sensitivity. Clinical management emphasizes modifying mechanical load rather than relying entirely on complete, long-term rest.
Use a three-question monitoring model during and after grip training:
If your symptoms escalate above a 4/10 during exercise or remain elevated the next morning, reduce your training volume, frequency, or load. National Health Service guidelines for upper-limb tendinopathies recommend allowing at least one full day of recovery between intense loading sessions to let collagen structures adapt.
Pay close attention to neurological symptoms. Numbness, pins-and-needles sensations, tingling, or nighttime pain in the thumb, index, or middle fingers are not standard muscle soreness. These symptoms often indicate median nerve compression within the carpal tunnel.
The American Academy of Orthopaedic Surgeons and the American Physical Therapy Association provide clinical guidelines for managing carpal tunnel syndrome and hand pain. If you experience tingling or weakness in the thumb muscles, stop heavy wrist-deviated gripping and seek an evaluation from a qualified healthcare professional. Maintaining adequate recovery and sleep practices also supports systemic tissue repair and reduces overall inflammation.
Misunderstandings about hand training often lead individuals to waste effort on unproductive drills while ignoring the basic mechanics of strength development. Clearing up these common errors will help you train more effectively.
Muscle cross-sectional area contributes to force production, but grip strength relies heavily on neurological factors, tendon leverage, hand dimensions, and motor skill. An individual with slender forearms and exceptional tendon stiffness can produce higher pinch or crushing force than someone with large forearms who lacks specific neuromuscular conditioning. Do not rely on cosmetic forearm size as a proxy for real-world hand performance.
A hand dynamometer measures brief, seated, maximal crushing force under rigid testing conditions. Loaded carrying capacity requires prolonged isometric support, wrist stiffness, shoulder stability, core control, and rhythmic gait mechanics. While baseline grip strength is required, a high dynamometer score does not guarantee you can carry heavy loads over distance without specific carry training.
Lifting straps are a practical training tool when used correctly. If your primary goal during a workout is maximal hamstring, glute, or back stimulation, your grip should not be the limiting factor. Using straps on top sets of deadlifts or heavy rows allows you to load larger muscle groups fully. Perform your direct, unassisted grip work separately at the end of the session.
Thick bars and axle attachments challenge the hands by forcing an open-grip position. However, thick handles substantially reduce the total load you can lift, which decreases mechanical tension on the hips, legs, and back. Furthermore, abrupt transitions to thick-handle training can irritate the flexor tendons and thumb joints. Treat thick-grip work as a specific accessory movement rather than a universal replacement for standard barbell training.
Using rubber bands to work the finger extensors provides useful antagonist volume, but it does not make your hands immune to injury. Overuse injuries in climbing and lifting are primarily driven by total volume, high intensity, rapid progression, and inadequate rest. Extensor training is a helpful accessory drill, not a guaranteed injury-prevention tool.
Individual anatomy, age, and occupational demands influence how the hands respond to training. Adapting your training volume and exercise selection to your specific circumstances ensures steady progress without overloading vulnerable joints.
Hand dimensions directly influence mechanical leverage on barbells, dumbbells, and tools. Individuals with smaller hands often struggle on standard 28mm to 32mm barbells because their fingers cannot fully wrap the circumference. Adjust dynamometer handles, use slightly thinner implements when training for general conditioning, and utilize hook-grip techniques on barbells to optimize leverage safely.
A strength difference of 5 to 10 percent between your dominant and nondominant hand is normal. However, asymmetries exceeding 15 to 20 percent warrant attention, especially if accompanied by pain or reduced mobility. Address large deficits by performing unilateral work, such as suitcase carries or single-hand hangs, starting with the weaker hand and matching the completed volume with the dominant side.
Preserving grip force in older age directly supports independent living and daily capability. Training should emphasize submaximal loaded carries, functional tool handling, and full-range wrist mobility rather than maximal crushing singles. Consistent, low-impact loading protects cartilage, maintains bone density in the metacarpals, and supports neuromuscular coordination without aggravating arthritic changes.
Returning to hand training after an acute finger pulley sprain or wrist injury requires strict progression. Begin with pain-free isometric holds on wide, flat surfaces before reintroducing narrow pinches or dynamic closing movements. Avoid closed crimping and high-velocity movements for several months following an injury. Progress slowly from supported bodyweight hangs to full resistance over a structured 12-week rehabilitation timeline.
For most trainees, two to three dedicated grip sessions per week are sufficient. Direct grip training should involve four to six working sets per session, placed at the end of your workouts. Because the hands and forearms are active during daily life and heavy pulling exercises, higher training frequencies often cause tendon irritation without providing additional strength gains.
Deadlifts and pull-ups build baseline support grip, but they do not develop well-rounded hand capacity. They provide minimal stimulus for crushing force, pinch strength, wrist extension, or rotational control. Adding specific pinch holds, reverse wrist curls, and loaded carries ensures balanced physical development and protects against muscular imbalances.
A farmer carry uses equal weights held in both hands, allowing for heavier total loading that challenges support grip, upper back endurance, and systemic work capacity. A suitcase carry uses a single weight held in one hand, requiring the lateral core, hips, and grip to work together to keep the torso upright and resist lateral bending.
Medial or lateral elbow pain often indicates that the forearm muscle origins at the epicondyles are being overloaded. This issue frequently occurs when trainees suddenly add heavy grippers or high-volume hangs on top of their regular pulling workouts. Reduce your direct grip volume, avoid sudden spikes in training intensity, and incorporate controlled wrist extension and soft-tissue recovery work.
To turn these principles into practical results, apply this straightforward checklist over the coming week. Building durable hands and carrying capacity requires consistent, measured effort rather than irregular high-intensity workouts.
For additional evidence-based fitness frameworks, review our full collection of health and performance resources.
Medical Disclaimer: This content is for educational and informational purposes only and does not constitute medical advice. Hand pain, numbness, tingling, or joint swelling should be evaluated by a qualified healthcare professional or physical therapist before starting an intensive grip training program.
Follow BattleVet for practical guidance on military and veteran health, strength, recovery, testosterone, sleep and healthy aging. Stay connected for new articles, research backed insights and clear information to help you stay capable for the years ahead.


Build better habits around strength, recovery, sleep, hormones and healthy aging with practical guidance for active military personnel and veterans.
Explore BattleVet