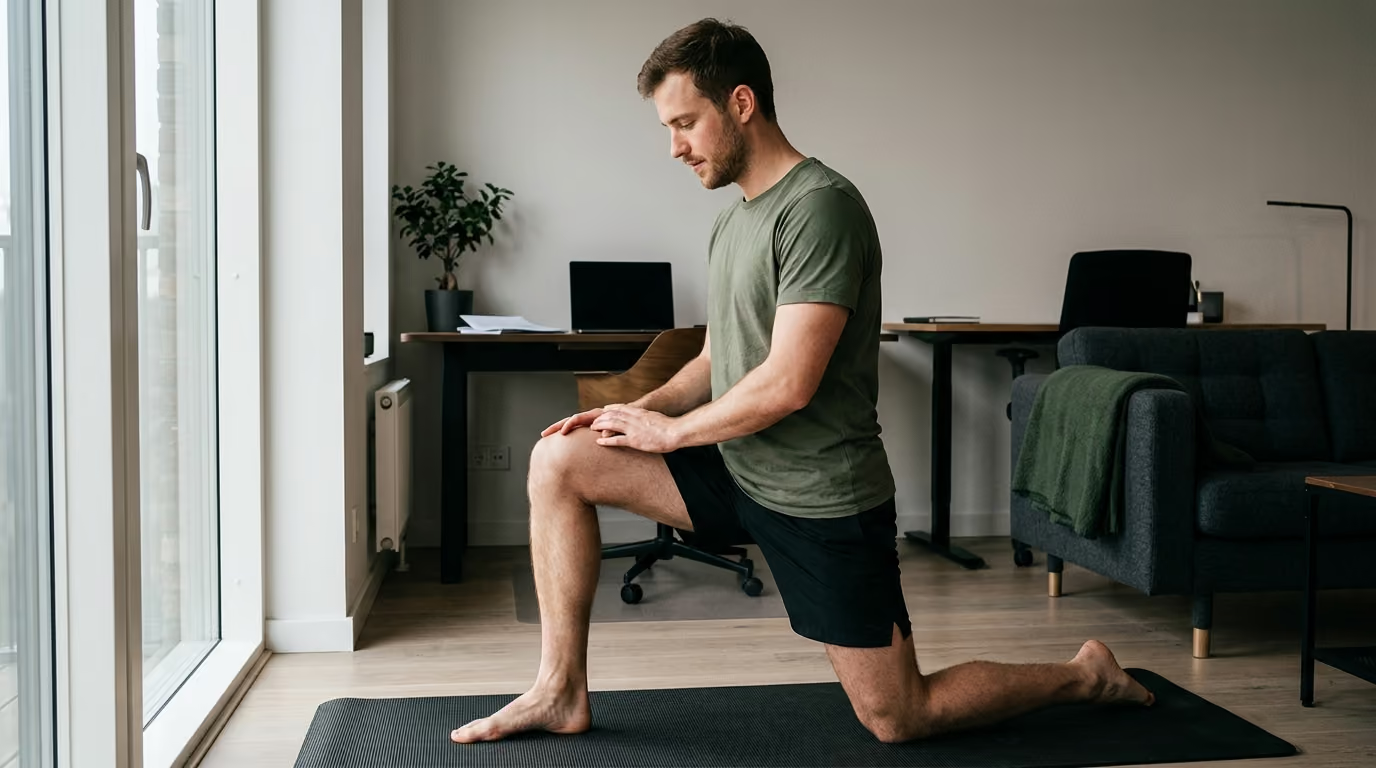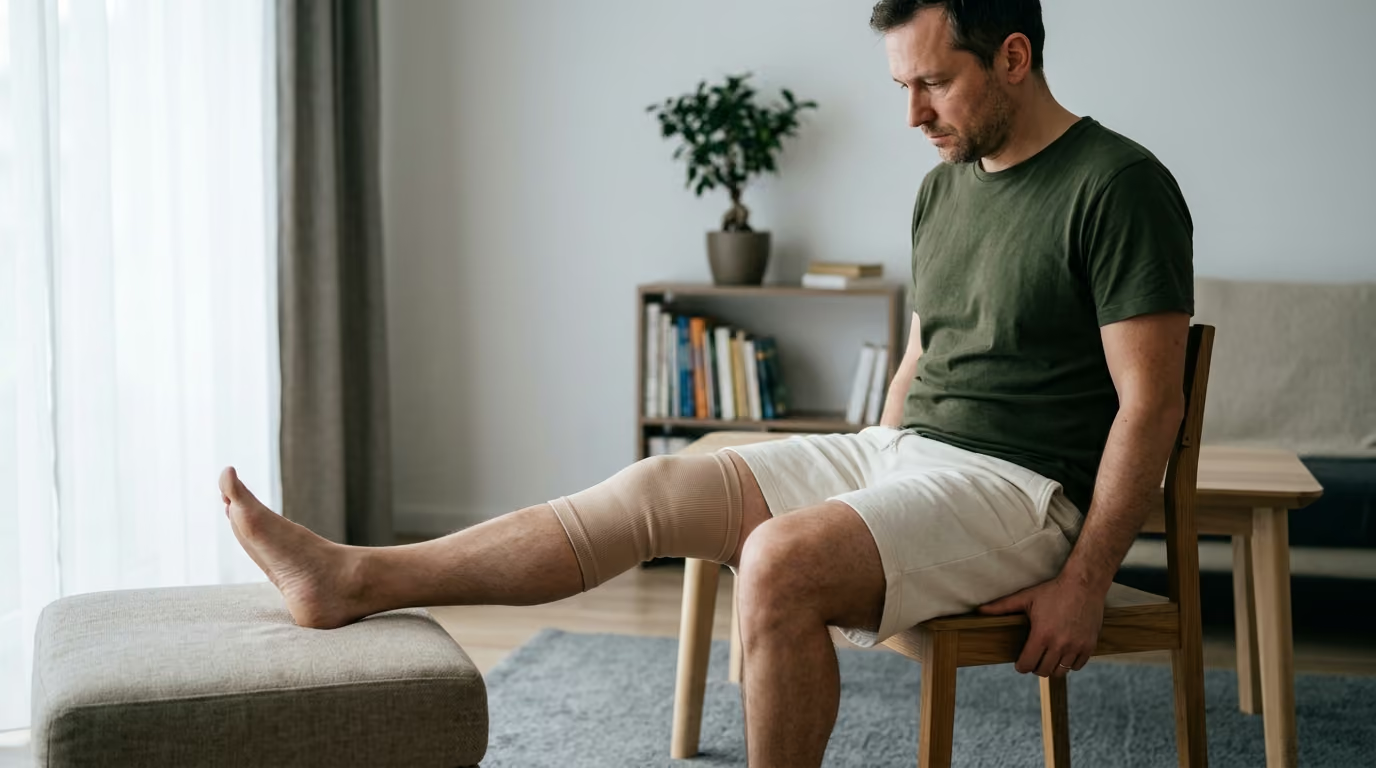

Pain-free movement and full joint strength return through structured rehabilitation strategies designed to restore mobility and rebuild long-term load tolerance safely.





You step off a high curb or finish a routine morning run, and your knee immediately stiffens. Climbing the stairs to your bedroom feels like stepping on broken glass, and bending down to tie your boots requires leaning entirely on your good side. The joint is swollen, warm, and stubbornly refuses to straighten all the way.
Restoring functional knee capacity requires a systematic, criterion-based rehabilitation process that prioritizes swelling control, full joint extension, quadriceps reactivation, hip stability, and progressive loading rather than arbitrary timelines.
True knee recovery is not just the absence of resting pain. It is the restoration of full range of motion, symmetrical quadriceps strength, movement control, and load tolerance for daily and athletic demands. Achieving full recovery requires moving through distinct phases: protecting the joint, eliminating swelling, restoring extension and flexion, rebuilding force production in the lower extremity, and progressively increasing mechanical load.
The knee joint connects the two longest lever arms in the human body, the femur and the tibia. It operates under immense mechanical stress during simple daily tasks. Walking on level ground places forces equal to two to three times your body weight across the joint. Descending stairs or decelerating from a sprint increases those compressive forces to four to six times body weight.
When an injury, surgery, or degenerative flare occurs, the knee loses its capacity to manage these loads. Recovery is the process of rebuilding that tissue tolerance. It involves articular cartilage, the menisci, stabilizing ligaments, tendons, and surrounding musculature.
Many people confuse symptom reduction with structural and functional restoration. Pain often settles once acute inflammation subsides and daily activity is temporarily reduced. However, deep muscle inhibition, altered walking mechanics, and joint stiffness frequently persist beneath the surface.
Functional restoration means regaining the capacity, coordination, and confidence to perform demanding tasks without recurring swelling or compensation. For an older adult, this may mean standing up from a low chair without using armrests. For an active service member or athlete, it means executing high-velocity cuts, carrying loaded rucks, or landing from jumps safely.
Relying purely on a calendar to guide your recovery is a major mistake. Tissue healing timelines provide necessary biological constraints, but time alone does not restore muscle mass, tendon stiffness, or balance. Rehabilitation must be criterion-based. You progress to the next stage only when your knee meets specific objective standards for swelling, mobility, strength, and movement quality.
Not every painful knee requires formal surgery or intensive medical intervention. Many minor overuse aches, mild strains, and post-inactivity stiffness patterns respond exceptionally well to structured, self-directed loading. However, attempting to train through major structural instability or acute intra-articular pathology can cause secondary joint damage.
You should seek immediate medical evaluation if you experience any serious red flag symptoms. An acute traumatic injury accompanied by a loud pop, rapid joint swelling within two hours, and an inability to bear weight points toward a ligament tear or fracture. A knee that is physically locked and unable to straighten often indicates a displaced bucket-handle meniscus tear or loose body.
Systemic signs also require urgent professional care. A knee that is hot to the touch, visibly red, severely swollen, and accompanied by a fever or general malaise may indicate septic arthritis. Following orthopedic surgery, sudden calf tenderness, localized heat, chest pain, or shortness of breath must be evaluated immediately to rule out deep-vein thrombosis or pulmonary embolism.
If your symptoms developed gradually without trauma, if swelling remains mild, and if your joint feels structurally stable, a structured rehabilitation approach is appropriate. The primary goal is to address the underlying physical deficits while monitoring your joint's reaction to progressive load.
Successful knee rehabilitation relies on five foundational principles. These principles apply whether you are recovering from a patellar tendinopathy, a meniscus repair, an anterior cruciate ligament reconstruction, or chronic knee osteoarthritis.
Joint effusion is not just an uncomfortable symptom. It is a potent neurological inhibitor. As little as 10 to 20 milliliters of excess fluid inside the knee joint capsule triggers a reflex known as arthrogenic muscle inhibition.
This spinal reflex automatically shuts down neural drive to the quadriceps, specifically the vastus medialis and vastus lateralis. You cannot effectively strengthen a muscle that your nervous system is actively inhibiting.
Controlling swelling requires balancing activity modification, temporary elevation, mild compression, and frequent gentle joint movement. Cryotherapy provides short-term pain relief, but restoring muscle pump action through low-load movement is what clears intra-articular fluid over time.
Restoring full knee extension must always take priority over gaining deep knee flexion. Normal human gait requires your knee to reach absolute zero degrees of extension during the late swing phase and heel strike.
Even a five-degree extension deficit alters walking mechanics. It increases the energetic cost of walking, places excessive continuous stress on the patellofemoral joint, and prevents normal quadriceps firing during stance.
Flexion is also critical for daily function. You need roughly 90 degrees of flexion to descend stairs, 105 degrees to rise comfortably from a low chair, and 120 to 135 degrees to squat deeply or kneel. While flexion can be regained gradually over several months, extension deficits must be resolved early to prevent permanent capsular contracture and scar tissue formation.
The quadriceps muscle group acts as the primary shock absorber for the lower extremity. When your foot hits the ground, the quadriceps contract eccentrically to decelerate your body weight and absorb ground reaction forces.
If your quadriceps are weak or inhibited, those impact forces transfer directly into the subchondral bone, articular cartilage, and passive ligamentous structures. Simple daily walking cannot generate sufficient mechanical tension to reverse significant quadriceps atrophy. You must use targeted, progressive resistance exercises that isolate and challenge the knee extensors.
The knee sits between the hip and the foot, acting primarily as a hinge joint. It is heavily influenced by mechanics above and below it. Weakness in the hip abductors, external rotators, and gluteal complex allows the femur to collapse into internal rotation and adduction during single-leg tasks.
This dynamic valgus collapse dramatically increases lateral patellofemoral contact pressure and places high strain on the medial soft tissues. Controlling the pelvis and femur through strong hip musculature shields the knee joint from destructive rotational and lateral forces.
Rebuilding joint capacity requires the systematic application of mechanical stress. Connective tissues, including articular cartilage, menisci, bone, and tendons, adapt to load according to mechanotransduction.
Completely resting an injured or painful joint causes tissue deconditioning, matrix degradation, and reduced load tolerance. Conversely, excessive loading causes persistent inflammation and structural breakdown.
Effective rehabilitation identifies the current physiological capacity of the joint, applies a tolerable training stimulus, and systematically increases the mechanical demands as the tissue adapts.
Before starting any rehabilitation program, you must establish an objective baseline. Guessing your functional capacity leads to either undertraining, which stalls progress, or overtraining, which triggers painful inflammatory flares.
Measure passive and active knee extension and flexion by comparing your affected limb directly to your uninjured side. For extension, sit on a firm surface with your legs stretched out in front of you and place a small foam roll under your ankles.
Allow your knees to relax downward toward the floor. If your uninjured knee hyperextends by two or three degrees, your target for the recovering knee is that exact same degree of hyperextension, not just arbitrary zero.
For flexion, lie on your stomach or sit in a chair and gently draw your heel toward your buttocks, noting the angle where joint stiffness or pain begins.
Track joint swelling using the clinical stroke test. With the leg relaxed and straight, stroke the medial side of the knee upward toward the hip three or four times to move fluid into the suprapatellar pouch.
Next, stroke the lateral side of the knee downward firmly. Watch the medial joint line.
If no fluid wave appears, effusion is zero. A slight fluid wave indicates a trace effusion, while a large wave that returns automatically without a lateral stroke indicates moderate to severe effusion. Progression in exercise volume should only happen when joint effusion remains at trace or zero.
Quantifying quadriceps and hamstring strength helps prevent premature return to demanding activities. In sports medicine and physical therapy, this is measured using the Limb Symmetry Index, which divides the score of the injured limb by the score of the uninjured limb and multiplies by 100.
A Limb Symmetry Index of 90 percent or greater across strength and hopping tests is a common clinical benchmark. However, you must interpret this metric carefully. If your uninjured leg lost significant muscle mass during weeks of inactivity, achieving a 90 percent symmetry score may simply mean that both legs are deconditioned.
Comparing performance to pre-injury benchmarks or normative population data provides a much safer assessment of true physical readiness.
Objective strength numbers do not tell the whole story. You must also evaluate how well your nervous system coordinates multi-joint movement patterns.
Perform a double-leg squat, a single-leg squat, and a controlled forward step-down from a standard six-inch step. Observe the movement in a mirror or record it on video.
Look for functional compensations:
A safe recovery requires clean movement mechanics without pain-avoidance strategies or dynamic joint collapse.
Different knee conditions possess unique biological constraints, healing timelines, and structural considerations. The following pathways outline how to tailor your rehabilitation based on your specific joint pathology.
Osteoarthritis is characterized by the progressive breakdown of articular cartilage, changes in subchondral bone, and intermittent low-grade synovitis. For decades, patients were incorrectly told to rest their arthritic knees and avoid physical exertion.
Modern clinical guidelines from major orthopedic societies universally recommend structured exercise as first-line conservative management. Articular cartilage is avascular, meaning it has no direct blood supply. It relies entirely on the cyclical compression and decompression of joint movement to diffuse nutrients and oxygen into the tissue matrix.
Rehabilitation for knee osteoarthritis combines low-impact aerobic conditioning, progressive resistance training, and neuromuscular balance exercises. Stationary cycling, aquatic exercise, and incline treadmill walking deliver essential synovial fluid circulation without excessive peak impact forces.
Strengthening the quadriceps reduces the rate of joint space narrowing and significantly dampens daily joint pain. Integrating targeted training alongside smart lifestyle strategies, such as maintaining lean muscle mass through practical performance nutrition, ensures your metabolic health supports ongoing tissue repair.
Collateral ligament sprains (MCL and LCL) frequently occur from direct contact or sudden twisting forces. The medial collateral ligament has a robust blood supply and excellent natural healing capacity. Isolated grade I and grade II MCL sprains are usually managed non-operatively with a short period of protective bracing, early sagittal-plane motion, and rapid quadriceps reactivation.
Lateral collateral ligament injuries and posterior cruciate ligament sprains require careful management to prevent chronic joint laxity. Early rehabilitation avoids rotational and lateral shear stresses while maintaining knee extension and rebuilding isometric hip and thigh strength.
As ligament fibers mature, you progress from straight-line movements to multi-planar drills, lateral agility work, and sport-specific deceleration patterns.
Rehabilitation following anterior cruciate ligament reconstruction is a demanding, multi-phase process that typically spans nine to twelve months or longer. The surgical graft, whether taken from the patellar tendon, hamstring tendon, or quadriceps tendon, undergoes a complex biological process known as ligamentization.
During the first several months, the graft weakens as its original cellular structure remodels before gradually revascularizing and regaining structural strength. Returning to high-demand cutting sports prematurely places an immature graft under extreme risk of rupture.
Milestones after ligament reconstruction must be strictly criterion-based. Early goals focus on eliminating effusion, restoring zero degrees of hyperextension, and resolving quadriceps inhibition through open and closed kinetic chain exercises.
Middle phases build raw muscle hypertrophy, unilateral strength, and hamstring-to-quadriceps strength ratios. Late phases introduce plyometric landing mechanics, linear running, multi-directional cutting drills, and psychological readiness screening.
Rehabilitation strategies for meniscal pathology depend entirely on whether the meniscus is treated conservatively, partially removed, or surgically repaired. A partial meniscectomy removes torn, unstable flap fragments.
Because no structural tissue healing is required, rehabilitation progresses rapidly based on pain and swelling tolerance. Patients can often bear full weight immediately and return to progressive strengthening within days.
Conversely, a meniscus repair uses surgical sutures to preserve and re-approximate torn fibrocartilage, typically in the vascular outer zone. This repair must be strictly protected from high compressive and shearing forces.
Postoperative protocols frequently restrict weight-bearing and limit knee flexion to 90 degrees for the first four to six weeks to protect the suture lines from mechanical disruption. Once the biological healing window passes, progressive loading, deep squatting, and single-leg deceleration are introduced systematically.
Following total knee arthroplasty, the primary objective is rapid functional mobilization to prevent joint stiffness and arthrofibrosis. Clinical guidelines emphasize initiating physical therapy within 24 hours of surgery.
Early rehabilitation focuses on active-assisted range of motion, independent bed transfers, stair navigation, and normalizing gait patterns to eliminate reliance on walkers or crutches.
Persistent quadriceps weakness and extension loss are common long-term complaints after knee replacement. Structured, long-term resistance training, balance work, and functional gait retraining are essential to ensure the patient regains full physical independence and high long-term quality of life.
Rebuilding a compromised knee requires a progressive continuum of exercise. You do not advance to demanding compound movements until your nervous system and joint tissues demonstrate mastery over lower-tier foundational exercises.
The initial phase aims to establish voluntary muscle activation and restore baseline joint mobility while protecting irritated tissues.
Sit or lie flat with a firm foam roll placed under your heel, allowing your knee to suspend in mid-air. Contract your quadriceps firmly, actively driving the back of your knee down toward the floor. Hold the maximal contraction for five seconds, relax for two seconds, and repeat for 15 to 20 repetitions. Ensure your kneecap moves upward toward your hip during the contraction, which confirms proper rectus femoris and vastus activation.
Lie on your back with your unaffected knee bent and foot flat on the floor. Lock the recovering knee into full extension using an active quad set. Lift your entire leg roughly 12 inches off the floor, keeping the joint completely straight without allowing the knee to sag into slight flexion. Hold for two seconds at the top, lower under control, and repeat for three sets of 10 to 12 repetitions.
Sit tall on a smooth surface or chair with your socked foot resting on a slider or towel. Slowly draw your heel back toward the chair using your hamstring musculature until you feel a firm, comfortable stretch in the front of your joint. Use your uninjured leg or a strap looped around your foot to gently guide the knee into an additional two to three degrees of flexion, hold for five seconds, and smoothly return to the start position.
Once swelling is minimal and you can achieve full extension with clear voluntary quad firing, you can introduce progressive closed-chain and isolated open-chain resistance exercises.
Position yourself securely in a standard knee extension machine with the pad resting against your lower shins. Select a light to moderate resistance and extend your legs smoothly from 90 degrees up to 45 degrees, or through the full available pain-free range. Focus on a controlled two-second concentric contraction followed by a slow, three-second eccentric lowering phase. Perform three sets of 10 to 15 repetitions.
Position a sturdy chair or plyometric box behind you at a height that allows your thighs to sit parallel to the floor. Stand with your feet shoulder-width apart, cross your arms over your chest, and initiate the movement by hinging at the hips. Lower your hips under control until your buttocks lightly touch the box without completely offloading your body weight. Drive through your mid-foot and heels to return to a tall standing posture, squeezing your glutes at the top. Perform three sets of 8 to 12 repetitions.
Stand facing a four-inch platform or step. Place your entire foot of the recovering limb onto the box. Without pushing off with your trailing back leg, drive through your front heel and mid-foot to lift your body onto the step until your knee is fully extended. Lower yourself back down under control over a three-second tempo, ensuring your knee tracks directly over your second toe. Complete three sets of 10 repetitions per side.
Daily life and athletic activities require independent single-leg force production, deceleration, and dynamic pelvic stability.
Stand on top of a six-inch wooden box or step with your recovering leg supporting your body weight and your unaffected leg suspended off the lateral edge. Keeping your pelvis level and your torso upright, slowly bend your stance knee and sit your hips back, lowering the opposite heel straight toward the floor. Lightly touch the floor with your heel without bearing weight, then drive through your stance leg to return to the starting position. Complete three sets of 8 to 10 controlled repetitions.
Stand roughly two feet in front of a flat bench and place the top of your trailing foot on the surface behind you. Maintain an upright torso and lower your back knee toward the floor until your front thigh is roughly parallel to the ground. Ensure your front knee remains stable and does not collapse inward toward the midline. Drive through your front mid-foot to stand back up. Perform three sets of 8 to 10 repetitions per leg.
Stand balancing on your recovering leg with a slight, five-degree bend in the knee. Hinge forward at your hips, extending your non-stance leg straight behind you in line with your torso. Keep your hips square to the floor and lower your torso until you feel a stretch in your stance hamstring. Contract your glutes and hamstrings to return to the starting upright position, maintaining balance throughout. Perform three sets of 8 repetitions per side.
The final phase bridges the gap between traditional gym-based resistance training and high-velocity real-world demands.
Stand tall on your toes with both arms extended overhead. In a rapid, explosive movement, pull your arms down, drop your hips back, and snap down into an athletic quarter-squat position, landing softly on the balls of your feet before settling onto your mid-foot. Freeze instantly upon landing, demonstrating total joint control without knee wobble or torso sway. Perform four sets of five repetitions.
Stand on your recovering leg, swing your arms back, and hop forward roughly two to three feet. Land exclusively on the same leg, catching your body weight by bending your hip, knee, and ankle into a controlled, soft deceleration posture. Hold the landing completely motionless for three full seconds before resetting. Complete three sets of five clean landings per leg.
Rehabilitation rarely follows a perfectly straight line. You will inevitably encounter days when your joint feels unusually stiff, achy, or slightly swollen. Successfully navigating these fluctuations requires understanding how to respond to biological feedback without completely abandoning your program.
Do not judge the appropriateness of an exercise session solely by how your knee feels while you are performing the movements. When your joints are warm and adrenaline is circulating, tissues tolerate stress deceptively well.
The true test of joint tolerance occurs later that evening and the following morning. If your knee exhibits increased effusion, notable resting throbbing, or a loss of several degrees of extension the next day, your total mechanical load exceeded tissue capacity.
When this happens, you do not need to panic or stop training entirely. Instead, step back your training intensity, reduce your movement depth, decrease your total set volume by 20 to 30 percent, and allow the flare to settle before trying to progress again.
Many common rehabilitation mistakes can stall progress and keep you trapped in a cycle of recurring joint pain:
Navigating knee rehabilitation requires separating solid, proven scientific consensus from emerging, experimental, or unproven modalities.
Decades of peer-reviewed clinical trials and international orthopedic consensus statements support the role of progressive resistance training for knee health. Clinical guidelines from the American Academy of Orthopaedic Surgeons and the VA/DoD clinical guidelines universally mandate exercise therapy as the primary conservative intervention for knee osteoarthritis.
Large systematic reviews confirm that targeted quadriceps strengthening reduces pain, enhances mobility, and delays surgical joint replacement.
Similarly, extensive sports medicine research, including the OPTIKNEE consensus syntheses, confirms that both open-kinetic-chain and closed-kinetic-chain exercises are safe, effective, and necessary during ligament and meniscal rehabilitation.
Research demonstrates that combining both exercise modalities improves quadriceps peak torque and functional outcomes without compromising joint laxity. Furthermore, consensus guidelines on returning to sport after ACL reconstruction emphasize that passing a battery of objective functional tests, rather than simply waiting a set number of months, significantly lowers secondary reinjury rates.
Several supportive tools show solid clinical utility under specific conditions, though they are secondary to progressive strength training. Blood Flow Restriction (BFR) training combines low mechanical resistance (20 to 30 percent of a 1-rep max) with venous vascular occlusion.
Clinical trials show that BFR can trigger muscle hypertrophy and combat quadriceps atrophy in early postoperative phases when high mechanical joint loads are contraindicated. Neuromuscular electrical stimulation (NMES) has also demonstrated clear value in overcoming arthrogenic muscle inhibition during the acute weeks following knee surgery or trauma.
Many heavily marketed interventions lack strong scientific support for long-term functional restoration. While regenerative medicine injections, such as platelet-rich plasma and mesenchymal stem cell therapies, are increasingly popular, clinical evidence regarding their ability to regenerate structural articular cartilage remains mixed and inconclusive.
Similarly, routine postoperative continuous passive motion (CPM) machines have largely fallen out of standard clinical guidelines. High-quality trials show they offer no significant long-term advantages over early active physical therapy.
Passive modalities, like rigid bracing for general knee pain, massage guns, and joint flossing, may provide temporary sensory pain relief, but they do not replace the physiological adaptations driven by active exercise. Maintaining a long-term focus on joint preservation is a foundational element of healthy aging and longevity.
Restoring your knee capacity requires executing a disciplined, daily plan. Use this structured approach to guide your weekly training, self-assessments, and load progressions.
Dedicate 10 to 15 minutes each morning to restoring joint homeostasis. Begin with three sets of 15 heel props paired with maximal isometric quad contractions to clear morning stiffness and reinforce terminal extension.
Follow this with five to ten minutes of low-resistance spinning on a stationary bicycle or gentle heel slides to distribute synovial fluid across your joint cartilage. Check your medial joint line using the stroke test to confirm your effusion level before planning your daily activity.
Schedule three dedicated resistance training sessions per week on non-consecutive days. Focus each workout on a specific movement pattern:
For structured guidance on building well-rounded lower body strength and work capacity, review our detailed resources on strength, fitness, and body composition.
Do not increase the weight, speed, or complexity of an exercise until you have mastered your current baseline. Follow these objective rules before progressing:
When you are ready to return to demanding tasks like outdoor running, heavy rucking, deep squatting, or pivoting sports, reintroduce these stresses gradually. Begin running with a walk-to-run progression on an even, forgiving surface like a synthetic track or flat trail.
Start by alternating one minute of light jogging with two minutes of walking for 15 minutes total. Monitor your knee's response over the next 24 hours.
If the joint shows no reaction, gradually increase your running intervals over several weeks before adding hills, sprints, or rapid change-of-direction drills. To learn how to safely advance your overall athletic conditioning, consult our library of training and performance resources.
Painless joint noises, known clinically as crepitus, are very common and usually harmless. These sounds typically result from normal fluid pressure changes inside the joint capsule, harmless tendon snapping over bony prominences, or minor surface roughness beneath the kneecap.
Crepitus is only a clinical concern if it is accompanied by acute pain, immediate joint swelling, or a physical sensation of the joint catching and locking. If your clicking is completely painless, you can safely continue your progressive strengthening exercises.
You do not need to avoid deep squats permanently, but modifying your squat depth is a smart way to manage knee irritation. Deep knee flexion increases compressive forces across both the patellofemoral joint and the posterior horns of the menisci.
During acute flares or early postoperative recovery, keep your squats to a comfortable, pain-free range, such as box squats down to parallel. As your quadriceps strength, hip mobility, and tissue tolerance improve, you can gradually reintroduce deeper squat depths under controlled loads.
Recovery timelines depend heavily on the specific tissues involved and your functional goals. Mild collateral ligament sprains or simple overuse injuries often resolve within four to eight weeks of structured rehabilitation.
Complex procedures, such as anterior cruciate ligament reconstruction or meniscus repairs, require nine to twelve months or longer to fully restore muscular symmetry, tendon remodeling, and safe deceleration mechanics. True recovery is guided by achieving objective functional milestones, not simply watching the calendar.
Walking is a wonderful low-impact cardiovascular activity, but it is not enough to fully rebuild a compromised knee on its own. Walking does not generate the high mechanical loads or eccentric muscle tension required to reverse significant quadriceps atrophy or trigger robust tendon remodeling.
Relying exclusively on walking often reinforces compensatory movement habits and leaves your stabilizing muscles under-conditioned. You must combine regular walking with progressive resistance training that isolates the quadriceps, hamstrings, and gluteal musculature.
This educational resource is intended strictly for informational and self-management purposes. It does not provide personalized medical advice, clinical diagnosis, or individualized treatment plans.
Rehabilitation following acute joint trauma, suspected fractures, complex ligament reconstructions, meniscal repairs, or total joint arthroplasty requires direct supervision by a licensed orthopedic surgeon or physical therapist.
Always consult a qualified healthcare professional before beginning any new rehabilitation program or making significant changes to your physical activity. If you experience severe pain, rapid swelling, joint locking, or signs of systemic infection, seek immediate medical attention.
Bookmark this comprehensive guide and revisit it whenever you prepare to transition to the next phase of your rehabilitation, experience an unexpected symptom flare-up, or need to verify whether your current exercise progression meets objective safety standards.
Restoring lasting knee capacity is a methodical process built on progressive loading, objective physical standards, and consistent daily execution.
Follow BattleVet for practical guidance on military and veteran health, strength, recovery, testosterone, sleep and healthy aging. Stay connected for new articles, research backed insights and clear information to help you stay capable for the years ahead.


Build better habits around strength, recovery, sleep, hormones and healthy aging with practical guidance for active military personnel and veterans.
Explore BattleVet