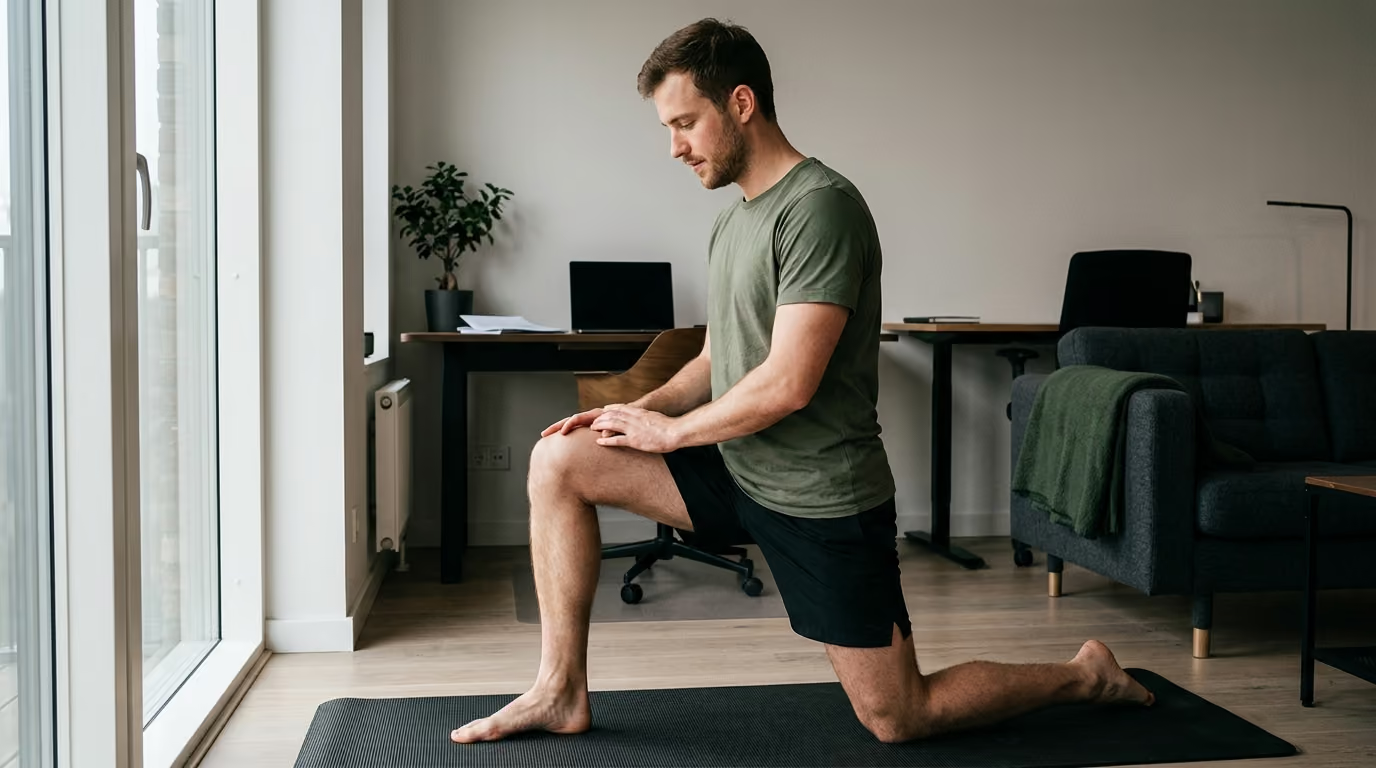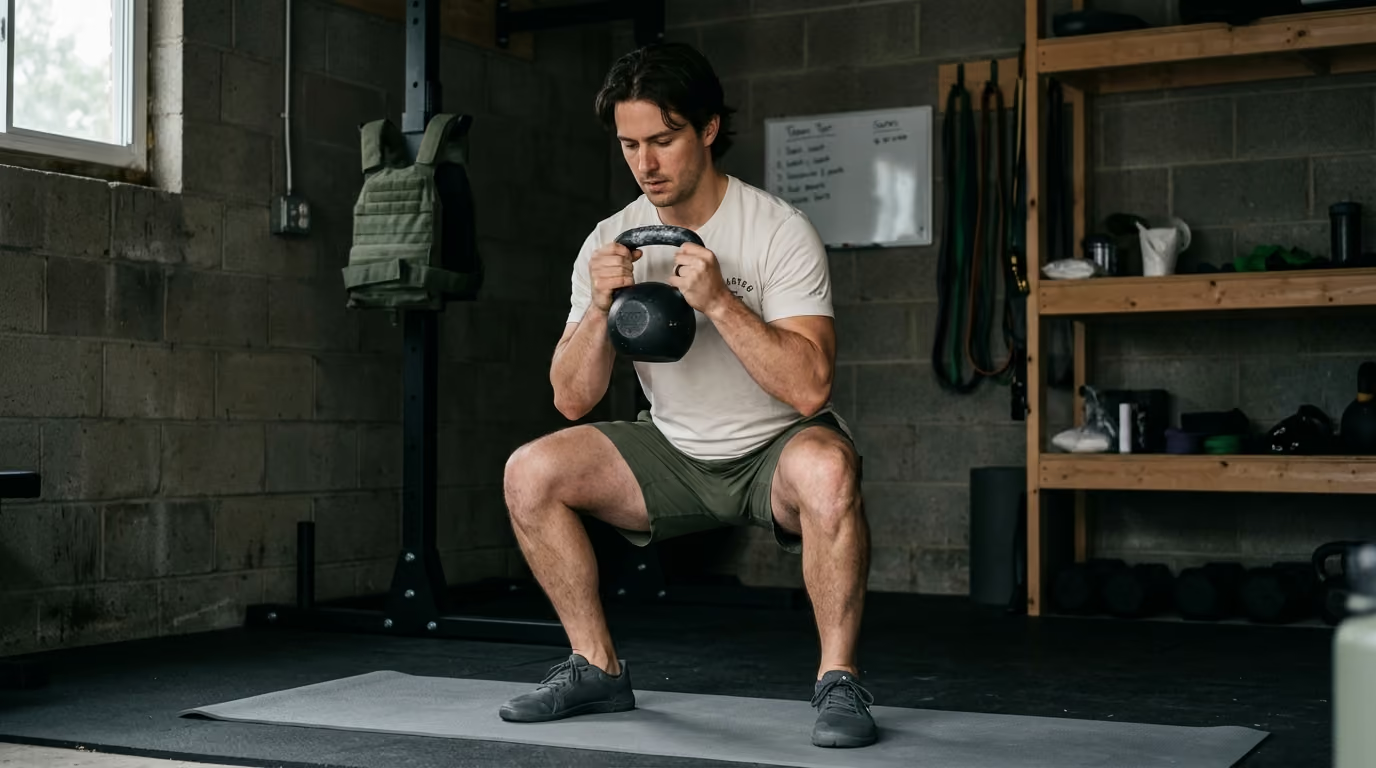

Progressive loading frameworks help lifters rebuild tissue tolerance and regain heavy lifting capacity safely after time away from the gym.





You stand in front of the barbell after weeks away from the gym, wondering how much weight your body can actually handle. Your knee feels quiet during a warm-up set, but you remember the sharp pinch that shut down your training last month. You want to rebuild your baseline strength quickly without triggering another setback or wasting weeks on ineffective rest. Knowing how to return to heavy training after an injury or layoff requires a clear method rather than guesswork.
A safe return to strength training requires an objective, criteria-based loading process that monitors tissue capacity and internal stress rather than relying on arbitrary timelines or the temporary absence of pain.
The standard approach to resuming physical training usually fails because it treats medical clearance as an immediate green light for maximum effort. Resuming heavy lifting safely requires rebuilding structural tissue tolerance, movement mechanics, and neuromuscular coordination through graded exposure. By establishing reliable baselines, managing internal and external training loads, tracking 24-hour symptom responses, and correcting functional deficits, you can systematically return to previous performance levels.
Scientific research shows a clear difference between tissue healing and functional readiness. While passive tissues like ligaments and tendons heal over calendar weeks, muscular power, rate of force development, and connective tissue stiffness require structured loading to recover. Modern sports medicine consensus confirms that symmetric movement, psychological confidence, and workload tolerance must be tested together before full participation.
Practical loading frameworks allow service members, veterans, and dedicated lifters to bridge the gap between initial rehabilitation and demanding physical training. This guide delivers a research-backed method for testing baselines, choosing initial training loads, applying progression rules, and advancing toward unrestricted performance.
Returning to physical preparation requires clear terminology. Clinicians and strength coaches often use different words for recovery milestones. Understanding these terms prevents you from jumping into intense workouts before your body is ready.
Modern sports physical therapy separates recovery into five distinct stages.
The first stage is the return to daily activity. This milestone means you can walk, navigate stairs, manage occupational duties, and complete basic self-care tasks without pain spikes. It confirms baseline function but does not indicate readiness for athletic training.
The second stage is the return to exercise. At this point, you begin structured movement and light cardiovascular work. These sessions recondition your energy systems and reintroduce basic movement patterns without matching the high forces of your target sport or job.
The third stage is the return to strength training. Here, you apply progressive resistance through increasingly demanding ranges of motion, speeds, and loading conditions. You actively rebuild force production and structural capacity.
The fourth stage is the return to sport or occupational participation. This stage represents re-entry into unit drills, athletic practice, or full tactical duties. You participate alongside peers, but your volume, intensity, or minutes may remain capped.
The final stage is the return to performance. This milestone means you have fully restored your pre-injury strength, power, conditioning, and psychological confidence. You can handle unpredictable, high-velocity demands under full physical fatigue.
Every physical task involves an interaction between structural capacity and applied stress. Physical capacity is the maximum load, volume, or movement complexity a tissue can tolerate under controlled conditions. When training stress exceeds current capacity, tissues become irritated or injured.
Training load consists of external and internal components. External load is the measurable work you complete during a session. This includes barbell weight, total repetitions, sets, distance covered, and sprint volume.
Internal load is your physiological and psychological response to that external work. It includes perceived exertion, heart rate, acute pain, fatigue, and tissue stiffness the following morning. Two lifters can perform the exact same 50-kilogram squat workout, but their internal loads may differ drastically based on sleep, injury history, and current capacity.
Exposure represents the accumulated dose of a specific movement or tissue stress over time. Readiness describes whether your current capacity can handle the next planned exposure. Readiness is not a permanent state, but a dynamic balance between recent recovery and accumulated fatigue. Explore our library of recovery and sleep articles to understand how systemic rest influences this capacity curve.
Rebuilding physical capacity requires a deliberate progression from controlled, predictable exercises to dynamic, open tasks. Tissues adapt best when stress is introduced systematically.
A reliable progression model moves along several clear tracks:
A standard loading continuum begins with isometric contractions to build initial tendon and muscle tolerance. Next, you introduce slow isotonic movements through restricted ranges, followed by full-range bilateral strength work. From there, you add unilateral loading, eccentric tempo training, and high-velocity concentric lifts. Finally, you integrate plyometrics, reactive agility drills, and sport-specific physical stress.
You cannot program an intelligent return to training without an objective baseline. Testing establishes where your capacity currently sits and highlights movement compensations. A comprehensive baseline evaluates symptoms, range of motion, force production, power, and psychological readiness.
Standardizing your testing conditions is critical for accurate data. Always use the same warm-up protocol, exercise sequence, rest intervals, equipment, and time of day for retests. Small changes in technical execution can produce false improvements in your scores.
Before loading a joint or muscle group, you must map its baseline irritability. Document resting pain on a zero-to-ten scale. Record pain levels during active movement, immediately after exercise, and several hours later.
Note whether you experience joint warmth, swelling, clicking, or sensations of giving way. Pay close attention to next-morning stiffness, which serves as a sensitive indicator of tissue tolerance. If symptoms return to baseline within 24 hours, the tissue tolerated the previous load. If symptoms linger or escalate across multiple days, the stimulus exceeded current capacity.
Range of motion must be assessed both passively and actively. Measure key movement landmarks, such as knee flexion, ankle dorsiflexion, hip internal rotation, and shoulder elevation.
Passive range of motion confirms whether a joint can physically achieve a position. Active range of motion reveals whether you have the motor control and muscular strength to stabilize that joint. A lifter may possess full passive shoulder flexion while lying on an examination table, yet struggle to stabilize a light overhead press without arching their lumbar spine.
Muscular force production must be measured across several muscle actions. When specialized equipment like isokinetic dynamometers or force plates are unavailable, field-based tests provide reliable data.
Isometric holds, submaximal repetition tests, and repeated bodyweight tasks offer valuable strength benchmarks. Common field tests include the single-leg sit-to-stand test, seated single-leg leg extensions, calf raises to fatigue, and loaded step-downs. Submaximal tests allow you to estimate your capacity without exposing healing tissues to the extreme strain of a true one-repetition maximum.
Strength measures total force output, whereas power evaluates how rapidly you produce that force. Tendons and athletic movements depend heavily on the rate of force development. Jump height, single-leg hop distance, medicine ball throw velocity, and movement speed under light barbell loads provide critical power metrics.
Retraining studies show that power and rate of force development often decline faster during training layoffs than absolute slow-speed strength. These power qualities require dedicated reconditioning before high-speed running or explosive lifting resumes.
Functional tests evaluate how well your body coordinates movement across multiple joints. Observe single-leg squats, step-downs from a box, and loaded carries. Watch for compensatory strategies, such as hip dropping, knee valgus, or excessive trunk lean.
Physical capability must be matched by psychological confidence. Fear of reinjury, movement apprehension, and perceived instability alter motor control and increase muscle co-contraction. Validated tools like the Anterior Cruciate Ligament Return to Sport after Injury scale demonstrate that low psychological readiness correlates with poor movement mechanics and elevated reinjury risk. Track your confidence honestly before increasing exercise intensity.
Selecting your starting load after an injury or layoff is a risk-management decision. Resuming training at your previous working weights creates excessive mechanical stress and severe delayed-onset muscle soreness. Starting conservatively protects recovering tissues while establishing a clean baseline for progression.
Your initial sessions should prioritize movement quality and technical consistency over heavy loads. Use submaximal tools to auto-regulate training intensity based on current capacity rather than outdated personal records.
Repetitions in reserve and ratings of perceived exertion provide reliable frameworks for post-injury load selection. When returning to multi-joint barbell exercises, program sets to finish with three to four repetitions in reserve. This corresponds to an effort level of six or seven on a ten-point scale.
Stopping several repetitions shy of failure keeps technique crisp and minimizes breakdown in stabilizing muscles. If you are calculating loads from percentages, base those numbers on a freshly tested submaximal set rather than historical maxes. A reliable method is to establish a conservative five-repetition submaximal benchmark, estimate your current training ceiling, and calculate initial working sets at 60 to 70 percent of that figure.
Velocity loss monitoring offers another precise method for managing intensity if you have access to linear position transducers or camera-based tracking apps. Capping set velocity loss at 10 to 20 percent ensures you build strength without accumulating excessive neuromuscular fatigue or breakdown in bar path.
The most common mistake lifters make when returning to training is changing multiple training variables simultaneously. When you increase weight, add sets, deepen your range of motion, and reduce rest intervals in the exact same week, you cannot identify what triggered a flare-up.
Apply the one-variable progression rule:
By adjusting only one variable at a time, you can clearly track tissue adaptations. If your knee swells after adding load, you know the resistance was the issue, not the set volume or movement speed.
Organize your exercise selection from high stability to low stability. This systematic hierarchy keeps training productive while protecting vulnerable structures:
Review our dedicated strength and fitness resources for detailed breakdowns of multi-joint loading progressions.
Advancing your training program requires clear decision rules. Relying purely on how you feel during a workout is unreliable because exercise-induced endorphins and elevated tissue temperatures temporarily mask joint irritation.
Every progression decision must answer three sequential questions. First, did you complete the planned session with technically sound movement? Second, was your symptom response during and immediately after the workout within acceptable limits? Third, did your resting symptoms and joint stiffness return to baseline within 24 hours?
A simple stoplight model helps you categorize your post-training response and determine whether to progress, maintain, or regress your training dose.
Pain is not always an indicator of tissue damage, particularly in chronic tendon conditions. For chronic mid-portion Achilles tendinopathy and patellar tendinopathy, published clinical protocols safely allow mild discomfort during exercise.
In validated tendon-loading protocols, discomfort up to a four or five on a ten-point scale is considered acceptable during heavy, slow resistance training. However, this rule requires two strict conditions. First, the pain must subside shortly after the session ends. Second, pain and tendon stiffness the following morning must not exceed baseline levels.
This tendon-loading rule does not apply to acute muscle strains, bone stress injuries, joint instability, labral tears, or postoperative repairs. An acute hamstring strain or a lumbar stress fracture requires a low-pain or pain-free threshold during early retraining. Never apply tendon-specific pain allowances to acute structural injuries.
Regressing an exercise is not a failure of training; it is precise dosage control. If a workout triggers a red response, you do not need to halt all physical training. Instead, modify the specific variable that provoked the symptom.
If external load caused the issue, reduce the resistance by 15 to 20 percent while keeping sets and repetitions unchanged. If range of motion provoked the joint, place the weight on blocks or use a box to shorten the excursion. If movement speed caused irritation, enforce a three-second eccentric and two-second isometric tempo. Modifying training parameters maintains your systemic conditioning while allowing irritated local tissues to settle.
Limb asymmetry testing is widely used in rehabilitation to decide when an athlete can resume unrestricted activity. The Limb Symmetry Index compares the performance of the injured limb against the uninjured side. While this metric provides useful reference data, relying solely on symmetry can create a false sense of security.
Understanding how to calculate and interpret asymmetry helps you build balanced, durable physical strength.
The Limb Symmetry Index expresses the functional capacity of your involved side as a percentage of your uninvolved side. The standard calculation is:
If your injured leg achieves an 80-centimeter single-leg hop and your uninjured leg achieves 100 centimeters, your Limb Symmetry Index is 80 percent. In clinical research, an index of 90 percent or higher is the standard target for returning to agility drills, heavy unilateral lifting, or sport-specific training. For high-demand contact sports, some clinicians recommend striving for 95 to 100 percent symmetry in knee extensor and flexor strength.
A 90 percent symmetry score does not guarantee your injured limb has fully recovered. Limb symmetry compares the injured side to the opposite limb, which may have deconditioned significantly during your period of inactivity.
Research following athletes after anterior cruciate ligament reconstruction demonstrates this limitation clearly. When an injured athlete spends months resting, the uninjured limb loses muscle mass, neural drive, and power. If the uninjured limb drops from a score of 100 down to 85, an injured limb scoring 77 will achieve a 90 percent symmetry index despite both legs remaining substantially deconditioned.
Furthermore, recent clinical trials show that achieving a 90 percent symmetry score on hop tests does not independently predict who will avoid a second injury. Athletes frequently learn compensatory movement strategies. They can achieve matching jump distances by using greater hip and trunk extension while continuing to underload their recovering knee or ankle.
To assess true readiness, pair relative symmetry scores with absolute performance benchmarks. Compare your current output against historical personal records, established physical fitness standards, or validated demographic data.
A complete functional profile evaluates four distinct areas:
Evaluating absolute performance alongside relative symmetry ensures you build a balanced, resilient body. Learn more about balancing physical output across your lifespan in our healthy aging strategies section.
Understanding how muscles and connective tissues adapt during a training hiatus helps you set realistic recovery timelines. When you stop lifting, strength, power, and cardiovascular endurance decay at different rates.
Recognizing these physiological timelines prevents you from progressing too quickly during your first month back in the gym.
Detraining produces measurable declines in muscular force, explosive power, and tissue architecture. Early strength loss during the first two to three weeks away from lifting stems primarily from reduced neural drive. Your central nervous system downregulates motor unit recruitment, synchronization, and firing rates.
When an interruption extends beyond four weeks, structural muscle atrophy begins. Muscle fibers decrease in cross-sectional area, glycolytic enzyme activity drops, and mitochondrial density declines. Explosive power and rate of force development deteriorate significantly faster than absolute slow-speed strength.
Detraining affects older adults more rapidly than younger lifters. Clinical studies show that adults over 65 experience larger percentage drops in maximal power and functional capacity during training interruptions. However, previously trained older adults still maintain higher baseline strength than lifelong sedentary individuals.
The process of rebuilding strength is substantially faster than building it for the first time. This phenomenon, often called muscle memory, is supported by clear cellular mechanisms.
During initial hypertrophy training, muscle fibers recruit additional nuclei from satellite cells to manage protein synthesis. Research shows that many of these newly acquired myonuclei remain inside the muscle syncytium even during prolonged periods of detraining and muscle atrophy. When you resume resistance training, these retained myonuclei allow rapid restoration of muscle protein synthesis and accelerated hypertrophy.
Neural pathways also reactivate rapidly. The motor patterns, coordination, and proprioceptive pathways you developed over years of lifting remain encoded in your central nervous system. As a result, movement coordination and submaximal strength often rebound within three to six weeks of structured retraining.
While muscular strength and neural recruitment return rapidly, connective tissues require more time to adapt. Tendons, ligaments, joint capsules, and bone mineral matrices remodel at slower rates than skeletal muscle due to lower blood flow and slower cellular turnover.
This difference creates a critical vulnerability during weeks four to eight of a return-to-strength program. You may feel capable of lifting heavy weights because your neural drive and muscle coordination have returned. However, your tendons and joint structures may lack the collagen cross-linking and tensile stiffness required to absorb those loads repeatedly.
Respect this biological adaptation lag. Progress training volume and intensity gradually to give connective tissues sufficient time to remodel alongside your recovering muscles.
Once you re-establish baseline bilateral strength and symmetry, you must prepare your body for dynamic, unpredictable forces. Lifting a barbell in a controlled environment is essential, but it does not fully prepare you for tactical movements, competitive athletics, or manual labor.
Advanced progression bridges this gap by adding high-velocity contractions, unexpected perturbations, and fatigue-resistant loading.
Force production in real-world scenarios occurs in fractions of a second. Traditional heavy strength training develops maximum force, but power requires developing force rapidly. Deceleration, or absorbing force, places the highest mechanical stress on muscles and tendons.
Introduce decelerative work before explosive plyometrics:
Mastering force absorption teaches your neuromuscular system to stabilize joints rapidly, protecting ligaments during sudden stops or changes of direction.
Closed exercises occur in predictable environments where you control every movement variable, such as a barbell bench press or a back squat. Open exercises occur in dynamic environments where you must react to external cues, such as an opponent moving, a tactical signal, or an uneven surface.
Return-to-performance frameworks recommend introducing reactive, open tasks in later training phases:
Reactive drills train your central nervous system to coordinate joint stability automatically while your conscious focus is directed elsewhere.
If your goals involve contact sports, martial arts, or tactical operations, physical contact introduces unpredictable impact forces. Consensus recommendations for contact athletes emphasize that controlled contact drills should begin only after isolated strength and power have returned.
Start with light impact exposure, such as medicine ball catches, controlled partner wrestling drills, or tackling shields at low velocity. Progress to full-speed, sport-specific contact drills only after you can execute high-velocity movements without pain, instability, or mechanical compensation.
Reviewing real-world applications helps clarify how to apply these loading principles across different physical presentations.
A 38-year-old lifter stops training for 14 weeks due to work demands. They have no acute injuries or joint pain, but they have lost noticeable muscle mass and work capacity. Resuming training with their prior 120-kilogram squat working sets would trigger extreme muscle damage and potential tendon irritation.
The lifter begins with a submaximal assessment, establishing a smooth five-repetition goblet squat baseline at 32 kilograms. The initial two-week block utilizes bilateral barbell squats at 60 percent of their estimated capacity, keeping four repetitions in reserve. Sets are capped at three per exercise, focusing on a three-second eccentric lowering phase.
Over six weeks, the lifter follows the one-variable progression rule, adding one set per week before increasing the external barbell weight by five kilograms. Because neural adaptations and retained myonuclei accelerate retraining, the lifter regains their baseline capacity safely within eight weeks without connective tissue setbacks.
A 45-year-old runner develops localized Achilles tendon pain and morning stiffness. They struggle to run without pain and notice sharp discomfort during calf raises.
The lifter begins with isometric single-leg calf raise holds on a flat surface, performing five sets of 45-second holds at an exertion level of seven out of ten. This isometric loading provides an analgesic effect and builds initial tendon tolerance. After two weeks of stable responses, they transition to heavy, slow resistance training, using a three-second lifting and three-second lowering tempo on a seated and standing calf raise machine.
The lifter applies the pain-monitoring model: discomfort up to four out of ten is allowed during exercise, provided symptoms settle immediately afterward and morning stiffness remains under 20 minutes. Plyometric hopping and running drills are introduced only after the lifter achieves 25 symmetric single-leg calf raises with heavy loads.
An athlete is eight months post-surgery following an anterior cruciate ligament reconstruction. Their physician has cleared them for general exercise, and their single-leg hop test shows a 92 percent Limb Symmetry Index. However, video analysis reveals they land with reduced knee flexion and significant hip compensation on the surgical leg.
Rather than clearing the athlete for unrestricted sports participation, their training focuses on movement quality and absolute quadriceps strength. Testing reveals an absolute quadriceps strength deficit of 22 percent compared to age-matched athletic standards.
The athlete is placed on a targeted unilateral loading program, emphasizing heavy single-leg leg presses, eccentric quad extensions, and tall-to-short decelerative landings. Reactive change-of-direction drills are introduced only after absolute quadriceps strength meets the target standard and landing mechanics remain symmetrical under fatigue.
A military service member suffers a glenohumeral joint subluxation during field training. Following initial physical therapy, they have regained full pain-free range of motion and can perform bodyweight push-ups without discomfort. However, they feel apprehensive when loading their arm overhead or in abduction-external rotation positions.
The lifter begins with closed-chain isometric stability drills, such as tall-kneeling shoulder taps and quadruped perturbation holds. They advance to unilateral floor presses and landmine presses, which provide a stable pressing base without placing the shoulder in extreme end-range extension.
Over eight weeks, the range of motion is progressively expanded to include full-range flat dumbbell presses, overhead dumbbell presses, and weighted pull-ups. Prior to returning to full tactical duties, the service member completes high-velocity medicine ball throws and controlled partner grappling drills, confirming joint stability and psychological confidence under impact.
Applying this progression system requires a simple, repeatable workflow. Use this action plan to structure your weekly return-to-strength program.
For comprehensive programming templates and progressive exercise models, consult our complete veteran research library.
Rebuilding lost strength typically takes about half the time of your training break, assuming your return is structured intelligently. A three-month layoff generally requires six weeks of progressive retraining to regain previous working capacities. Neural adaptations, motor unit synchronization, and muscle memory from retained myonuclei allow force production to return significantly faster than it took to build originally.
The answer depends on the nature of the condition. For chronic tendon issues, such as patellar or Achilles tendinopathy, mild, monitored discomfort (up to 4/10) is clinically acceptable during heavy slow resistance training, provided symptoms resolve within 24 hours. For acute muscle tears, joint instability, bone stress injuries, or postoperative repairs, exercise should remain pain-free. If pain is sharp, escalating, or causes you to alter your lifting mechanics, stop the movement immediately.
Treat a next-day symptom flare-up as an indicator that the previous training dose exceeded your current tissue capacity. Do not stop all physical activity. Reduce external resistance by 20 percent, limit your range of motion, or enforce a slower eccentric tempo during your next session. If swelling, joint catching, or severe pain persists for more than 48 hours, consult a healthcare professional for a detailed clinical assessment.
Unilateral exercises prevent your dominant or uninjured side from compensating for strength and stability deficits in the recovering limb. Bilateral movements like barbell squats allow your body to shift mechanical load away from the recovering side without your conscious awareness. Unilateral training isolates each limb, exposes functional asymmetries, rebuilds single-limb stability, and strengthens stabilizing muscle groups.
This article is designed strictly for educational and informational purposes. It does not provide personalized medical advice, clinical diagnoses, physical therapy prescriptions, or individualized healthcare treatment. Physical training and rehabilitation carry inherent risks of injury. Always consult a qualified physician, physical therapist, or licensed healthcare professional before returning to strenuous exercise, especially following an injury, surgery, medical restriction, or extended physical layoff. Never ignore professional medical advice or delay seeking care because of information contained in this guide.
Follow BattleVet for practical guidance on military and veteran health, strength, recovery, testosterone, sleep and healthy aging. Stay connected for new articles, research backed insights and clear information to help you stay capable for the years ahead.


Build better habits around strength, recovery, sleep, hormones and healthy aging with practical guidance for active military personnel and veterans.
Explore BattleVet