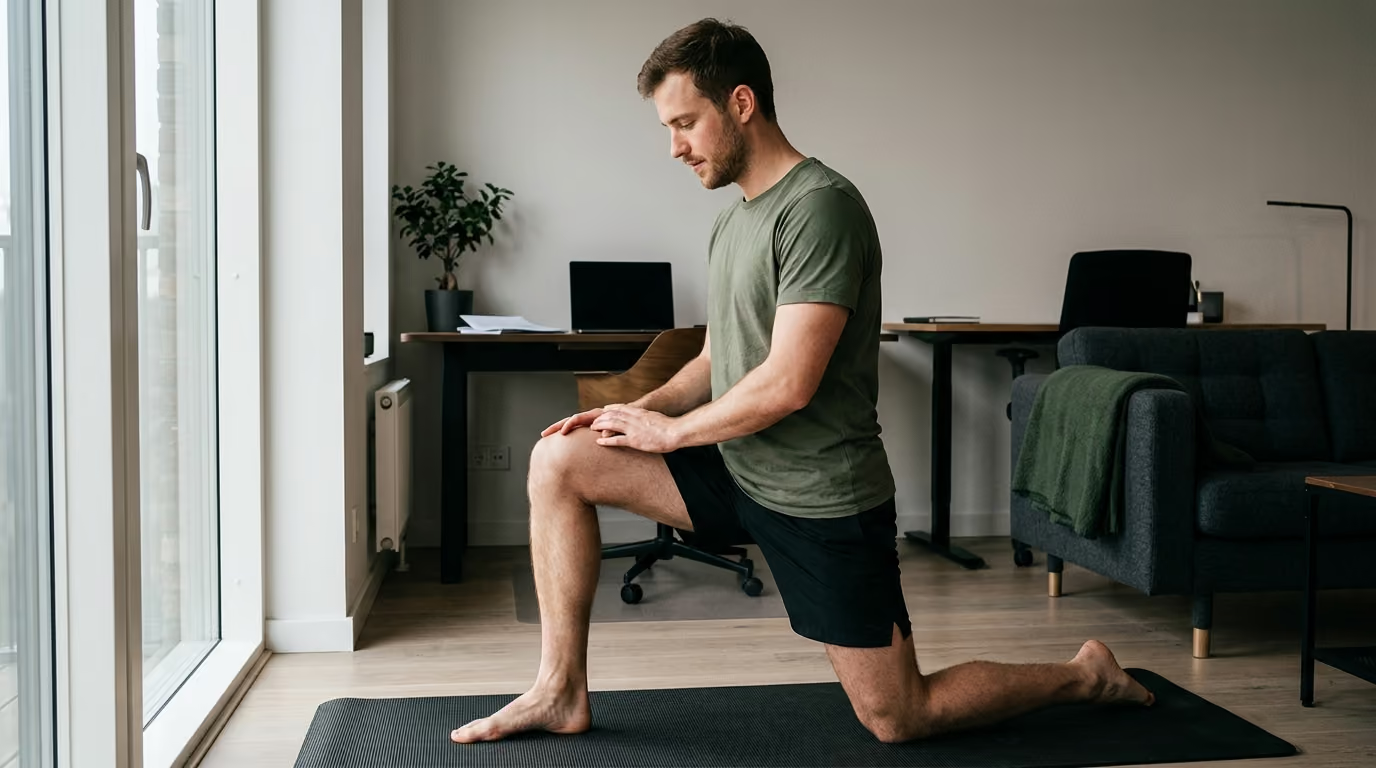

Over 200 million people experience neck pain every year, but targeted rehabilitation restores mobility and builds deep muscular strength for lasting physical relief.





You wake up, turn toward the alarm clock, and feel a sharp catch at the base of your neck. Checking your blind spot on the morning commute requires turning your entire upper torso instead of just your head. By late afternoon, hours behind a desk, behind the wheel, or under heavy equipment leave your upper traps locked in a dull, burning ache. The instinct is often to pull, crack, or aggressively stretch the area, but these quick fixes rarely solve the underlying problem.
Neck recovery requires a progressive process of restoring comfortable range of motion, rebuilding deep muscular endurance, strengthening the upper back, and gradually increasing your tolerance to daily physical demands.
To fix persistent neck stiffness and discomfort, you must move beyond passive stretching. Long-term recovery depends on identifying aggravating daily postures, restoring active mobility in the cervical and thoracic spine, retraining deep neck flexor coordination, and strengthening the surrounding shoulder girdle. When structural warning signs are absent, active movement and gradual loading outperform prolonged rest, cervical collars, and passive treatments.
Neck discomfort is one of the most common musculoskeletal complaints in the modern world. Data from the Global Burden of Disease study indicates that over 200 million people experience neck pain annually. The World Health Organization ranks it among the leading contributors to overall disability worldwide. For active service members, veterans, and hard-training individuals, the physical demands of body armor, heavy helmets, prolonged vehicle patrols, and intense physical training make neck strain even more frequent.
True recovery is not simply about loosening tight muscles. A muscle often tightens as a protective response when the nervous system perceives weakness, fatigue, or instability in a specific position. If you only stretch a guarded muscle without building support around it, the tightness almost always returns within hours.
A comprehensive recovery framework separates rehabilitation into four interconnected stages:
These stages do not exist in rigid, isolated blocks. You can work on upper-back strength while simultaneously restoring cervical rotation, or modify your workstation setup while practicing daily mobility exercises. The priority is matching the intensity of your training to the irritability of your symptoms.
Stiffness is a subjective feeling rather than a concrete diagnosis. A person can feel extremely tight while still possessing a normal physical range of motion, while someone else might have restricted movement with very little daily discomfort. For this reason, recovery must evaluate both how restricted movement feels and how well you can perform functional tasks such as checking mirrors, lifting overhead, and sleeping comfortably.
Before beginning any self-directed physical rehabilitation, you must ensure that your symptoms do not point to a more serious medical condition. Most neck pain is mechanical, meaning it relates to how joints, muscles, ligaments, and nerves respond to physical loads and positions. However, certain symptoms require immediate evaluation by a medical professional.
The American College of Radiology provides clear guidelines for when cervical imaging is necessary. Routine mechanical neck pain without neurological compromise rarely requires an immediate X-ray or MRI. In fact, imaging findings such as degenerative disc disease or minor bone spurs are common in people with zero neck pain. Treating a scan rather than the person often leads to unnecessary fear and prolonged inactivity.
You should seek prompt medical evaluation if you experience any of the following warning signs:
Another critical condition to recognize is a cervical artery dissection. This occurs when a tear forms in the lining of the vertebral or carotid artery. It typically presents as a sudden, severe, continuous headache or neck pain on one side, unlike any previous headache. It may be accompanied by visual disturbances, drooping eyelids, or difficulty speaking. This is a medical emergency that requires immediate emergency room care.
When serious underlying issues and progressive nerve compression are ruled out, active movement is safe, recommended, and necessary for lasting recovery.
Clinical guidelines published in major physical therapy and orthopedic journals emphasize active movement as the primary treatment for mechanical neck disorders. For acute neck stiffness with mobility deficits, early range-of-motion exercises combined with scapular strengthening produce faster relief than complete rest. In subacute and chronic cases, multi-modal programs combining deep cervical endurance, upper-back resistance, and ergonomic modifications show the strongest long-term success.
The cervical spine is designed to move across multiple planes. It allows flexion, extension, lateral side-bending, and rotation. However, the neck does not function in isolation. It sits directly on top of the thoracic spine and is mechanically linked to the shoulder blades.
When the upper back becomes stiff and rounded, the cervical spine must hyperextend to keep the eyes level with the horizon. This increases mechanical compression on the facet joints at the base of the neck and places sustained strain on the posterior neck muscles. Restoring thoracic extension and rotation frequently reduces the mechanical demand placed on the cervical joints.
Motor control research highlights the role of the deep neck flexors, primarily the longus capitis and longus colli. These deep muscles sit on the front of the cervical vertebrae and function like the core muscles of the neck. When they fatigue or fail to fire properly, the larger, superficial muscles such as the sternocleidomastoid and upper trapezius take over. These superficial muscles are built for brief, powerful movements, not continuous postural support. When forced to hold the head upright all day, they become chronically tight, fatigued, and painful.
Targeted motor control training helps retrain these deep stabilizers to handle low-load postural demands. Research shows that specific deep-neck motor control exercises significantly reduce pain and self-reported disability. Building endurance in these deep muscles allows the overworked superficial muscles to relax.
Strength and physical capacity are equally critical. Systematic reviews indicate that progressive resistance training targeting the neck, shoulders, and upper back is highly effective for reducing chronic neck pain. By building muscle capacity in the trapezius, rhomboids, and levator scapulae, you raise the physical threshold required to trigger fatigue and irritation during daily tasks.
When recovering from a neck flare-up, the first goal is restoring comfortable movement without provoking a strong protective spasm. Aggressive, forceful stretching often triggers increased muscle guarding. Instead, use frequent, low-intensity active movements performed multiple times throughout the day.
Begin by assessing your baseline movement. In a seated position with good posture, slowly turn your head to the left and note where resistance or discomfort begins. Repeat the movement to the right. Then assess gentle chin tucks, looking upward toward the ceiling, and tilting your ear toward each shoulder. This provides a clear baseline to measure daily progress.
Perform these movements smoothly and slowly. Do not force movement through sharp pain. Move right to the edge of mild tension, pause for one second, and return to the center.
Improving upper-back motion reduces the mechanical burden on your neck. Incorporate these drills into your daily targeted recovery protocols to support tissue healing and joint lubrication.
Perform these mobility exercises two to three times daily, especially before and after long periods of sitting or driving.
Once basic mobility is comfortable, the next step is activating and building endurance in the deep cervical stabilizing muscles. These exercises require precision rather than heavy effort. If you push too hard, the superficial neck muscles will immediately overpower the deep stabilizers, defeating the purpose of the drill.
Lie flat on your back on a firm surface with a small pillow or folded towel supporting your head so your face is parallel to the ceiling. Place your tongue on the roof of your mouth behind your front teeth, which helps relax your jaw.
Without lifting your head off the floor, make a very subtle "yes" nodding motion with your skull. The motion should feel like you are lengthening the back of your neck while pivoting on your upper cervical spine. Keep your front superficial neck muscles soft and relaxed; you can place your fingers lightly on the sides of your throat to ensure they remain loose. Hold the gentle nod for three to five seconds, then release. Complete 10 controlled repetitions.
Once you can perform the subtle nod without activating the superficial neck muscles, begin building endurance. Perform the same gentle nodding motion and hold the position for 10 seconds while breathing normally through your nose.
Rest for five seconds between repetitions. Complete 5 to 8 holds per set. If you feel your superficial muscles gripping, your jaw clenching, or your neck trembling, stop the set, rest, and reset your form. Quality of movement is far more important than the duration of the hold.
After mastering the movement while lying down, transfer the pattern to upright positions. Sit tall in a chair or stand with your back against a wall. Perform the subtle chin nod and maintain that neutral alignment while performing other simple tasks, such as turning your head, reaching for objects, or walking. This teaches your nervous system to stabilize the neck automatically during daily life.
A durable neck requires a robust muscular base. The shoulder girdle and upper back serve as the structural foundation for the cervical spine. If your upper back lacks strength, the neck is forced to absorb excessive mechanical strain during lifting, carrying, and overhead movements.
Incorporate these exercises into your structured resistance training two to three times per week. Focus on controlled tempos, full ranges of motion, and proper shoulder-blade mechanics.
Stand with your back, upper torso, and head lightly touching a flat wall, with your feet a few inches away. Place the backs of your elbows, forearms, and wrists against the wall in a "W" shape.
Slowly slide your arms upward into a "Y" position, keeping your forearms in contact with the wall as long as possible. Do not arch your lower back or let your head jut forward away from the wall. Slowly lower back to the starting position, squeezing your lower shoulder blades together at the bottom. Perform 3 sets of 8 to 10 controlled repetitions.
Hold a light resistance band in front of your chest with your arms straight and shoulder-width apart. Maintain a neutral neck position with your chin slightly tucked.
Pull the band apart by retracting and depressing your shoulder blades, bringing the band to touch your mid-chest. Focus on initiating the movement from your mid-back rather than shrugging your shoulders upward toward your ears. Pause for one second, then slowly return to the starting position. Complete 3 sets of 12 to 15 repetitions.
Lie face down on an incline bench or flat mat with your forehead resting on a small rolled towel to keep your neck neutral.
Perform 2 to 3 sets of 8 repetitions for each position, using body weight or very light dumbbells.
Assume a standard push-up position or a modified position on your knees, keeping your spine in a straight line and your neck neutral. Keep your arms completely straight throughout the entire movement.
Allow your chest to sink slightly toward the floor by letting your shoulder blades pinch together behind your back. Then, push the floor away aggressively, rounding your upper back slightly and spreading your shoulder blades wide apart. This movement specifically strengthens the serratus anterior, which stabilizes the scapula against the rib cage. Complete 3 sets of 10 to 12 repetitions.
Loaded carries build whole-body stability, grip strength, and postural endurance. Stand tall holding a moderately heavy dumbbell or kettlebell in each hand by your sides. Keep your shoulders down and back, chest tall, and chin slightly retracted.
Walk forward with slow, controlled steps for 30 to 40 meters. Avoid letting the weights pull your shoulders forward or letting your head drop. Rest for 60 seconds and repeat for 3 to 4 rounds.
Exercise alone cannot overcome eight to ten hours of continuous, poorly managed physical strain. Most daily neck flare-ups are not caused by a single wrong movement, but by the accumulation of sustained, static loads over time. Adapting your daily environment to allow frequent posture changes is essential for recovery.
Holding your head in a static position for extended periods leads to rapid muscular fatigue. Optimize your workspace using these practical guidelines:
Remember that there is no single "perfect" posture that protects you forever. The human body is designed to move. Even the most biomechanically ideal posture will cause discomfort if held without moving for three straight hours. Take a 30-second movement break every 45 to 60 minutes to perform slow neck rotations and shoulder rolls.
Looking down at a mobile phone flexes the cervical spine to extreme angles. As your head tilts forward, the effective gravitational load placed on your cervical spine and posterior neck muscles increases significantly.
Hold your phone closer to eye level when reading long articles or answering messages. Use voice-to-text features when possible to reduce extended typing sessions. If you must read on a tablet or laptop while seated, use a stand to elevate the screen and keep your head in a more neutral alignment.
Prolonged driving combines static positioning, whole-body vibration, and the need for frequent rapid head turns. For military personnel operating armored vehicles or commercial drivers spending long hours on the highway, driving is a primary driver of neck stiffness.
Waking up with acute neck stiffness often comes from keeping the neck bent at an awkward angle for hours during sleep. The goal of a pillow is simple: it should maintain your cervical spine in a neutral alignment with the rest of your back.
If you sleep on your back, use a pillow that supports the natural curve of your neck without pushing your head forward toward your chest. If you sleep on your side, select a firmer pillow that fills the exact gap between the tip of your shoulder and your ear, keeping your head level. Avoid sleeping on your stomach with your head twisted sharply to one side, as this places sustained rotational stress on cervical joints throughout the night.
Returning to intense physical training after a neck flare-up requires a systematic, phased progression. Rushing back to heavy overhead pressing, heavy barbell squats, or contact drills before restoring baseline capacity often triggers a relapse.
Follow this step-by-step framework to safely resume progressive physical conditioning without aggravating recovering tissues:
During the early stages of recovery, maintain your cardiovascular fitness and lower-body strength using exercises that do not place heavy axial loads on the cervical spine.
Once your neck moves freely and daily tasks are pain-free, reintroduce upper-body pulling and pressing with careful load management.
When controlled upper-body lifting is well tolerated, reintroduce vertical pressing, carrying, and axial barbell loads.
To monitor your body's response to training, use a simple traffic-light decision framework:
This objective system prevents emotional decision-making and ensures your recovery progresses based on real physical tolerance.
Navigating neck pain recovery can be frustrating, especially with conflicting advice circulating online. Avoiding these common misconceptions will save time and prevent unnecessary setbacks.
Passive interventions such as massage, dry needling, heat packs, and chiropractic adjustments can provide short-term symptom relief. However, passive therapies alone do not rebuild muscular endurance, improve motor control, or increase tissue capacity. Use passive treatments solely as a temporary window of opportunity to make active exercise and movement more comfortable.
Many people believe that maintaining a rigid, military-style posture with shoulders pinned hard back and down all day prevents neck pain. In reality, holding any posture rigidly increases muscle fatigue and static tension. Healthy posture is dynamic, adaptable, and varied. Focus on moving frequently rather than freezing yourself in an artificial position.
When the upper trapezius or levator scapulae feel tight, the common reaction is to pull the head aggressively to the opposite side. If that muscle tightness is a protective response to weakness or cervical joint irritation, aggressive stretching simply triggers a stronger protective spasm. Prioritize gentle active mobility and strengthening over forceful static stretching.
Resting in bed or wearing a soft cervical collar for non-traumatic neck stiffness weakens the supporting musculature and increases fear of movement. Unless you have suffered acute trauma requiring immobilization, gentle movement within tolerable limits accelerates recovery and reduces long-term disability.
Finding disc bulges, arthritis, or disc space narrowing on an MRI can sound alarming. However, extensive medical imaging studies show that these structural findings are extremely common in healthy, pain-free adults of all ages. An MRI scan shows anatomy, not pain. Structural changes on a scan do not prevent you from regaining full, pain-free strength and mobility.
This progression outlines a structured path from acute stiffness to full physical capability. Adjust the timeline based on your individual recovery rate and symptom irritability.
For more information on long-term physical performance and recovery strategies, review our comprehensive evidence-based health resources.
This article is designed strictly for educational and informational purposes. It does not provide medical diagnosis, treatment, or individualized medical advice. Persistent, severe, worsening, or neurologically complicated neck symptoms should always be evaluated in person by a qualified healthcare professional, physical therapist, or physician. Never ignore warning signs or delay professional medical evaluation based on information found online.
Most episodes of uncomplicated mechanical neck stiffness begin to improve significantly within two to four weeks when managed with active movement and workload modifications. Complete recovery and rebuilding full muscular capacity typically takes six to eight weeks of consistent, progressive strengthening.
Habitually forcing your neck to crack provides only a temporary feeling of pressure relief by stretching the joint capsule. It does not address deep muscular weakness or poor joint mechanics. Repeatedly forcing self-manipulation can irritate surrounding ligaments and increase local muscle guarding. Focus on active mobility and motor control exercises instead.
Yes. Cervicogenic headaches and tension-type headaches frequently originate from irritation, joint stiffness, or muscular fatigue in the upper cervical spine. Retraining deep neck flexors, mobilizing the upper cervical joints, and strengthening the upper back often substantially reduces the frequency and intensity of these headaches.
If an exercise causes a temporary increase in soreness, refer to the traffic-light progression model. Drop the resistance or range of motion by roughly 30 percent, focus on smooth movement quality, and increase the rest periods between sets. If sharp pain or radiating nerve symptoms appear, stop that exercise entirely and consult a clinician.
When to revisit this resource: Review this guide whenever you experience a sudden flare-up in neck stiffness, before returning to heavy overhead lifting, or when planning a multi-week rehabilitation program after prolonged vehicle or computer work.
Consistent, progressive movement and patient capacity building remain the most reliable path to lasting neck mobility and strength.
Follow BattleVet for practical guidance on military and veteran health, strength, recovery, testosterone, sleep and healthy aging. Stay connected for new articles, research backed insights and clear information to help you stay capable for the years ahead.


Build better habits around strength, recovery, sleep, hormones and healthy aging with practical guidance for active military personnel and veterans.
Explore BattleVet