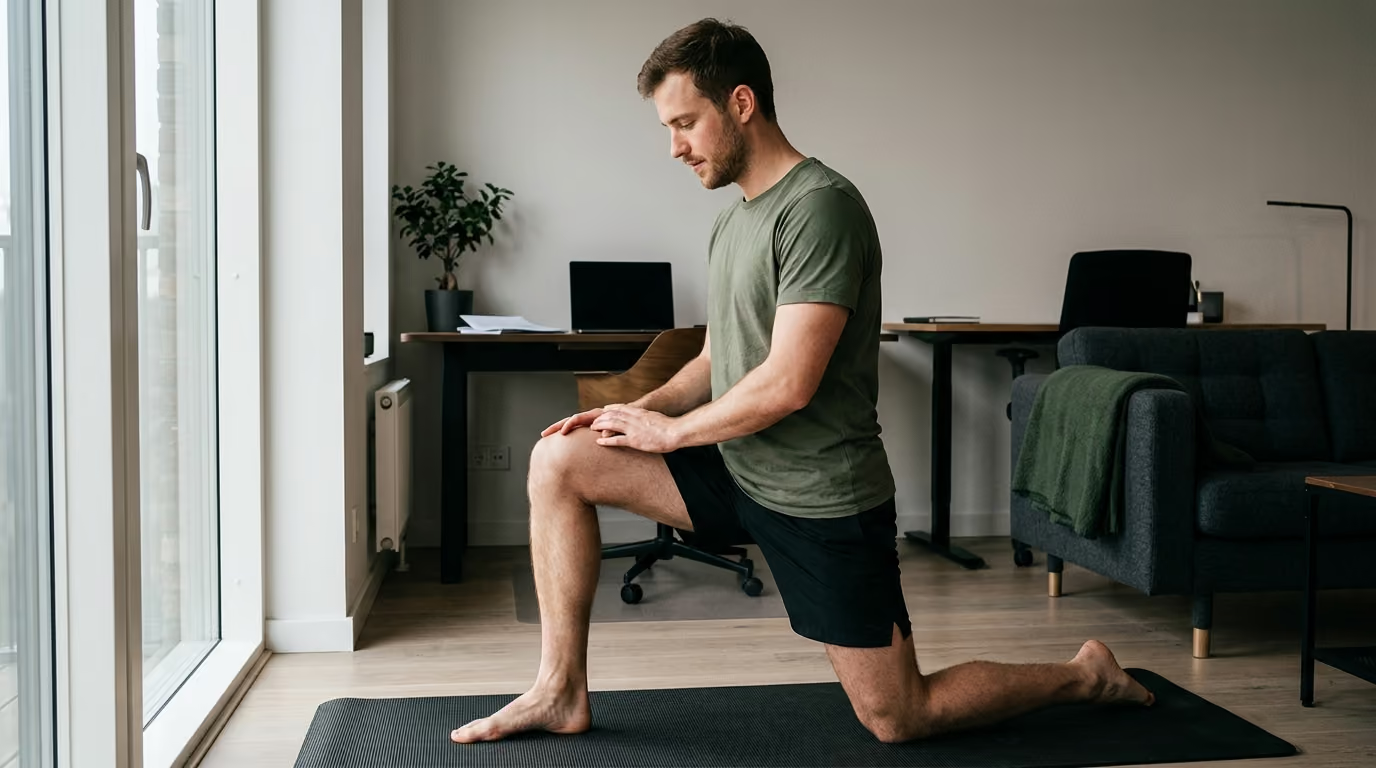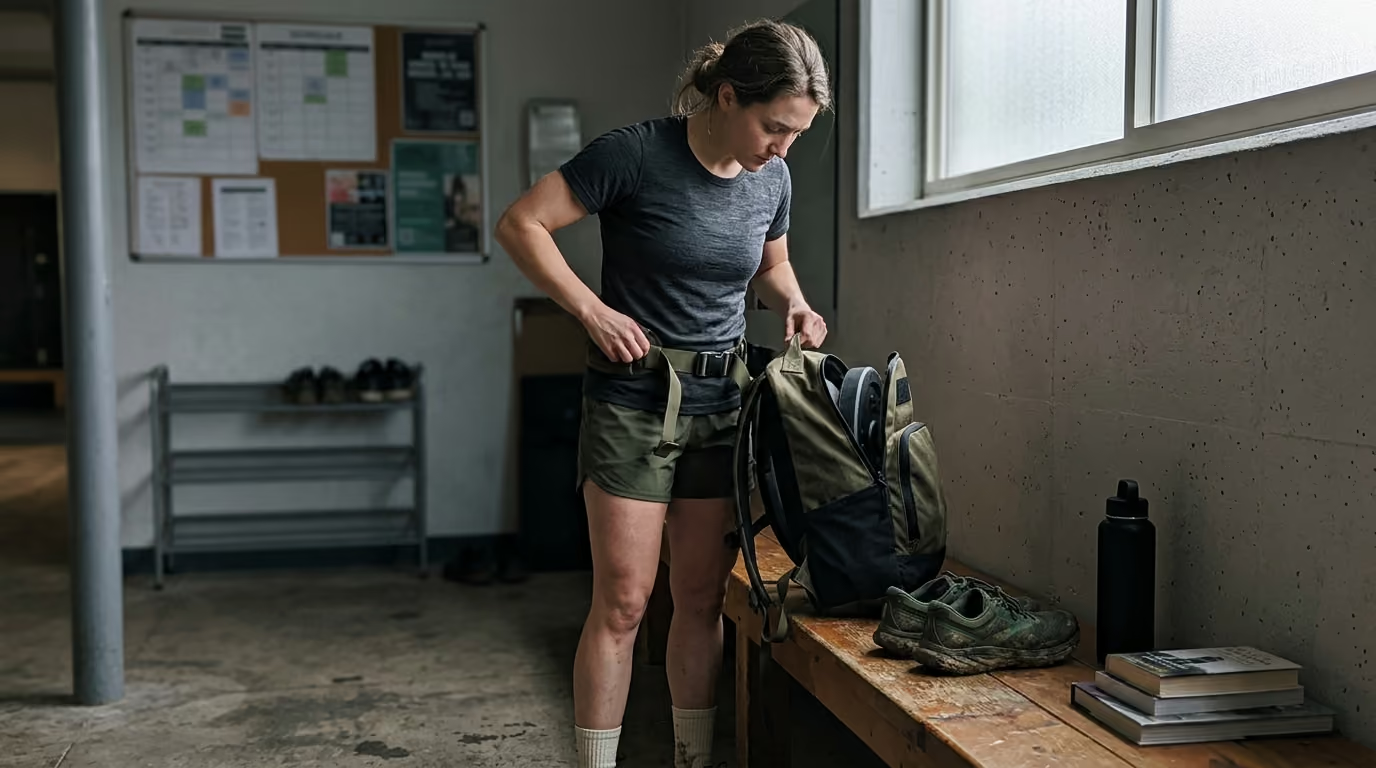

Heavy pack marches challenge joints, connective tissues, and posture through progressive training, structural tissue adaptation, and dialed gear setup.





Most conditioning programs treat heavy pack marching as a simple test of cardiovascular endurance. Running five miles or spinning on a stationary bike does not prepare your skeleton, tendons, or skin for thirty pounds resting on your shoulders. Aerobic fitness develops in weeks, but bone remodeling and tendon stiffening require months of consistent mechanical strain. Trying to rush load carriage based solely on heart rate often leads to early breakdown.
You wake up after a weekend march with stiff arches, aching shoulders, and tender Achilles tendons. Stepping out of bed brings a sharp ache to your heels, and your lower back feels compressed from the hip belt. A quick check of your baseline resting heart rate shows poor overnight recovery. These small physical signals reveal that your cardiovascular engine is outpacing your structural tolerance.
Rebuilding load-carrying capacity requires a structured, multi-stage conditioning plan that separates pack weight, marching volume, movement speed, and terrain difficulty to protect biological tissues while restoring physical capability.
To rebuild your rucking and hiking performance safely, you must establish an unloaded baseline, condition your connective tissues over a twelve-week horizon, dial in your footwear and pack fit, and advance only one training variable at a time.
Carrying weight in a backpack alters your normal walking gait and places unique demands on your musculoskeletal system. When you strap on a pack, your body adjusts its posture to balance the combined center of mass. Research published in the journal Gait and Posture demonstrates that backpack carriage increases forward trunk lean, shortens stride length, and increases stepping cadence. These gait adjustments raise both vertical and horizontal ground-reaction forces, which amplifies joint loading across your hips, knees, and ankles.
Biomechanically, carrying load increases flexion moments at the trunk, hips, and knees. Your body must recruit more muscle mass simply to stabilize your posture during each foot strike. Electromyographic studies show heightened activation in the calf complex, quadriceps, gluteal groups, and spinal erectors when walking under load. The physical strain is fundamentally different from running, where the body moves freely without a rigid external mass shifting across the spine.
A comprehensive load-carrying framework treats capacity as the interaction of seven distinct trainable systems:
Aerobic capacity provides the baseline metabolic engine required to sustain walking for extended durations without acute cardiovascular exhaustion.
Muscular endurance allows the calves, quadriceps, glutes, upper back, and trunk stabilizers to resist postural collapse during long marches.
Tissue tolerance represents the structural ability of your bones, tendons, ligaments, plantar fascia, and joint cartilage to absorb repetitive impact forces.
Postural control governs your ability to maintain balanced foot placement and efficient movement mechanics when fatigue sets in.
Equipment tolerance involves your body adapting to the specific pressure, contact points, and friction created by boots, socks, frames, and hip belts.
Environmental tolerance reflects your capacity to manage uneven trails, mud, steep climbs, descents, heat, cold, and wet conditions without biomechanical failure.
Recovery capacity defines your body's ability to clear inflammation, rebuild microtrauma, and restore resting baseline function between challenging sessions.
A breakdown in any single system limits your total capacity. You may have the lung capacity to hike for four hours, but if your Achilles tendons or shoulder tissues cannot tolerate the mechanical strain, the session will cause injury. Effective programming targets each component systematically rather than relying on brute force.
Muscles receive rich blood flow and adapt quickly to training stress, but connective tissues adapt on a much longer timeline. Tendons, ligaments, and bones possess lower metabolic rates and require gradual, progressive mechanical loading to remodel safely. Attempting to accelerate pack weight before these structural tissues adapt is the primary cause of chronic overuse injuries in hikers and service members.
Bone tissue remodels in response to mechanical strain by initiating microdamage repair and gradually depositing denser mineral structures. When loading increases too rapidly, microdamage accumulation outpaces bone formation. This imbalance leads to bone stress reactions and eventual stress fractures.
According to clinical reviews published by the American Academy of Family Physicians, stress fractures typically present as localized bone pain and focal tenderness that worsen progressively during activity. Early bone stress may only ache toward the end of a long march, but advancing pathology causes pain during normal daily walking or at rest.
Conditioning bone requires consistent, moderate loading separated by adequate recovery periods. Progressing volume too fast, especially on hard pavement or rocky trails, places tibia, metatarsal, and femoral structures at severe risk. You can learn more about managing structural recovery in our recovery and sleep strategies collection.
Tendons act as biological springs that store and release elastic energy during walking and hiking. Mechanical loading increases tendon stiffness, collagen synthesis, and cross-sectional area over time. However, systematic reviews on tendon adaptation indicate that meaningful structural changes generally require twelve weeks or more of regular loading.
The Achilles tendon and patellar tendon absorb immense forces during loaded climbs and descents. A safe tendon progression begins with basic bodyweight movements before progressing to loaded marches:
Flat walking and low step-ups produce relatively low patellar-tendon loading, making them ideal early bridges for returning athletes. High-demand downhill hiking and steep steps should be reserved for later stages of physical preparation.
Under heavy loads, muscular fatigue alters your movement patterns. As your calf complex and quadriceps tire, your stride shortens, ground impact forces spike, and your trunk flexes forward to compensate. This mechanical breakdown shifts excessive strain directly onto your lower back, knees, and plantar fascia.
Strength training builds a protective muscular buffer. Targeting the soleus, gastrocnemius, quadriceps, gluteus medius, and spinal erectors ensures that your muscles can stabilize your joints throughout the entire duration of a march.
Your skin is the direct interface between your body and your load-bearing equipment. Friction blisters form when repetitive shear stress separates the outer epidermal layers, allowing fluid to pool beneath the surface. Toughening the skin does not mean tolerating open wounds or grinding through severe friction.
True skin conditioning involves gradual exposure to your specific footwear and sock combination over progressively longer distances. This steady exposure allows the stratum corneum to thicken naturally without creating destructive tissue shear.
Your equipment configuration directly determines the magnitude and distribution of mechanical forces acting on your body. Ill-fitting boots, improper socks, or a poorly adjusted pack frame can ruin an otherwise sound training program. Optimizing your equipment setup is an essential step before increasing your mileage.
Footwear must match your anatomy, your load, and the specific terrain you traverse. Military foot-care guidelines emphasize leaving approximately one-half inch of space between your longest toe and the front of the boot. Your forefoot should align comfortably with the widest part of the sole without pinching or lateral spilling.
Foot volume increases during prolonged marches due to increased blood flow and minor edema. A boot that feels snug during a twenty-minute store fitting may cause painful toe compression after two hours on a trail. When evaluating footwear, categorize potential fit issues carefully:
Select your footwear based on your specific requirements rather than marketing trends. Trail running shoes work well for light packs on clear paths, while structured boots provide needed support for heavier loads on rugged, off-trail terrain.
Moisture softens the stratum corneum and drastically increases the coefficient of friction between your skin and footwear. Cotton socks absorb and hold sweat against your skin, multiplying blister risk.
In a landmark randomized trial involving 357 U.S. Army recruits, acrylic and synthetic-blend socks produced a 48 percent relative reduction in blister incidence compared to standard cotton socks. Synthetic fibers and fine merino wool actively transport moisture away from the skin surface, preserving skin integrity during extended marches.
Keep your sock strategy simple and functional:
Double-sock systems are not universally beneficial. If adding a liner sock crowds your toe box or creates internal bunching, it will increase pressure points and accelerate blister formation.
A poorly fitted pack shifts weight away from your center of gravity, forcing your trunk stabilizers to work overtime. The goal of pack adjustment is to keep the weight snug against your spine while distributing pressure comfortably between your hips and shoulders.
Follow a structured sequence every time you don a pack:
Avoid placing all the pack weight exclusively on your hips or entirely on your shoulders. Distributing weight evenly across your torso reduces focal tissue fatigue and allows you to adjust strap tension dynamically as you move across varying terrain.
Friction blisters are among the most common and debilitating issues encountered during load carriage. In military marching studies, blister rates often exceed 50 percent during extended events. Beyond causing pain and altering your natural gait, unmanaged blisters can lead to secondary soft-tissue infections. Research shows that blister complications account for a significant percentage of lower-extremity cellulitis cases in marching populations.
Preventing blisters requires proactive intervention before you step onto the trail. Applying physical barriers to known high-friction zones significantly reduces shear stress on the skin.
A comprehensive review of outdoor blister prevention highlighted paper tape as an effective, low-cost intervention. In clinical field trials, applying thin paper tape to vulnerable areas such as the heels and forefoot reduced blister formation by providing a smooth sacrificial layer that absorbs shear forces.
To use barrier tape effectively:
Foot powders are frequently used to manage sweat, but their effectiveness in clinical studies remains mixed. In some marching trials, excessive powder combined with sweat to create an abrasive paste that actually worsened skin irritation. Focus primarily on moisture-wicking socks, proper shoe fit, and mechanical barrier tape.
A hot spot is an area of localized warmth, erythema, and mild irritation that precedes a full-thickness blister. Continuing to walk on a hot spot guarantees blister development. The most important operational rule for foot care is to stop and treat hot spots the moment you feel them.
Marine Corps foot-care doctrine stresses immediate corrective action at the first sign of discomfort:
Never wait until your scheduled rest break to address foot irritation. Taking five minutes to manage a hot spot early prevents days of painful limping and protects your training continuity.
Walking on flat pavement with twenty pounds is mechanically distinct from ascending a rocky ridge or descending a muddy slope. Terrain irregularities and environmental conditions alter the physiological and structural cost of load carriage. Progressing these external variables with care prevents acute overload.
Uphill walking shifts mechanical work primarily toward your hip extensors, calves, and cardiovascular system. As the slope steepens, your center of mass moves forward, requiring deeper forward trunk flexion and greater ankle dorsiflexion.
Research published by the American Academy of Family Physicians notes that combining steep inclines with load carriage challenges postural control and increases fall risks. When incorporating hill training:
Downhill marching represents a substantial mechanical challenge for connective tissues. While descending requires less cardiovascular effort than climbing, it places severe eccentric braking demands on your quadriceps, patellar tendons, and calf complex. Every downward step generates elevated impact forces that must be absorbed by your joints and muscles.
Descending under load also drives your foot forward inside your boot, increasing shear forces on the toes and metatarsals. To manage downhill terrain safely:
Rocks, tree roots, mud, and loose scree require continuous micro-adjustments from your foot intrinsics, ankles, and hip abductors. Walking on uneven terrain forces your stabilizing muscles to work constantly, which accelerates muscular fatigue.
Begin your reconditioning on flat, predictable surfaces such as packed dirt or paved pathways. Introduce uneven trails and rolling single-track only after you have established consistent baseline endurance and tissue tolerance on predictable ground.
Environmental heat and humidity compound the physiological strain of load carriage. Carrying external weight restricts convective cooling from your torso and increases metabolic heat production.
According to heat illness guidelines from the Centers for Disease Control and Prevention, symptoms such as heavy sweating, dizziness, headache, fatigue, and nausea signal heat exhaustion. If you experience lightheadedness or weakness, stop your march immediately, move to shade, loosen your pack, and hydrate.
Structure your environmental adaptation methodically:
You can explore detailed physiological conditioning strategies in our training and performance articles section.
Rebuilding your capacity is not accomplished solely by walking with a pack. Targeted resistance training builds a robust musculoskeletal structure that resists fatigue, protects vulnerable joints, and improves movement efficiency under load. A balanced strength program addresses local muscular endurance, multi-joint strength, and trunk stability.
Load carriage is fundamentally a series of repeated single-leg landings. Developing single-leg strength, hip stability, and lower-leg endurance is vital for injury resistance.
Incorporate these foundational movements into your weekly routine:
A heavy pack exerts rotational and compressive forces on your spine with every stride. Traditional crunches do not prepare your core for the isometric demands of load carriage. Focus on exercises that train your trunk to resist movement and maintain rigidity under fatigue.
For structured lifting templates that complement endurance work, review our strength, fitness, and body composition guides.
Carrying a pack places continuous compressive and traction forces on the trapezius, rhomboids, and shoulder girdle. Building upper-back endurance prevents the burning neck and shoulder fatigue that often develops during long outings.
Incorporate horizontal rows, chest-supported dumbbell rows, face pulls, and overhead shrugs into your training. Focus on controlled tempos and moderate-to-high repetition ranges to build local muscular endurance rather than testing one-rep maximums.
The golden rule of load carriage reconditioning is to advance only one major training variable at a time. Increasing your distance, pack weight, walking speed, and terrain difficulty simultaneously creates a spike in mechanical workload that overwhelms tissue recovery.
A standard progression model divides your return into three structured phases: initial reconditioning, general building, and specific conditioning. This staged framework adapts military rehabilitation guidelines for active adults and veterans returning to training.
The initial phase focuses on restoring comfortable, symptom-free walking volume without any external pack weight.
Once you can walk comfortably for sixty minutes unloaded, begin introducing light external weight on flat terrain.
The final phase prepares your body for the specific terrain, speed, and pack weight required for your target activity, occupational role, or backcountry hike.
For broader insights on balancing endurance and health across your lifespan, explore our healthy aging and longevity articles.
Rebuilding physical capacity requires objective monitoring. Relying purely on how you feel during a march can be misleading because adrenaline and determination can easily mask emerging tissue microdamage. Tracking your training data and physical responses ensures you stay on the path of adaptation rather than injury.
Maintain a simple training log for every loaded session:
Use a structured decision framework to evaluate your training tolerance:
Continue with your planned progression when:
Hold your current training dose or scale back one variable when:
When yellow signals appear, do not increase your distance or pack weight. Maintain your current level or take an extra rest day until all symptoms clear completely.
Cease loaded training immediately and seek professional medical assessment when:
Progressive, localized bone pain that worsens under load is a classic indicator of a bone stress injury. Pushing through focal bone pain can turn a manageable stress reaction into a full structural fracture requiring months of immobilization. For research updates on service-related physical demands, review our military health insights.
Scientific literature provides clear principles for building load-carrying capacity, but it is equally important to distinguish established evidence from areas of ongoing study or clinical debate.
Understanding these distinctions helps you make evidence-informed training decisions rather than relying on rigid dogma or unverified fitness trends.
Examining how different individuals navigate load carriage reveals how to apply these training principles across various real-world situations.
A marathon runner transitions to backcountry hiking. Despite having exceptional cardiovascular endurance, they develop severe lower back fatigue and bilateral Achilles stiffness within ninety minutes of carrying a thirty-pound pack.
The Mismatch: The runner's cardiovascular engine allows them to move at a pace that exceeds their structural tissue tolerance. Running does not build the trunk endurance or specific tendon stiffness needed to manage continuous external pack pressure.
The Solution:
A former service member recovering from a tibial stress reaction wants to return to recreational rucking. They are pain-free during daily activities but feel anxious about re-injury.
The Mismatch: Attempting to resume previous occupational marching weights immediately will trigger a recurrence of bone stress. Bone remodeling requires progressive, low-impact loading separated by full recovery days.
The Solution:
A hiker prepares for a multi-day trek in a rainy coastal environment. During practice walks on dry paths, their boots are comfortable. However, during their first rainy march, they develop severe blisters across both heels within three miles.
The Mismatch: Wet conditions soften the skin, raise friction coefficients, and alter boot fit as leather and synthetic fabrics absorb water.
The Solution:
A fitness enthusiast decides to prepare for a heavy event by adding five pounds to their pack every week while also increasing their weekend route by two miles. By week four, they notice a dull ache in their right foot that is present during the first few steps out of bed and worsens during the workday.
The Mismatch: The trainee violated the core principle of single-variable progression by increasing weight and distance at the same time. The morning pain and weight-bearing discomfort indicate an early metatarsal bone stress reaction.
The Solution:
For practical insights on long-term physical capability, explore our veteran lifestyle and healthcare resources.
This resource provides educational information regarding physical conditioning, equipment selection, and movement principles. It is not a substitute for individualized medical evaluation, clinical diagnosis, or physical therapy treatment.
If you are recovering from a musculoskeletal injury, managing chronic joint conditions, or experiencing symptoms of bone stress, consult a qualified healthcare professional, sports medicine physician, or licensed physical therapist. A medical professional can conduct targeted orthopedic assessments, order appropriate diagnostic imaging, and provide personalized rehabilitation parameters suited to your health history.
Begin with ten to fifteen pounds, regardless of your body weight or ultimate fitness goal. Starting light allows your skin, feet, ankles, and spinal stabilizers to adapt to external pressure without causing acute tissue breakdown. Hold that weight steady while you establish your baseline walking duration before adding external resistance.
For most individuals rebuilding capacity, one to two loaded sessions per week is optimal. Space your loaded marches at least seventy-two hours apart to allow bone and connective tissues to remodel. Fill the remaining days with unloaded walking, targeted strength training, and cardiovascular cross-training.
Stop your march immediately. Remove your boot and sock, dry the skin, and inspect the area for grit or friction. Apply a smooth layer of paper tape or a protective barrier dressing directly over the red zone, put on a dry sock, and secure your footwear before continuing.
Running builds excellent aerobic capacity, but it does not develop the specific tissue tolerance, trunk endurance, or equipment familiarity required for load carriage. Running lacks the continuous spinal compression, shoulder loading, and unique gait mechanics created by carrying a pack. You must train the specific movement pattern to build task-specific capacity.
Rebuilding your load-carrying capacity is a systematic process of physical adaptation that rewards patience, precise programming, and consistent attention to recovery.
Follow BattleVet for practical guidance on military and veteran health, strength, recovery, testosterone, sleep and healthy aging. Stay connected for new articles, research backed insights and clear information to help you stay capable for the years ahead.


Build better habits around strength, recovery, sleep, hormones and healthy aging with practical guidance for active military personnel and veterans.
Explore BattleVet