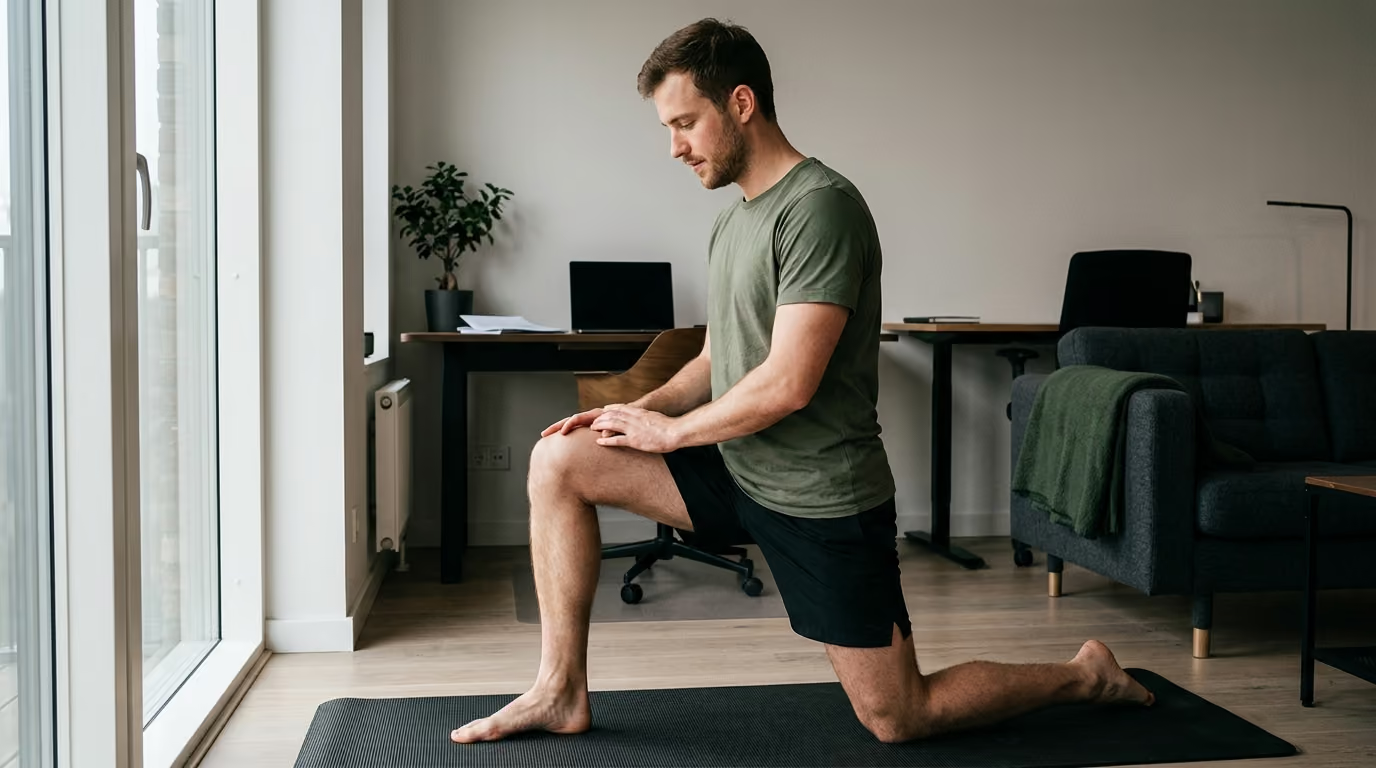

Ten minutes of walking or specific quotas often fail pain patients, making this step-by-step graded exposure framework essential for recovery.





You bend down to pick up a dropped wrench or tie your boot, and your lower back seizes with familiar tension. You immediately stop, brace your abdominal wall, and find an alternative way to reach the floor without flexing your spine. Over weeks and months, that single protective reaction turns into a rigid habit that dictates how you lift, train, work, and move through daily life. What began as a sensible short-term shield against acute pain slowly becomes a self-imposed barrier that restricts your physical capability.
Graded exposure is a systematic rehabilitation strategy that restores physical capacity by gradually reintroducing feared or painful movements, workloads, and environments in a controlled progression.
When an injury heals, the nervous system and surrounding tissues often remain sensitized. This sensitivity can cause normal physical tasks to trigger disproportionate threat alarms, muscle guarding, and persistent avoidance. Rather than forcing you to push blindly through severe symptoms or wait indefinitely for all discomfort to disappear, graded exposure establishes a clear baseline. It breaks intimidating movements into manageable steps, dismantles protective habits, and rebuilds lasting physical tolerance through direct, repeatable experience.
Pain is a complex protective mechanism designed to alter behavior and prevent tissue trauma. In an acute injury, such as a muscle strain or ligament sprain, pain prompts necessary rest and temporary guarding. Once the expected biological healing timeline passes, the relationship between pain intensity and actual tissue damage frequently diverges. The central nervous system can remain in a sensitized state, interpreting harmless mechanical tension as an imminent threat.
This process is clearly described by the fear-avoidance model of musculoskeletal pain. When an individual experiences pain, they make a cognitive appraisal regarding its meaning. If they interpret the pain as a sign of ongoing structural damage, fear develops. This fear leads to catastrophic thinking, such as believing a flexed spine will rupture a disc or a loaded knee will tear cartilage.
Catastrophic thinking produces protective guarding, elevated muscle tension, and behavioral avoidance. Over time, avoiding normal movements leads to localized deconditioning, joint stiffness, reduced cardiovascular capacity, and diminished movement confidence. This physical decline makes subsequent attempts at activity more uncomfortable, which reinforces the initial belief that the movement is inherently dangerous.
Graded exposure directly interrupts this self-perpetuating cycle. The framework does not attempt to eliminate every sensation before activity begins. Instead, it exposes the person to the specific movements or environments they avoid, starting at a manageable threshold.
Through repeated, non-catastrophic experiences, the brain updates its threat assessment. This process, known clinically as inhibitory learning or extinction learning, teaches the nervous system that the target movement can be performed safely. As threat appraisal decreases, protective muscle guarding relaxes, movement variability returns, and functional capacity expands.
Rehabilitation literature draws a clear distinction between graded exposure and graded activity, although both approaches share valuable features. Graded activity is an operant-conditioning framework that focuses on quota-based progression. A clinician and patient establish baseline physical metrics, such as walking for ten minutes or performing twenty repetitions of an exercise. Progression occurs according to predetermined quotas over time, regardless of day-to-day symptom fluctuations.
Graded exposure, by contrast, specifically targets fear, perceived harmfulness, and behavioral avoidance. Rather than focusing solely on physical quotas, graded exposure identifies the specific movements, postures, or situations the individual perceives as dangerous.
The progression is customized around an exposure hierarchy that ranks tasks by perceived threat. While graded activity aims primarily to improve physical tolerance through general conditioning, graded exposure aims to change threat appraisal and eliminate protective safety behaviors. Both methods are valuable, but graded exposure is especially effective when fear of reinjury is the primary barrier to recovery.
A critical concept within graded exposure is the identification of safety behaviors. Safety behaviors are conscious or unconscious actions used to prevent a feared catastrophic outcome. Common examples include holding one's breath during a lift, excessively bracing the trunk, moving with extreme slowness, relying on external supports when they are no longer medically necessary, or visually checking joint alignment repeatedly.
While safety behaviors provide short-term psychological comfort, they reinforce long-term disability. When a person completes a lift while rigidly bracing their entire body, their brain attributes their safety to the bracing rather than realizing the spine itself is capable of tolerating load.
Safety behaviors also increase compressive loads on joints and restrict normal movement variability. A major objective of graded exposure is to systematically fade these protective behaviors so the body learns to move with natural, unforced efficiency.
Graded exposure applies across multiple physical dimensions. It is not limited to simple joint range of motion drills. A comprehensive program addresses movement patterns, overall workloads, environmental contexts, and cognitive beliefs.
Following an acute episode, individuals frequently develop rigid avoidance of specific movement planes. Common examples include lumbar flexion, deep knee flexion, spinal rotation, overhead reaching, or single-leg loading. Graded exposure does not search for a single ideal posture. Instead, it restores access to a wide range of movement strategies without excessive apprehension or muscle tension.
A movement may feel tolerable during a single repetition in a quiet room but become provocative under sustained physical volume. Exposure principles apply directly to cumulative workloads, including sustained standing, prolonged sitting, loaded carrying, repetitive manual tasks, and running volume. Progression in this domain systematically increases the total physical dose by manipulating sets, repetitions, time under tension, and recovery intervals.
Pain-related fear frequently attaches to specific environments and external contexts. An individual may feel confident lifting a light kettlebell in a physical therapy clinic but experience severe hesitation when lifting an uneven box in a warehouse or stepping onto uneven field terrain.
Contextual factors like time pressure, visual chaos, unpredictable surfaces, and fatigue alter how the nervous system processes threat. Graded exposure deliberately transitions from stable, predictable environments to realistic, unpredictable settings that match daily functional demands.
A primary target of graded exposure is the internal belief that certain physical actions are inherently destructive to human tissue. Common narratives suggest that bending the lower back under load causes irreversible disc wear or that running inevitably destroys knee joints.
By experiencing these movements systematically without catastrophic harm, individuals update their mental models. They shift from viewing their bodies as fragile structures that require constant shielding to viewing them as robust systems that adapt to progressive loading.
Self-efficacy refers to an individual's belief in their ability to execute the actions required to manage specific situations. Low self-efficacy in musculoskeletal recovery leads to passivity and excessive reliance on passive treatments like massage, passive modalities, or rest.
Graded exposure builds genuine self-efficacy through direct mastery experiences. Completing a previously feared movement provides tangible evidence of capacity, creating durable physical confidence that transfers to broader training and performance methods.
Applying graded exposure requires an objective look at the clinical evidence. While graded exposure is a powerful tool for addressing fear and avoidance, it is essential to separate established scientific facts from emerging or uncertain research.
Extensive clinical research supports the use of progressive, exposure-based principles for persistent musculoskeletal conditions:
Despite its strengths, graded exposure is not a universal solution for all physical ailments. The broader scientific literature highlights clear limitations:
Implementing graded exposure successfully requires structured clinical reasoning. It is a systematic problem-solving process rather than a random collection of stretches and drills.
Before intentionally exposing tissues to previously provocative movements, ensure that active rehabilitation is safe and appropriate. Serious medical conditions must be ruled out by a qualified healthcare professional.
For spinal and musculoskeletal presentations, clear criteria indicate when conservative exposure is inappropriate and urgent medical evaluation is required:
When red flags are absent, persistent discomfort is generally suitable for structured physical rehabilitation rather than continued immobilization.
Transform vague complaints into precise, measurable movement targets. A statement like "my back hurts when I work" is too broad to guide an effective exposure hierarchy. Break the problem into five clear components:
Establish clear baseline measurements before starting the program. This can involve simple numerical scales, such as rating fear of a specific task from 0 (no apprehension) to 10 (extreme fear). It should also include objective capacity metrics:
Measuring both physical capacity and psychological apprehension prevents you from judging progress solely by pain intensity scores.
An exposure hierarchy ranks variations of the target activity from least threatening to most threatening. The ranking must reflect the individual's personal perception of threat rather than an arbitrary biomechanical formula. A task that seems easy to a clinician or coach may carry high psychological threat for the individual.
To build a hierarchy, manipulate variables such as range of motion, external load, speed, support, and environmental complexity.
Each step builds a bridge toward the final functional goal, allowing the nervous system to adapt to each demand before advancing.
Select a starting task that sits right at the edge of the person's current comfort zone. The entry point must be challenging enough to elicit a mild sense of apprehension, but manageable enough that the individual can complete it with good movement control.
Before beginning the movement, clearly define what constitutes an acceptable symptom response. Establishing these boundaries in advance prevents normal physical sensations from being misinterpreted as signs of structural failure.
The individual performs the chosen task while consciously observing their internal state. Focus on maintaining a normal, rhythmic breathing pattern rather than holding the breath. Encourage a smooth movement strategy rather than rigid, hyper-controlled mechanics.
Safety behaviors must be systematically reduced:
Immediately after completing the exposure task, compare the actual outcome with the initial catastrophic prediction. Ask direct, reflective questions:
This explicit cognitive review is the primary driver of inhibitory learning. It forces the brain to register the mismatch between its threatening expectation and the safe physical reality.
When a specific step on the hierarchy can be performed reliably with low fear and predictable symptom recovery, progress to the next level. Modify only one major variable at a time:
Isolating single variables makes it easy to identify the cause if symptoms flare, allowing for precise adjustments to the program.
This structured five-phase framework provides a clear roadmap for restoring physical capacity across various musculoskeletal issues.
The primary goal of Phase 1 is aligning expectations and eliminating unhelpful assumptions. The individual learns that tissue sensitivity often outlasts tissue healing and that discomfort during movement does not automatically indicate new damage.
Baseline measurements are recorded, red flags are cleared, and a personalized exposure hierarchy is mapped out. The person leaves this phase with an understanding of their starting point and a clear roadmap for advancement.
Phase 2 introduces simplified, supported versions of the feared movement pattern. External loads are kept minimal, movements are performed slowly, and high levels of physical support may be used.
The focus during this phase is simply completing the movement without catastrophic threat appraisal. The individual records their predictions and compares them directly with their actual post-exercise sensations.
Once basic movement tolerance is established, Phase 3 builds resilience through repetition and variability. The individual performs the movement across multiple sessions under varying conditions:
This phase teaches the nervous system that safety is not dependent on one rigid, hyper-specific movement pathway.
Phase 4 bridges the gap between basic movement confidence and real-world physical demands. Progressive resistance, higher volume, and cumulative workloads are systematically applied.
Movements are combined into functional sequences, such as lifting an object, carrying it across the room, and placing it on a high shelf. Rest periods between bouts are monitored to ensure adequate recovery while building capacity.
The final phase exposes the individual to their complete, unconstrained target activity. This may involve returning to heavy compound lifting, ruck marching, demanding workplace manual labor, or competitive sports.
Phase 5 also establishes an ongoing maintenance plan. It equips the individual with practical self-management strategies for handling occasional symptom flare-ups without returning to chronic avoidance. Supporting this transition with sound habits around managing sleep, stress, and nervous system resilience helps maintain tissue recovery and baseline readiness.
Differentiating normal, productive rehabilitation discomfort from symptoms that signal a need to pause is critical for long-term success. The traffic light system provides clear, practical criteria for day-to-day decision-making.
The green zone represents normal, expected physical sensations during rehabilitation. Symptoms in this zone indicate that the nervous system and tissues are being appropriately stimulated without excessive irritation:
Action: Continue with the scheduled exposure session and progress to the next hierarchy step when confidence is established.
The amber zone indicates that the current physical dose or environmental context has exceeded the system's current tolerance. It does not indicate structural failure, but it signals that the progression pace is too aggressive:
Action: Do not abandon the exercise entirely. Modify one variable during the next session. Reduce the external load by 20 percent, decrease the range of motion slightly, shorten the duration, or increase rest intervals. Remain at this modified level until symptoms return to the green zone.
The red zone encompasses clear warning signs that indicate potential structural trauma, significant neurological compromise, or medical issues requiring immediate clinical intervention:
Action: Immediately halt the exposure exercise. Do not attempt to push through red-zone symptoms. Consult a qualified medical doctor or physical therapist for a thorough clinical evaluation.
These four real-world case scenarios demonstrate how graded exposure principles are structured across different physical challenges.
Background: A 38-year-old individual experienced an acute lumbar strain six months ago. Although tissue healing has occurred, they completely avoid rounding their back. They pick up objects exclusively by performing a rigid, wide-stance squat and express intense fear that bending their spine will herniate a lumbar disc.
Hierarchy Design:
Learning Target: "My spine is a strong, flexible structure that can tolerate bending and loading without needing continuous rigid bracing."
Outcome Marker: The person picks up light to moderate household objects from the floor with fluid movement, relaxed breathing, and no compensatory avoidance strategies.
Background: A 29-year-old service member developed anterior knee pain during load carriage drills. Imaging showed mild patellar tendinopathy. Although resting reduced resting pain, every attempt to jog triggers immediate worry that impact will permanently destroy the tendon.
Hierarchy Design:
Learning Target: "Tendon loading produces normal mechanical sensation that adapts over time. Mild stiffness the next morning is a manageable recovery response, not tissue tearing."
Outcome Marker: The individual completes continuous 3-mile outdoor running sessions within the green zone, maintaining a consistent weekly schedule while incorporating evidence-led training and performance methods.
Background: A 45-year-old technician developed subacromial shoulder pain following a heavy overhead installation project. They now avoid reaching above shoulder height, keep their elbow pinned to their side when carrying loads, and fear that overhead movement will tear their rotator cuff.
Hierarchy Design:
Learning Target: "Reaching overhead does not pinch or damage my shoulder tissues. My rotator cuff can adapt to progressively higher work positions."
Outcome Marker: The worker handles standard overhead tools and storage tasks during a normal workday without relying on compensatory trunk lean or protective shoulder hiking.
Background: A 32-year-old individual experienced an episode of exertion-related dizziness and neck pain during an intense training session in a crowded gym. Extensive medical evaluation ruled out cardiovascular and neurological disorders. Despite medical clearance, they avoid crowded fitness centers, public transport, and open shopping venues due to fear of collapsing.
Hierarchy Design:
Learning Target: "Sensory stimulation, elevated heart rate, and crowded environments are physiological inputs, not signs of impending physical collapse."
Outcome Marker: The individual trains consistently in diverse, high-stimulus public environments without scanning for exits, relying on hypervigilant self-checks, or stopping sessions prematurely.
Implementing graded exposure correctly requires avoiding common misinterpretations that can stall progress or aggravate symptoms.
Graded exposure is not an endurance contest. It is not an application of the outdated "no pain, no gain" philosophy. Forcing your way through sharp, escalating pain reinforces protective threat alarms rather than extinguishing them. The goal is to find the tolerable edge of capacity, complete the movement successfully, and allow the nervous system to register safety.
Waiting for complete absence of symptoms before reintroducing movement is equally flawed. Prolonged rest leads to tissue deconditioning, joint stiffness, and increased central nervous system sensitivity. Progressive loading within the green zone is safe, promotes tissue remodeling, and breaks the cycle of chronic avoidance.
Many rehabilitation approaches overemphasize a single, rigid definition of ideal posture. Human bodies are designed to adapt to a wide variety of postures, including spinal flexion, rotation, and asymmetric loading. Graded exposure builds movement versatility rather than forcing you into a fragile, hyper-controlled movement box.
Progression should never be dictated solely by a rigid calendar. Advancing to a heavier load simply because "it is week three" can trigger unnecessary symptom flares if local tissues or recovery capacity are compromised by poor sleep, high life stress, or systemic fatigue. Always use objective performance criteria and symptom tolerance to govern progression.
Occasional symptom flare-ups are a normal part of musculoskeletal rehabilitation. A flare does not mean you have damaged tissue or erased your previous progress. It simply provides clear biofeedback that a specific variable was progressed too quickly. When a flare occurs, step back into the amber-zone protocol, adjust one variable, and resume your progression calmly. Integrating these adjustments with practical healthy aging and mobility strategies will support your physical resilience over the long term.
Most individuals notice reductions in movement apprehension and improved task confidence within two to four weeks of consistent, progressive exposure. Structural tissue remodeling, muscular strength gains, and broad workload capacity typically require eight to twelve weeks of progressive loading. Progress varies based on injury chronicity, baseline physical conditioning, and individual adherence.
Standard physical therapy often focuses primarily on addressing specific tissue impairments through isolated strengthening, stretching, and manual therapy techniques. Graded exposure places equal emphasis on the cognitive appraisal of movement, targeting fear-avoidance behaviors, dismantling safety habits, and directly updating the brain's internal threat predictions through real-world functional tasks.
Yes. Clinical practice guidelines strongly recommend progressive active exercise for joint osteoarthritis. While structural joint changes may remain present on imaging, graded exposure helps individuals rebuild tolerance for daily walking, stair climbing, and recreational activities without fear that normal movement will accelerate joint wear.
If a task repeatedly provokes amber-zone responses, do not eliminate the movement entirely. Instead, break it down into smaller components. Reduce the range of motion, decrease the external resistance, slow the movement tempo, or split the total volume into smaller, more frequent bouts throughout the day. Re-establish tolerance at that lower baseline before attempting to advance.
This resource is provided strictly for educational and informational purposes. It does not constitute individual medical advice, clinical diagnosis, or personalized physical therapy prescription. Musculoskeletal symptoms, pain patterns, and rehabilitation tolerances vary widely based on individual health history, prior injuries, and underlying medical conditions.
Before initiating any graded exposure program or making significant changes to your physical training routine, consult with a qualified physician, physical therapist, or licensed healthcare provider. A professional evaluation is essential to rule out serious underlying pathology, establish an accurate clinical diagnosis, and ensure that progressive physical loading is safe for your specific circumstances.
To implement graded exposure safely and effectively, keep these core principles in mind:
Revisit this resource whenever you face a new physical hurdle, experience a lingering post-injury plateau, or need to systematically rebuild tolerance to demanding physical activities.
Systematic, progressive exposure remains one of the most reliable methods for replacing movement fear with durable, lifelong capability.
Follow BattleVet for practical guidance on military and veteran health, strength, recovery, testosterone, sleep and healthy aging. Stay connected for new articles, research backed insights and clear information to help you stay capable for the years ahead.


Build better habits around strength, recovery, sleep, hormones and healthy aging with practical guidance for active military personnel and veterans.
Explore BattleVet