
Three targeted mobility stretches combine with progressive calf strength exercises to restore full load tolerance after acute or chronic lower-leg injuries.





Foot and ankle rehabilitation is not merely the temporary disappearance of soreness after days of rest. True recovery requires systematically rebuilding joint mobility, muscular force, single-leg stability, tissue capacity, and movement confidence under real-world physical loads. Stepping out of bed onto a stiff, aching heel after a long shift tests your patience. Limping through morning physical training on a tender ankle reminds you how quickly lower-body issues disrupt daily performance.
Restoring lower-limb function requires progressive exposure to the specific tasks your body needs to perform. Real physical resilience comes from structured, gradual loading rather than passive waiting or perpetual bracing.
To recover fully from sprains, plantar heel pain, overuse, or prolonged time in rigid boots, you must systematically progress tissue capacity through mobility restoration, calf and foot intrinsic strengthening, sensorimotor training, and graded impact exposure.
Capacity is the total amount of physical stress a tissue, joint, or functional chain can tolerate before breaking down. When demand exceeds current capacity, symptoms develop and movement patterns alter.
The foot and ankle complex contains 26 bones, 33 joints, and over 100 muscles, tendons, and ligaments. These structures must act as both a mobile shock absorber during initial foot strike and a rigid lever during propulsion. When you walk, run, carry load, or jump, forces equal to multiple times your body weight travel through this complex.
Rehabilitation must address the specific functional impairment rather than treating all lower-leg pain identically. Several distinct conditions require tailored progressions:
An acute lateral ankle sprain involves mechanical damage to one or more lateral ligaments, most commonly the anterior talofibular ligament and calcaneofibular ligament. This injury leads to rapid swelling, reduced weight-bearing capacity, limited dorsiflexion range of motion, eversion weakness, and impaired sensorimotor feedback.
Chronic ankle instability presents as persistent self-reported instability, repeated sprains, episodes of the ankle giving way, and lingering movement coordination deficits. It often stems from incomplete rehabilitation after an initial sprain, where mechanical laxity combines with sensorimotor deficits.
Plantar heel pain typically affects the medial calcaneal tuberosity and the plantar fascia origin. It is characterized by sharp pain during the first morning steps or after prolonged sitting, followed by worsening discomfort after extended standing or walking.
Load intolerance occurs when structural tissues such as the Achilles tendon, tibialis posterior tendon, or plantar fascia lose the capacity to absorb training volume. Deconditioning from prolonged immobilization in a cast, walking boot, or rigid service footwear causes calf muscle atrophy, joint capsule stiffness, loss of gait adaptability, and reduced tissue stiffness.
The international PAASS consensus framework outlines return-to-activity criteria following ankle injuries. PAASS organizes recovery around five core pillars: Pain, Ankle impairments, Athlete perception and confidence, Sensorimotor control, and Sport or functional performance.
Tracking these domains prevents premature return to high-impact activities. Progress should be guided by objective markers of physical function rather than arbitrary calendar dates.
Navigating foot and ankle recovery requires distinguishing between well-supported clinical interventions, promising emerging methods, and popular practices that lack rigorous supporting data.
Established clinical guidelines provide the clearest roadmap for recovery. The 2021 clinical practice guideline for lateral ankle ligament sprains from the Academy of Orthopaedic Physical Therapy highlights the necessity of early controlled movement, manual therapy for joint mobility, and progressive resistance exercise. Prolonged absolute rest is discouraged because it accelerates muscle atrophy and delays functional return.
The 2023 clinical practice guideline for heel pain and plantar fasciitis strongly supports specific interventions for pain reduction and functional improvement. Plantar-fascia-specific stretching, gastrocnemius and soleus stretching, and targeted resistance training for the lower leg musculature show consistent positive outcomes in clinical trials.
Proprioceptive training has substantial evidence for injury prevention. A systematic review published in the British Journal of Sports Medicine examined seven randomized trials with 3,726 participants. The analysis found that neuromuscular and balance training reduced the relative risk of ankle sprains to 0.65 compared to control groups. In individuals with a prior history of ankle sprains, the relative risk dropped to 0.64.
However, the evidence is more nuanced regarding balance training as a standalone rehabilitation intervention after an acute ligament tear. A systematic review in the Journal of Athletic Training found no statistically significant reduction in reinjury rates when balance exercises were added to standard rehabilitation without adequate strength and mobility work. Balance training must be integrated into a comprehensive program that includes force production, tissue capacity, and progressive impact loading.
Intrinsic foot muscle training has gained significant attention. A 2023 systematic review analyzing 13 clinical studies concluded that intrinsic foot exercises improved dynamic balance, arch mechanics, and self-reported functional scores. The short-foot exercise emerged as the most reliable movement for activating the abductor hallucis and supporting the medial longitudinal arch.
Yet, researchers noted that intrinsic foot training should not be viewed as an isolated cure for plantar heel pain. It functions best as an adjunct to calf strengthening and load management.
Evidence regarding footwear modifications and orthotics remains mixed. The Journal of Orthopaedic and Sports Physical Therapy published an overview of systematic reviews showing that while external ankle supports and taping reduce recurrent sprain risk during high-risk activities, foot orthoses do not consistently resolve chronic ankle instability. Insoles can redistribute plantar pressure and reduce tissue strain temporarily, but they cannot replace neuromuscular capacity.
Mobility is the usable, active range of motion available at a joint, not just passive flexibility. Following injury or prolonged boot wear, the ankle complex frequently loses dorsiflexion and multi-planar movement.
Weight-bearing dorsiflexion is critical for walking, descending stairs, squatting, and running. When dorsiflexion is restricted, the body compensates by over-pronating at the subtalar joint, lifting the heel early, or rotating the foot outward. These compensations increase shear stresses on the plantar fascia, Achilles tendon, and patellofemoral joint.
You can measure weight-bearing dorsiflexion using the knee-to-wall test. Place your foot perpendicular to a wall and lunge forward until your knee touches the wall without your heel lifting. A distance of 10 to 12 centimeters between your big toe and the wall generally indicates adequate functional mobility for running and loaded movement.
Restoring mobility requires addressing both joint capsule restrictions and muscular stiffness. Use targeted mobility drills that combine active control with end-range positioning:
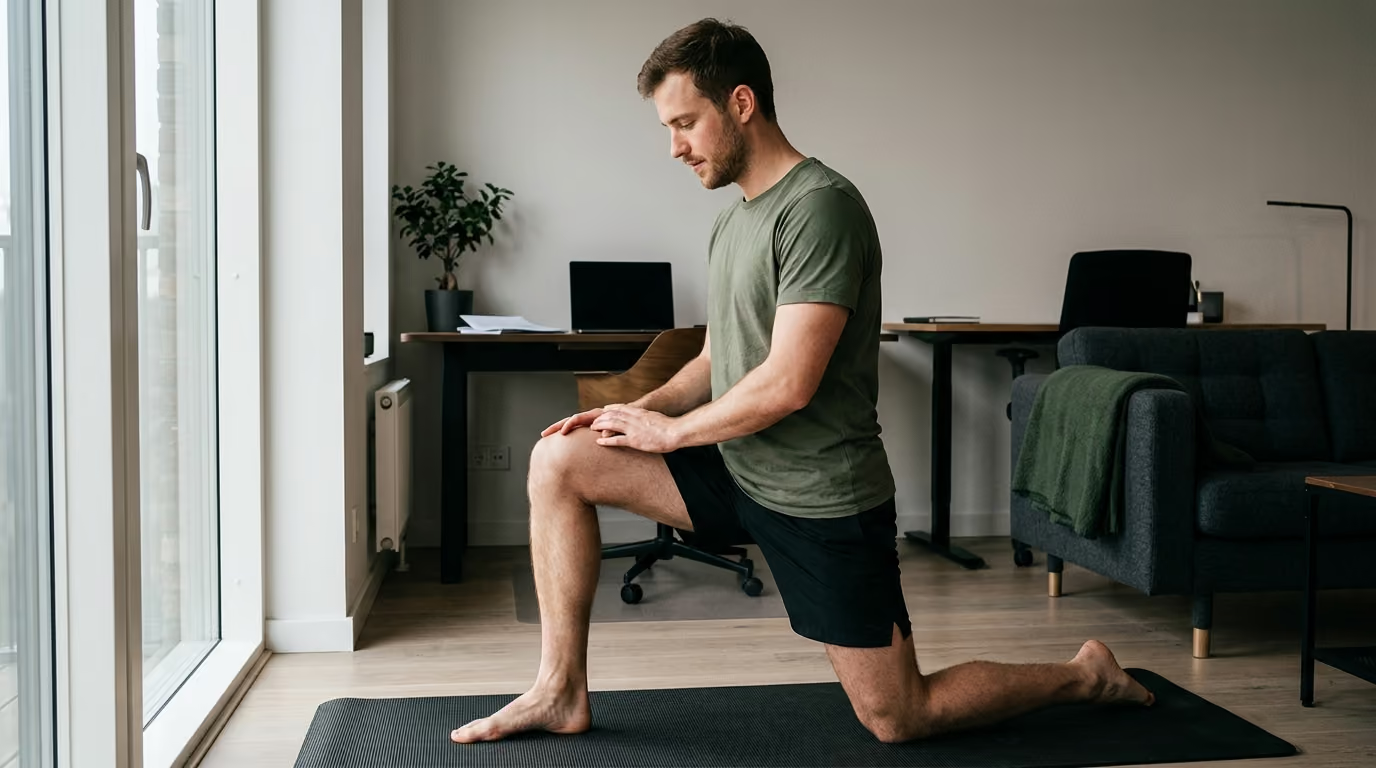
Set up in a half-kneeling position with your target foot forward. Keeping your front heel pressed into the floor, drive your knee forward over your middle toes until you feel a firm stretch in the back of your ankle. Hold the end-range position for three seconds, then return to the start. Perform three sets of 10 controlled repetitions per side.
Sit down and cross your affected foot over your opposite knee. Using your hand, grasp the base of your toes and pull them back toward your shin until you feel a distinct stretch along the arch of your foot. Use your other hand to palpate the plantar fascia band to confirm tension. Hold the stretch for 30 seconds, repeating three times daily.
Stand facing a wall with your hands supported. For the gastrocnemius, extend one leg straight behind you, keeping your heel flat on the floor and your knee completely straight. Lean your hips forward until you feel tension in the upper calf.
For the soleus, bring the back leg slightly closer and bend both knees, keeping the back heel firmly planted. Hold each position for 45 seconds, completing two to three sets per session.
Active control through your available range is essential. Integrating training and performance guidance into your mobility work ensures your nervous system learns to stabilize the joint at end-range angles.
Restoring force production and muscular endurance in the lower leg protects joints and tendons from cumulative stress. Rehabilitation must target the calf complex, the lateral stabilizers, the deep invertors, and the intrinsic foot muscles.
The calf complex consists primarily of the gastrocnemius and soleus muscles. These muscles generate the vast majority of propulsion during walking, running, and jumping, while absorbing massive ground reaction forces during deceleration.
The gastrocnemius crosses both the knee and ankle joints, generating high force during explosive movements when the knee is extended. The soleus crosses only the ankle joint and contains a high proportion of slow-twitch, fatigue-resistant muscle fibers.
The soleus experiences forces up to eight times body weight during running. Neglecting bent-knee soleus training leaves a massive deficit in shock absorption and propulsion capacity.
Progress your calf strengthening through progressive loading phases:
Stand on the edge of a step with your heels hanging off the back. Rise onto your toes through a full range of motion over two seconds, pause at the top for one second, and lower under control over three seconds. Begin with double-leg variations and advance to single-leg repetitions.
Work toward completing three sets of 25 smooth, single-leg repetitions with full range of motion. Once bodyweight repetitions are achieved, add external load using dumbbells or a barbell.
Sit with your knees bent at 90 degrees and the balls of your feet on a block. Place a barbell or heavy dumbbells across your lower thighs. Push through your forefoot to raise your heels as high as possible, hold for two seconds, and lower slowly. Complete four sets of 10 to 12 repetitions with challenging resistance to build soleus endurance and hypertrophy.
The fibularis longus and brevis muscles run along the lateral ankle, providing dynamic resistance against sudden inversion rolling forces. Sit on the floor with a resistance band looped around your forefoot, anchored securely to an external point on the medial side. Rotate your foot outward against the band resistance, pause for two seconds, and slowly return to center. Perform three sets of 15 repetitions.
The short-foot exercise builds active control of the medial longitudinal arch without toe clawing. Sit in a chair with your bare foot flat on the floor. Without curling your toes, draw the head of your first metatarsal back toward your heel, lifting the arch of your foot.
Maintain three points of contact: the heel, the base of the big toe, and the base of the little toe. Hold the contraction for five seconds, relax, and repeat for 15 repetitions. Advance from seated to bilateral standing, and eventually to single-leg balance.
Building functional physical capacity requires patience and consistency. You can explore structured protocols in our strength, fitness, and body composition resources to integrate these movements into broader training programs.
Ligament injuries and tissue deconditioning damage mechanoreceptors within the joint capsules, ligaments, and tendons. This blunts proprioceptive signaling to the central nervous system, impairing unconscious joint position sense and slowing reflexive muscle activation.
Without targeted sensorimotor retraining, the peroneal muscles and postural stabilizers react too slowly to unexpected terrain shifts. Balance training systematically challenges the visual, vestibular, and somatosensory systems to restore rapid muscular responses.
Sensorimotor progressions should advance through distinct difficulty tiers:
Begin by standing barefoot on a firm, level surface. Lift one foot off the floor without allowing your standing ankle to roll outward or collapse inward. Keep your pelvis level and your standing knee slightly unlocked.
Hold this position for 30 to 45 seconds per leg for three sets. Once you can maintain balance without touching down, progress by closing your eyes or performing slow head turns from left to right.
Stand on your affected leg in the center of an imaginary clock face. Slowly reach your non-standing foot forward to the 12 o'clock position without resting your weight on it, then return to center.
Repeat by reaching to 3 o'clock, 6 o'clock, and 9 o'clock, maintaining a stable tripod foot on the standing leg. Perform three rounds of clockwise and counter-clockwise reaches per side.
Stand on one leg while holding a light medicine ball. Toss the ball against a rebounder or play catch with a partner while maintaining dynamic stability through your foot and ankle.
The unpredictable flight path forces your neuromuscular system to make split-second adjustments. Perform three sets of 30 seconds per leg.
Dynamic stabilization under fatigue bridges the gap between static control and unpredictable physical activity. Sensorimotor work should be performed while fresh to maximize neuromuscular adaptation.
Transitioning from low-impact strength exercises to dynamic running and jumping requires careful management of training load. Tendons and bones respond to the rate of force application and total impact volume, not just external resistance.
The capacity-demand model dictates that tissue overload occurs when total impact volume, intensity, or frequency outpaces biological remodeling. To prevent flare-ups, adjust only one training variable at a time. Increasing weekly running volume by 10 to 20 percent provides a sensible starting framework, provided symptoms remain stable.
The 24-hour symptom response rule is your primary guide during impact progressions. Mild, stable discomfort during or immediately after exercise is acceptable if it does not exceed 3 out of 10 on a visual pain scale.
Symptoms must return to baseline within 24 hours without joint swelling, morning stiffness, or gait alteration. If pain lingers or escalates the following morning, the previous day's load exceeded current capacity and must be reduced.
The initial objective is establishing a pain-free, symmetrical walking gait. The individual must tolerate 30 to 45 minutes of continuous daily walking without joint effusion or worsening pain. Exercises focus on active range of motion, short-foot doming, and supported double-leg heel raises.
The individual must demonstrate isolated single-leg force production and stability. Criteria for advancing include completing at least 20 single-leg heel raises on the affected side and performing step-downs from a 15-centimeter box without knee collapse. Single-leg dynamic balance and resisted band rotations are emphasized.
Before initiating running, tissues must absorb and return rapid elastic energy. Begin with bilateral pogo hops in place, performing three sets of 20 low-amplitude contacts. Advance to forward line hops, lateral line hops, and basic jump rope skipping. Monitor the Achilles tendon and plantar fascia for 24 hours following plyometric sessions.
Reintroduce running mechanics through structured interval workouts. A practical starting protocol alternates one minute of easy jogging with two minutes of walking for a total of 15 to 20 minutes.
Perform this workout on a flat, even surface such as a track or smooth asphalt. If the 24-hour response remains stable, progress the jogging interval duration while reducing walking recovery.
Once a 5-minute jog / 1-minute walk interval is tolerated for 25 minutes, transition to continuous running. Begin with 10 to 15 minutes of easy, conversational-pace running.
Prioritize running duration before introducing speed or hill workouts. Maintain at least 48 hours of recovery between running sessions to allow connective tissues to remodel.
The final stage prepares the lower leg for sprinting, cutting, uneven terrain, and external load. Introduce multi-directional agility drills, acceleration and deceleration patterns, box jumps, and loaded carries.
For service members and outdoor athletes, gradually reintroduce weighted pack marches and field boots, monitoring weekly mileage carefully.
Supporting this progression requires dedicated attention to sleep and tissue recovery, which provides the hormonal and metabolic environment necessary for collagen synthesis.
Controlled ankle motion boots and rigid casts protect fractured bones and severely torn ligaments during acute healing. However, prolonged immobilization comes with a physiological cost.
A 2024 systematic review published in the Journal of Foot and Ankle Research confirmed that walking boots significantly restrict sagittal and frontal plane ankle kinematics. Furthermore, electromyographic studies demonstrate that gastrocnemius muscle activation drops dramatically during the stance phase of gait while wearing a rigid walking boot.
When the boot is finally removed, the lower leg exhibits marked calf atrophy, ankle stiffness, reduced soleus endurance, and impaired proprioception.
Treat the transition out of a walking boot as a dedicated loading phase:
Do not immediately discard the boot for all-day walking. Begin by wearing a supportive athletic shoe around the house for one to two hours per day. Gradually increase shoe wear time over 10 to 14 days while reducing time spent in the boot.
Track your daily steps using a wearable device or phone. Avoid dramatic spikes in daily movement during the first two weeks out of the boot. Maintain a stable baseline before attempting long walks, hikes, or strenuous workouts.
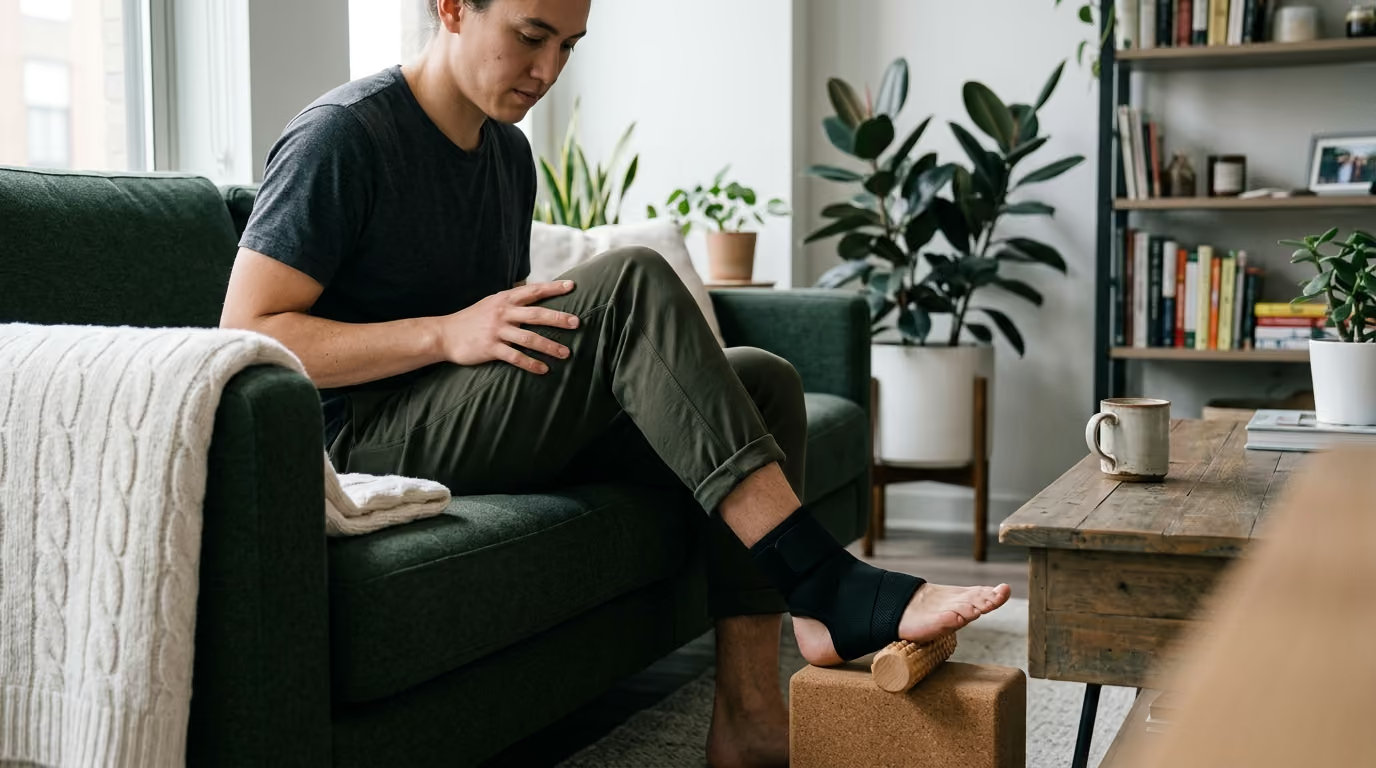
Begin gentle calf stretching, seated ankle pumps, and half-kneeling dorsiflexion mobilizations immediately after clearance from your medical provider. Address midfoot stiffness through gentle manual mobilization and soft-tissue rolling with a massage ball.
Prioritize seated bent-knee heel raises, supported double-leg heel raises, and short-foot contractions. The nervous system must re-learn how to activate dormant motor units within the atrophied calf complex.
Footwear selection plays a critical supportive role during recovery. Footwear characteristics should match current tissue capacity and environmental demands:
Relying on rigid footwear or orthotics indefinitely can encourage reliance on external support. As tissues adapt, gradually reintroduce varied footwear and controlled barefoot surface exposure to support long term musculoskeletal health.
Rehabilitation rarely follows a perfectly linear trajectory. Complex symptoms and atypical recovery presentations require targeted adjustments:
Lingering intra-articular swelling after an ankle sprain can cause arthrogenic muscle inhibition, a process where neural signaling to the surrounding musculature is reflexively shut down. This prevents the calf and peroneal muscles from firing with full force.
Manage persistent swelling using low-load ankle pumps, elevation, light compression wraps, and non-impact stationary cycling. Do not attempt heavy plyometrics or high-intensity running while significant joint effusion is present.
When an ankle repeatedly gives way during simple daily tasks without significant acute pain, the primary deficit is typically neuromuscular rather than structural. The passive ligaments may have healed with slight mechanical laxity, placing greater demand on dynamic muscular stabilizers.
Shift training emphasis toward reactive balance drills, unexpected perturbation catching, rapid change of direction, and multi-planar landing mechanics. External ankle bracing during high-risk sports can provide supplemental mechanical support while dynamic capacity is being built.
During recovery, pain occasionally shifts from the initial injury site to a new location, such as moving from the lateral ankle to the Achilles tendon or medial arch. This migration often reflects biomechanical compensation.
For example, an individual attempting to protect a sore lateral ligament may walk on the inside of their foot, overloading the tibialis posterior tendon and plantar fascia. Video gait analysis, mirror feedback, and conscious cueing to maintain a symmetrical foot strike can resolve compensatory movement patterns.
Not all lower-leg pain stems from soft-tissue strains or simple tendinopathy. Bone stress injuries of the fibula, tibia, calcaneus, navicular, or metatarsals require immediate identification and non-impact management.
Warning signs include focal point tenderness along a bony surface, localized swelling directly over bone, deep aching pain that persists at rest or wakes you from sleep, and pain that escalates rapidly within minutes of weight-bearing. If a bone stress injury is suspected, cease high-impact activity immediately and seek medical imaging.
Older adults and individuals recovering from prolonged systemic illness experience slower rates of collagen synthesis and muscle protein remodeling. Balance exercises should initially be performed near a stable support, such as a sturdy countertop or handrail, to prevent fall risk.
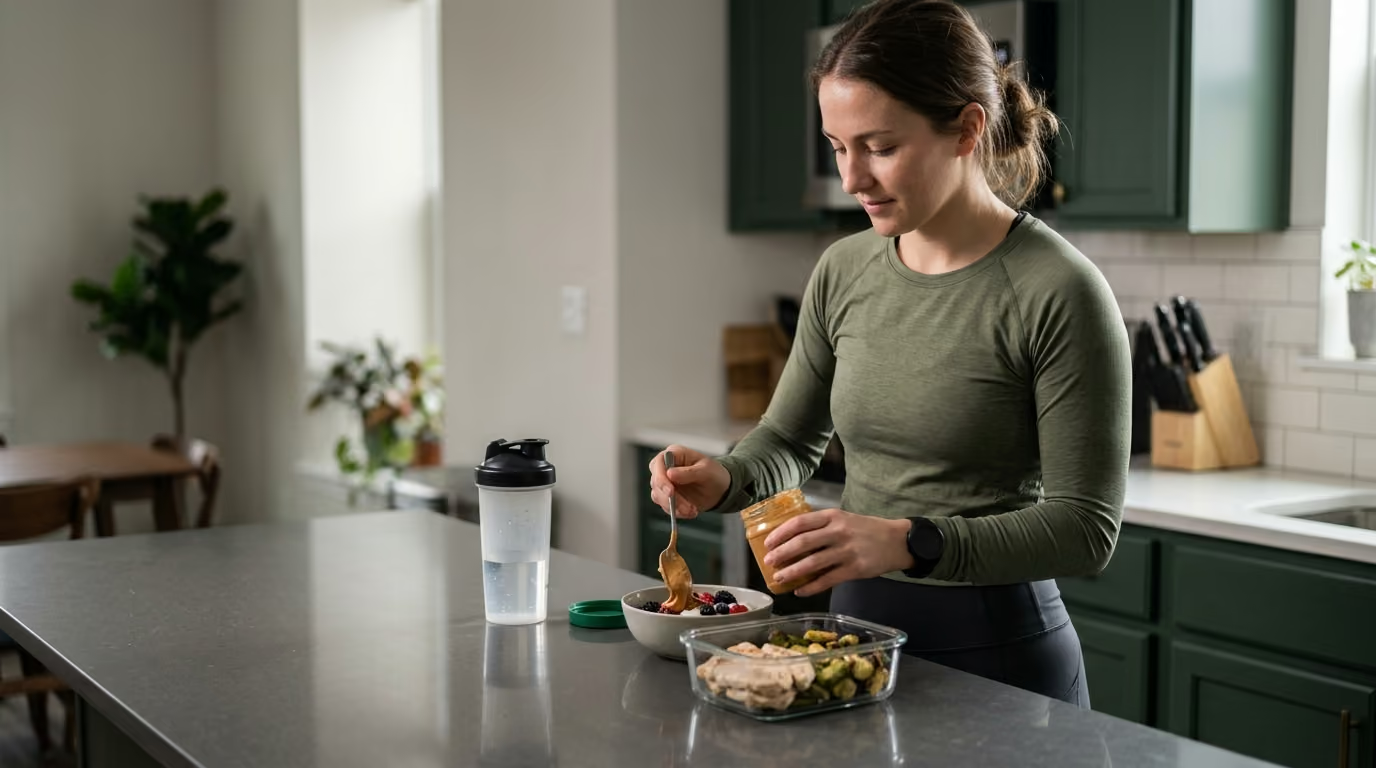
Strength loading should emphasize moderate resistances performed with high movement quality, ensuring adequate recovery intervals between training bouts. Supporting recovery through physical restoration strategies ensures optimal protein intake and micronutrient availability for tissue remodeling.
Recovery timelines depend on the structural severity of the ligament tear and the presence of associated joint cartilage or tendon damage. A moderate grade II sprain typically requires six to eight weeks of structured rehabilitation to restore normal running and cutting mechanics.
Severe grade III tears with complete ligament disruption may require 12 to 16 weeks or longer to fully rebuild sensorimotor control, dynamic stability, and high-impact load tolerance. Returning based on functional criteria rather than fixed timelines significantly reduces the risk of recurrent sprains.
Complete rest is rarely necessary and often leads to tissue deconditioning that makes return to running more difficult. You should temporarily reduce running volume and intensity to a level that keeps pain at or below a 3 out of 10 on a visual pain scale.
Symptoms must return to baseline within 24 hours without worsening morning stiffness. Replace excess running mileage with non-impact cardiovascular training such as cycling, rowing, or swimming while actively performing calf and plantar-fascia-specific strengthening.
Barefoot walking can be a valuable tool for stimulating intrinsic foot muscle activation and enhancing sensory feedback from the plantar mechanoreceptors. However, introducing barefoot walking too rapidly on hard surfaces can flare up sensitized tissues during acute plantar heel pain, Achilles tendinopathy, or post-immobilization recovery.
Begin by incorporating short periods of barefoot standing and walking on forgiving surfaces such as carpet, grass, or sand. As your tissue tolerance improves, gradually progress to firmer surfaces.
Evidence shows that wearing an external ankle brace during high-risk sporting activities does not weaken the ankle or prevent surrounding muscles from activating. Bracing provides mechanical constraint at end-range inversion while enhancing cutaneous sensory feedback, helping prevent recurrent sprains in individuals with chronic instability.
However, bracing should be used as an adjunct to dynamic neuromuscular rehabilitation rather than a substitute for strength and balance training.
This article is for educational and informational purposes only and does not constitute individual medical advice, diagnosis, or treatment. Lower-leg injuries, persistent joint swelling, neurological symptoms, or suspected fractures and bone stress injuries require formal evaluation by a qualified healthcare professional, such as a physical therapist, athletic trainer, or orthopedic physician. Always consult your healthcare provider before initiating new rehabilitation protocols or returning to high-impact physical activities.
Follow BattleVet for practical guidance on military and veteran health, strength, recovery, testosterone, sleep and healthy aging. Stay connected for new articles, research backed insights and clear information to help you stay capable for the years ahead.


Build better habits around strength, recovery, sleep, hormones and healthy aging with practical guidance for active military personnel and veterans.
Explore BattleVet