
Simple surface rubbing is rarely the sole cause of skin breakdown, as managing deep shear stress, moisture, and pressure prevents painful friction blisters.





You are eight miles into a twelve-mile march or long trail run when a hot, sharp pinch develops on the back of your heel. You try adjusting your stride, hoping the sensation fades, but every step drives more heat into the tissue. By the time you stop to pull off your footwear, a fluid-filled pocket has torn open, leaving raw skin exposed to sweat and dirt. Many athletes and service members look for ways to treat this exact breakdown, and this guide provides the complete, field-tested answers you need.
Preventing and resolving skin breakdown requires managing the mechanical triad of shear friction, moisture, and localized pressure rather than simply covering an open wound.
Friction blisters, chafing, and skin maceration occur when repetitive mechanical shear stresses overcome the structural tolerance of the epidermal layers, a vulnerability magnified by perspiration and concentrated contact points. Effective management demands early intervention at the hot-spot stage, preserving the biological blister roof whenever possible, applying appropriate semi-occlusive dressings, and modifying equipment interfaces to eliminate the root mechanical force.
Skin breakdown during movement is rarely an isolated event. It stems from the dynamic interaction between mechanical force, tissue hydration, and equipment contact. Understanding these components allows you to intervene before tissue failure occurs.
True friction injury is driven by shear deformation within the skin rather than simple rubbing on the surface. When your foot steps forward, your skeletal structure moves while the outer stratum corneum remains pinned against the sock or shoe lining. This differential movement stretches the deeper epidermal layers.
Repeated shear stress eventually causes micro-tears within the stratum spinosum. As the cells separate, hydrostatic pressure pulls lymphatic fluid into the resulting cleft, forming a friction blister. Simply applying an oily product to the surface may not prevent this internal stretching if the foot continues to slide inside the shoe.
Moisture radically alters the mechanical resilience of human skin. When perspiration, rain, or river crossings soak the skin, the stratum corneum absorbs water and softens. This process is known as maceration.
Macerated skin has a higher coefficient of friction than dry skin, making it stick more aggressively to textiles. Simultaneously, water weakens the intercellular bonds holding epidermal layers together. A study of running sock textiles demonstrated that individual skin properties and moisture levels had a greater impact on friction behavior than variations in sock knit patterns or fibers. Controlling moisture inside your clothing and footwear is therefore vital to maintaining tissue strength.
Pressure magnifies the damaging effect of shear forces. When you carry a heavy pack or wear rigid boots, your body weight concentrates force onto small anatomical landmarks.
Common pressure points include the calcaneus, the metatarsal heads, the dorsal surface of the toes, the medial arch, and the skin beneath pack hip belts. When downward pressure increases, the frictional resistance against the skin rises proportionally. A dressing that merely covers an irritated spot without redistributing this mechanical pressure often fails to protect the underlying tissue from further damage.
To manage skin injuries effectively in the field, you must understand the specific terminology used by sports medicine and dermatological authorities:
Blister prevention products are widely marketed, but high-quality scientific evidence supporting many popular tools remains limited. Sorting established interventions from commercial claims helps you build a reliable preparation strategy for training and endurance performance.
A comprehensive systematic review of blister prevention in outdoor pursuits evaluated numerous interventions, finding that paper tape demonstrated the most reliable preventive effect. In randomized trials involving endurance runners, pre-taping vulnerable anatomical sites with standard surgical paper tape significantly reduced both the incidence and frequency of friction blisters.
Paper tape works because its smooth outer backing lowers external friction while its adhesive anchors securely to the stratum corneum. This allows the sock to glide over the tape surface without transmitting shear stress into the epidermal layers beneath.
The evidence supporting specific sock materials is mixed. While dermatological guidelines frequently recommend synthetic fibers such as nylon, polyester, or acrylic over cotton, high-quality comparative trials are scarce. Cotton fibers absorb moisture, retain liquid, and swell, which increases surface friction and promotes maceration during prolonged exertion.
Acrylic and specialized synthetic blends transport sweat away from the foot surface more effectively, keeping the skin interface drier. Double-sock systems, where a thin synthetic liner sock sits beneath a cushioned outer sock, can reduce shear by encouraging movement between the two fabric layers rather than between the sock and the skin. However, if a double-sock setup creates excessive bulk or tightens the shoe fit, it can increase localized pressure and accelerate blister formation.
Topical antiperspirants containing aluminum chlorohydrate have been studied extensively in military populations to reduce foot sweating. While these agents can decrease local perspiration, research shows they frequently cause compensatory skin irritation, contact dermatitis, and compensatory breakdown in adjacent areas.
Foot powders containing talc or cornstarch absorb small volumes of sweat initially. However, during continuous long-distance movement, powders quickly become saturated, forming an abrasive paste that can worsen shear stress.
Petroleum jelly and anti-friction sticks are widely used to reduce skin-on-skin rubbing. These products temporarily decrease the coefficient of friction on the skin surface.
However, topical lubricants do not correct underlying mechanical issues such as loose footwear, heel slippage, or heavy seam pressure. Furthermore, lubricants can break down the adhesives used on protective tapes, migrate away from high-pressure zones after a few miles, and trap sweat against the skin if overapplied.
Research estimates that blister incidence ranges from 20 percent to 60 percent among marathoners and exceeds 70 percent in ultradistance hikers and military personnel on extended foot marches. These broad ranges occur because study designs vary across different terrains, climates, pack weights, and fitness levels.
When assessing your personal risk, it helps to distinguish five key variables:
Eliminating skin breakdown begins long before you step onto the trail or road. Treating your footwear, clothing, and body as an integrated mechanical system prevents issues caused by localized friction and pressure.
Proper footwear fit is the single most important defense against lower-extremity skin breakdown. Wilderness Medical Society guidelines stress that footwear must match the foot's shape while accommodating natural volume expansion during prolonged activity.
Your footwear must provide adequate length, leaving roughly a thumb's width of space between your longest toe and the front of the boot or shoe. The toe box must be wide enough to allow the metatarsals to splay naturally under load without pressing against the sides. The heel cup must hold the calcaneus securely in place to eliminate vertical slippage during uphill climbing.
Never wear brand-new, rigid boots on a demanding movement. Shoes require progressive break-in periods to soften stiff structural components, mold footbeds, and reveal latent pressure points. Inspect the interior of your footwear regularly for worn linings, protruding internal seams, or compressed insoles that concentrate downward force.
A structured sock routine maintains a dry interface and prevents fabric from bunching into painful pressure ridges:
For areas with a history of breakdown, apply physical barriers prior to putting on your socks. Clean the skin thoroughly with soap and water or an alcohol wipe to remove oils and dirt, allowing the area to dry completely.
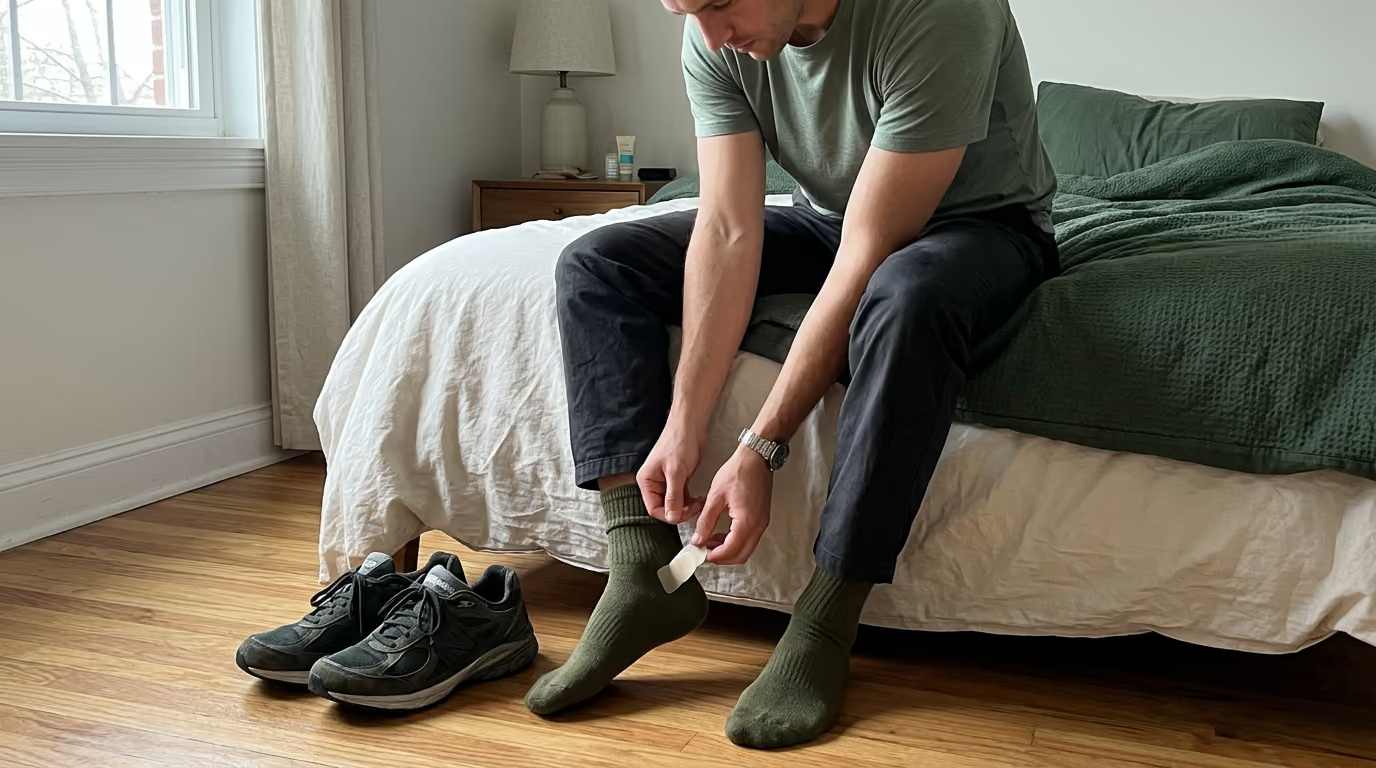
Apply smooth strips of paper tape or thin adhesive barrier films directly over high-risk zones, such as the posterior heel, the medial first metatarsal head, or the lateral fifth toe. Ensure the tape lies flat without wrinkles, air pockets, or rolled edges, as a folded tape edge creates a new pressure ridge that accelerates blister development.
Chafing on the upper body and groin stems from repeated fabric contact compounded by sweat and equipment weight. Manage these interfaces systematically across all contact zones:
You can learn more about managing structural training demands alongside skin health through evidence-based health resources.
A hot spot is an immediate signal that tissue tolerance is reaching its limit. Treating a hot spot as a minor annoyance to be ignored is the most common reason small friction areas progress into debilitating, deroofed wounds.
The American Academy of Dermatology highlights that physical activity should stop the moment local irritation or burning appears. Continuing to push through hot-spot discomfort guarantees that the separating epidermal layers will fill with fluid, turning a manageable mechanical issue into an open wound.
Treat every hot spot as an actionable maintenance task. Stopping for three minutes to fix a friction point saves hours of painful rehabilitation later in your training cycle.
When you feel localized burning, heat, or tenderness, execute this field protocol immediately:
Shoe lacing is a powerful, underutilized field tool for modifying internal friction. If your heel is lifting and sliding against the counter, implement a heel-lock lacing technique using the top extra eyelets to anchor the rearfoot firmly into the heel cup.
If pressure is focused across the top of your foot or over a dorsal bone spur, use window lacing to skip the eyelets directly over the sensitive zone while maintaining firm tension above and below it. These mechanical modifications alter how force transfers through your footwear, relieving the soft tissue underneath.
Once an intact blister forms or tears open, the operational goal shifts from basic friction management to clinical wound care, pain control, and infection prevention.
An intact blister roof is the best biological dressing available. The epidermal roof shields the raw, highly sensitive nerve endings of the underlying dermis, maintains an optimal moist healing environment, and acts as a sterile physical barrier against bacterial invasion.
Both dermatological consensus and Wilderness Medical Society guidelines agree that intact blisters should be left alone whenever feasible. You should never peel, puncture, or debride a small, asymptomatic blister simply because fluid is present.
Routine blister popping is discouraged because it creates a direct pathway for pathogens to enter damaged tissue. However, selective field drainage may be warranted under specific, controlled conditions:
If a blister meets the clinical criteria for controlled drainage, perform the procedure using clean, systematic technique:
When an intact blister tears open during activity, treat the site as an open, superficial partial-thickness wound.
Cleanse the wound bed gently with clean water or sterile saline to remove foreign matter, sweat, and debris. Avoid aggressive mechanical scrubbing or harsh chemical disinfectants like concentrated hydrogen peroxide, which damage newly forming epithelial cells and delay recovery.
If viable epidermal skin remains attached, gently smooth it flat over the wound bed. If loose, ragged flaps of dead tissue trap dirt or roll into painful ridges, trim only the unviable, detached edges using sterilized medical shears, leaving all adherent skin intact.
Cover the raw dermis with a sterile hydrocolloid or hydrogel dressing. National Athletic Trainers' Association guidelines recommend maintaining a semi-occlusive, moist healing environment over acute abrasions and blisters until the surface re-epithelializes.
A hydrocolloid dressing absorbs wound exudate while maintaining a flexible, protective seal that shields sensitive nerve endings from ambient air, significantly reducing mechanical pain. If hydrocolloids are unavailable, apply petroleum jelly over the raw base, cover with a non-stick sterile pad, and secure the dressing with tape.
While clinical guidelines support moist wound healing, this environment is distinctly different from uncontrolled, sweat-induced maceration. A proper dressing maintains balanced hydration directly over the open wound bed while remaining securely sealed against external moisture.
If a dressing becomes saturated with sweat, rainwater, or river immersion, the surrounding healthy skin softens, the adhesive loosens, and bacteria can bypass the barrier. Change dressings immediately whenever they become wet, dirty, displaced, or saturated with wound discharge.
Skin breakdown in body folds and friction-heavy zones presents unique challenges. Managing these areas requires addressing friction, sweat accumulation, and microbial growth simultaneously.
Chafing is an irritant dermatitis caused by repetitive skin-to-skin or garment-to-skin friction. It commonly appears along the inner thighs, axillae, groin folds, waistline, and under athletic brassieres.
As sweat evaporates during exertion, microscopic salt crystals precipitate onto the skin surface. These rough crystals increase surface friction, accelerating the removal of protective stratum corneum cells. This leads to bright red, stinging, and highly sensitive abrasions that make continued movement painful.
When severe chafing strikes during training or field exercises, address the immediate physical irritation using clean, practical methods:
Intertrigo is an inflammatory condition that develops in warm, moist, opposing skin creases, such as the inframammary, axillary, and inguinal regions. The combination of heat, trapped moisture, and skin contact weakens the epidermal barrier, creating a prime environment for secondary microbial overgrowth.
The American Academy of Family Physicians emphasizes keeping skin folds clean, dry, and exposed to cool air whenever possible. You can use lightweight, vapor-permeable barrier textiles to separate skin surfaces and reduce shearing forces within deep creases. Applying barrier creams containing zinc oxide can soothe irritated folds while protecting the skin from macerating sweat.
Simple mechanical chafing resolves rapidly once friction and moisture are eliminated. If redness persists, worsens, or spreads, suspect a secondary fungal or bacterial infection.
Candida albicans is the most frequent fungal complication in intertrigo. It classically presents as a fiery red, glistening rash with distinct, irregular margins accompanied by small, scattered red bumps or pustules known as satellite lesions.
Bacterial superinfections, often caused by Staphylococcus or Streptococcus species, present with increasing localized warmth, throbbing pain, honey-colored crusting, or purulent drainage.
If you observe satellite pustules, foul-smelling discharge, or expanding erythema, discontinue self-treatment with standard barrier ointments and seek medical evaluation for targeted topical antifungal or antibacterial therapy.
Monitoring minor skin breakdown prevents localized problems from escalating into systemic infections. Knowing when to modify your training and when to stop completely protects both your performance and your overall health.
Never assume that expanding redness, heat, and swelling are part of normal wound healing. Differentiating expected inflammation from an active bacterial infection is essential for safe recovery.
Review the differences between these clinical presentations:
According to National Health Service guidelines, you must seek professional medical care if a blister exhibits signs of infection, becomes intensely painful, repeatedly recurs without an obvious cause, or occurs in an unusual location.
Any open wound sustained in an outdoor or field environment carries a risk of tetanus contamination from soil, animal feces, or oxidized gear. Centers for Disease Control and Prevention guidelines emphasize prompt wound cleaning, removal of foreign debris, and assessment of tetanus vaccination history.
If an open blister or deep abrasion is contaminated with dirt or gravel, verify that you have received a tetanus toxoid-containing booster within the past five to ten years. If your immunization history is outdated or uncertain, arrange for a booster injection from a healthcare professional within forty-eight hours of sustaining the injury.
Certain medical conditions lower your threshold for seeking formal clinical evaluation. Individuals diagnosed with diabetes mellitus, peripheral neuropathy, peripheral arterial disease, or compromised immune function must never attempt aggressive self-care on lower-extremity blisters.
Peripheral neuropathy blunts sensory pain feedback, allowing massive tissue necrosis to develop unnoticed beneath a minor blister. Concurrently, vascular insufficiency impairs nutrient delivery, stalling the immune response and substantially raising the risk of severe complications or deep-space tissue infections.
Determining when to resume full training requires objective criteria rather than arbitrary recovery timelines. Use this decision framework to guide your physical activity:
Building practical capability requires having the right equipment on hand and knowing how to adapt to real-world operational challenges.
Keep an organized, dedicated skin care kit inside an airtight, waterproof bag within your everyday pack:
Reviewing real-world field scenarios illustrates how to apply these prevention and management principles across different interfaces.
A trekker carrying a forty-pound pack develops intense burning on the posterior calcaneus four miles into a hike.
Management: The trekker stops immediately, sits down, and cleanses the sweat and trail grit from the heel. The skin shows bright erythema without fluid accumulation, confirming an active hot spot.
The trekker applies a smooth strip of paper tape over the site, cuts a donut ring of moleskin to place around the tape, and re-laces the boot using a heel-lock pattern to eliminate heel slip. The trekker finishes the movement with the hot spot protected, preventing the formation of an open wound.
A trail runner develops acute, throbbing pain beneath the second toenail and lateral distal toe during a sustained mountain descent.
Management: The runner discovers a large, tense, fluid-filled blister on the toe tip caused by the foot sliding forward into a narrow toe box. Because the pressure alters their gait and makes downhill running hazardous, the runner cleanses the toe, uses a sterile lancet to puncture the blister base, and gently drains the fluid while keeping the epidermal roof intact.
The runner applies a hydrocolloid patch over the flattened roof, tapes the second toe to the adjacent third toe for stability, and loosens the forefoot lacing while tightening the midfoot lacing to stop forward foot translation.
A service member operating in high heat and humidity develops raw, stinging, abraded skin across both inner thighs after heavy sweating.
Management: During a scheduled rest halt, the individual washes the salt accumulations from the thighs using canteen water and pats the skin dry. They apply a liberal layer of zinc oxide barrier ointment over the abraded tissue and switch into clean, dry synthetic compression shorts that reach past the chafing zone.
The mechanical separation of the thighs combined with the soothing barrier allows continued movement without worsening the abrasion.
An endurance athlete develops a blister in the exact same location on the medial longitudinal arch during every workout longer than ten miles.
Management: Instead of repeatedly applying bandages over the injury, the athlete examines their mechanical setup. They discover that their factory insole has a stiff, poorly contoured edge that compresses under body weight, creating a concentrated shear zone.
The athlete replaces the insole with a smoothly contoured orthotic, switches from cotton-blend socks to fine-gauge synthetic wicking socks, and applies pre-taped paper tape over the arch before long runs. The blister ceases to recur because the root mechanical cause was eliminated.
Integrating good skin management with comprehensive systemic recovery and sleep protocols allows you to maintain consistent, uninterrupted training volume.
No, you should avoid peeling off a torn blister roof whenever possible. Even a partially torn epidermal roof provides valuable biological protection over the sensitive nerve endings and newly forming skin on the wound bed.
You should only trim away loose, unviable, dirty flaps of skin that fold over and create painful pressure ridges. Always use clean, sterilized medical shears, leaving every piece of adherent, clean skin in place to support faster re-epithelialization.
Petroleum jelly reduces surface friction temporarily, but it cannot prevent all blisters. Blisters are primarily driven by shear stresses occurring deeper within the epidermal layers, combined with localized equipment pressure and tissue maceration.
Overapplying petroleum jelly can saturate your socks, degrade tape adhesives, cause your foot to slide excessively inside your shoe, and trap sweat against your skin. Rely on proper footwear fit, moisture-wicking socks, and targeted paper tape for primary prevention, using lubricants selectively for skin-to-skin chafing zones.
Standard chafing is a superficial mechanical abrasion that causes uniform redness, mild burning, and surface roughness where skin or fabric rubs together. It improves rapidly within twenty-four to forty-eight hours once the area is cleaned, dried, and protected with a barrier ointment.
A fungal infection, such as Candida intertrigo, typically produces a fiery red, glistening rash with distinct margins and small, scattered red spots or pustules outside the main border, known as satellite lesions. Fungal infections often itch intensely, burn persistently, and will not resolve with standard barrier ointments, requiring targeted topical antifungal therapy.
Standard surgical paper tape is the most thoroughly supported option in scientific literature for friction blister prevention. Clinical trials in ultramarathon runners demonstrated that paper tape significantly reduced both blister incidence and frequency compared to untaped control sites.
Paper tape is inexpensive, breathes well, adheres securely to clean skin, and features a smooth, low-friction backing that allows socks to glide over it easily without transmitting shear forces into deeper tissue layers.
Use this actionable checklist to prepare your gear, maintain your skin, and address friction points during your upcoming training week:
This educational guide is intended for informational and performance-planning purposes only and does not constitute individual medical advice, clinical diagnosis, or treatment. Always consult a qualified healthcare professional regarding persistent skin rashes, deep wounds, signs of infection, or personal health conditions such as diabetes and circulatory disorders before self-treating injuries.
Maintaining tissue durability is an essential component of long-term health, physical capability, and strength and body composition training.
Follow BattleVet for practical guidance on military and veteran health, strength, recovery, testosterone, sleep and healthy aging. Stay connected for new articles, research backed insights and clear information to help you stay capable for the years ahead.


Build better habits around strength, recovery, sleep, hormones and healthy aging with practical guidance for active military personnel and veterans.
Explore BattleVet