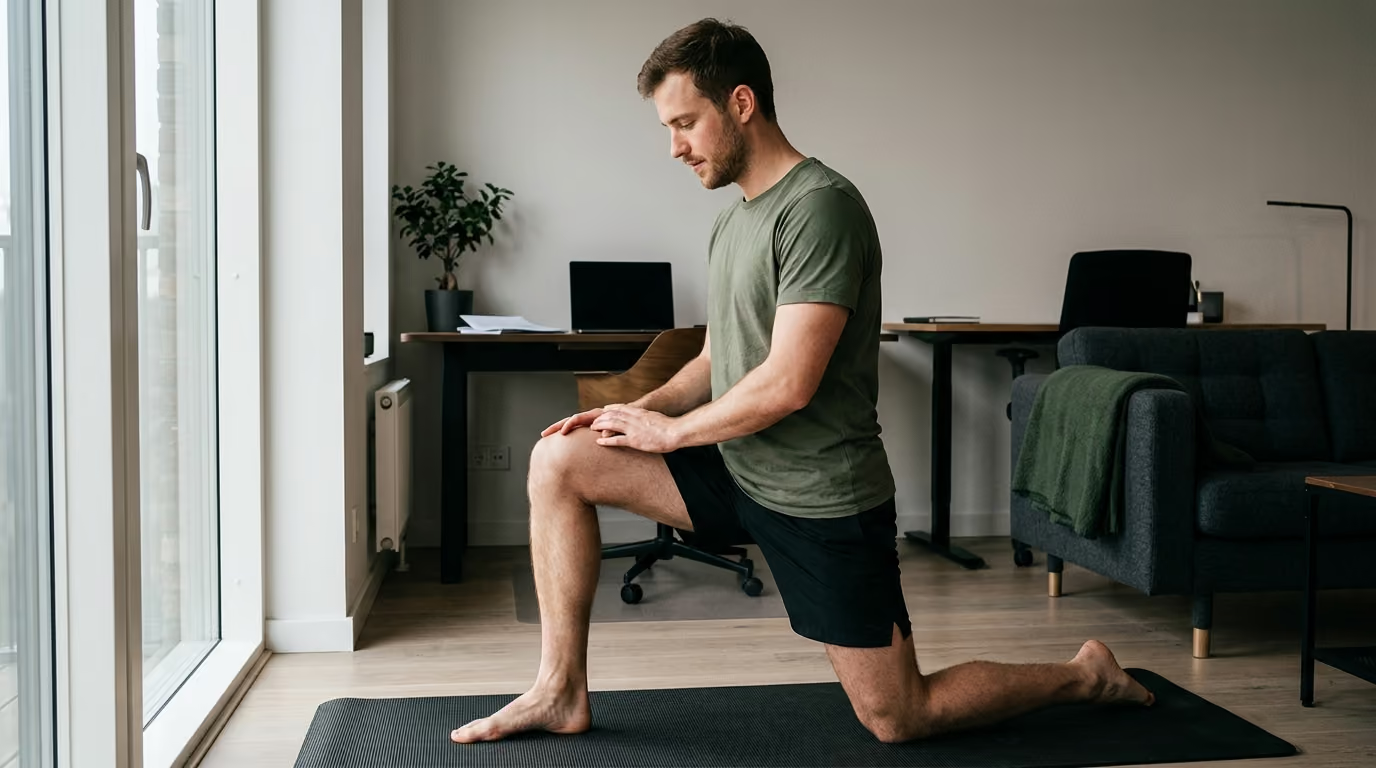

Back pain recovery requires structured movement and safe exercise progressions to help you rebuild spinal strength without triggering painful symptom flare-ups.





You step out of bed, reach down to pull on your boots, and a sharp catch stops your lower spine cold. Sitting through a morning commute or standing at a workbench suddenly feels like a high-stakes gamble with your physical comfort. You find yourself searching for how to recover from back pain without losing your hard-earned strength, missing work, or spending weeks lying flat on the floor. This guide delivers a definitive, evidence-backed strategy to restore your movement, build usable capacity, and manage flare-ups with confidence.
Back pain recovery relies on modifying provocative loads and progressively rebuilding physical capacity rather than waiting for every symptom to vanish before moving again.
To recover effectively from low back pain, you need a clear triage process to rule out serious pathology, a method for grading symptom irritability, and a structured plan to restore trunk endurance and hip mobility. By replacing prolonged bed rest with relative activity, you can maintain joint health, desensitize your nervous system, and return to demanding physical tasks through systematic graded exposure.
The first step in any rational recovery process is identifying whether your back pain requires immediate medical intervention. Most episodes of low back pain are mechanical and non-specific, meaning they do not stem from a dangerous systemic illness, fracture, or severe neurological compromise. However, starting an active rehabilitation program without screening for primary warning signs is unsafe.
Clinical guidelines from the American College of Radiology establish clear red-flag symptoms that warrant prompt medical evaluation:
Bowel or bladder dysfunction combined with saddle anesthesia should raise immediate suspicion for cauda equina syndrome. This condition involves severe compression of the nerve roots at the base of the spinal cord and requires urgent surgical assessment.
If you do not present with these red flags, routine imaging like X-rays or MRI scans is rarely helpful in the early stages of recovery. The American College of Radiology recommends reserving spinal imaging for cases where symptoms fail to improve after six weeks of conservative care or when clinical examination points to a specific structural problem. For uncomplicated back pain, immediate scans often show age-related changes, like disc bulges or degenerative changes, that exist equally in pain-free individuals. These incidental findings can create unnecessary worry without changing the treatment plan.
Back pain behaves differently depending on how long it has lasted and how easily it is triggered. Classifying your symptoms by both timeline and irritability helps you choose the right starting point for exercise and daily tasks.
Medical research divides back pain into three standard phases:
Duration alone does not tell the full story. Pain irritability measures how easily your symptoms are provoked, how intense the reaction is, and how long it takes to settle back to baseline.
Using irritability to guide your rehabilitation prevents two common mistakes. It stops you from pushing aggressively through highly irritable pain, and it prevents you from resting unnecessarily when your irritability is low.
For decades, standard medical advice for a bad back was complete bed rest until the pain stopped. Modern clinical trials have thoroughly disproven this approach.
A comprehensive Cochrane systematic review examining ten randomized trials with 1,923 participants evaluated the effects of bed rest compared with staying active for acute low back pain. The evidence demonstrated that advice to stay active produced better pain relief and superior functional recovery compared to bed rest. Patients prescribed bed rest experienced slightly higher pain scores and took longer to return to normal daily living.
When you remain immobile in bed, several negative physiological changes occur rapidly:
The alternative to bed rest is relative rest. Relative rest means temporarily removing the specific, high-load activities that drive severe symptoms while keeping total daily movement as high as comfortably possible. If heavy deadlifts or prolonged driving trigger intense pain, you temporarily reduce those specific loads. You replace them with frequent, short walks, gentle mobility drills, and regular position changes.
Staying active does not mean recklessly forcing your way through sharp, worsening pain. It means finding tolerable positions, maintaining basic self-care, and progressively rebuilding physical tolerance over time.
Many recovery programs emphasize building maximal abdominal strength through sit-ups or heavy bracing. However, research into spinal biomechanics shows that trunk endurance and motor coordination are far more relevant for recovery than maximal force production.
The spine does not require enormous brute force to remain stable during everyday tasks. Instead, it requires deep postural muscles and superficial trunk muscles to fire with appropriate timing and low-level endurance. If your trunk musculature fatigues after two minutes of standing or carrying, mechanical stress shifts onto passive tissues, which can aggravate sensitive structures.
Clinical practice guidelines from the American College of Physicians recommend exercise therapies as a first-line non-pharmacological treatment for back pain. The World Health Organization also supports structured exercise for managing chronic primary low back pain. The goal of these exercise programs is not to lock your spine into a rigid posture, but to develop coordinated motor control across your entire trunk.
A reliable progression moves from static, low-load positions to dynamic, loaded movements.
Lie on your back with your knees bent and feet flat on the floor. Place your hands on your lower abdomen. Inhale deeply through your nose, allowing your belly and lower ribcage to expand outward in all directions.
As you exhale through your mouth, gently draw your abdominal wall inward, creating light tension around your midsection as if preparing for a light tap. Do not hold your breath. Maintain this subtle, thirty percent muscular tension while continuing to breathe smoothly for five full breath cycles.
Remain on your back with your knees bent at ninety degrees. Gently brace your midsection so your lower back maintains a natural, comfortable relationship with the floor.
Slowly raise your right arm overhead while keeping your trunk steady. Return to the start and raise your left arm. As tolerance improves, lift one foot two inches off the floor while maintaining steady breathing. Perform two sets of eight controlled repetitions per side.
Lie on your side with your knees bent at ninety degrees and your elbow positioned directly beneath your shoulder. Lift your hips off the floor until your body forms a straight line from your knees to your head.
Hold this position for ten to fifteen seconds while breathing normally. Focus on contracting your lower glute and side trunk muscles. Lower down under control. Complete three holds per side, resting thirty seconds between efforts.
Position yourself on all fours with your hands under your shoulders and knees under your hips. Establish a neutral spinal posture without excessive arching or rounding.
Slowly extend your right leg straight behind you, keeping your toe hovering just off the ground. Ensure your hips remain level and your trunk does not twist. Return to the floor and switch legs. When ready, simultaneously reach your opposite arm forward. Perform three sets of six slow repetitions per side, holding each extension for three seconds.
For readers seeking structured physical conditioning alongside recovery, our strength, fitness, and body composition resources provide evidence-led programming principles.
Your lumbar spine sits directly atop your pelvis, which is controlled by your hips. When your hips lack adequate mobility or muscular endurance, your lower back often compensates by moving excessively under load. Rebuilding hip articulation and lower-body strength allows you to distribute mechanical work evenly across your muscular system.
Recovering from back pain does not require extreme hip flexibility. It requires sufficient, usable hip motion so you can bend, squat, and step without placing disproportionate strain on your lower back.
The hip hinge is the foundational movement pattern for lifting objects from the ground safely and efficiently. It teaches you to fold at your hips by shifting your pelvis backward rather than immediately flexing your lumbar spine under heavy loads.
Lie on your back with your knees bent and feet flat on the floor, hip-width apart. Position your heels six to eight inches from your glutes.
Press your heels into the floor and contract your gluteal muscles to lift your hips until your thighs and torso align. Avoid hyperextending your lower back at the top of the movement. Hold the top position for two seconds, lower down slowly, and repeat for three sets of ten to twelve repetitions.
Unilateral leg exercises build hip stability without placing heavy bilateral compression on your spine. Begin with a low step, roughly four to six inches high.
Step up with your right foot, pressing firmly through your midfoot and heel to lift your body weight. Lower down under control. Perform two sets of eight repetitions per leg. As your tolerance improves, increase step height or progress to split squats with your rear foot supported.
Carrying loads in one or both hands challenges your trunk endurance and hip stability simultaneously. Pick up a light kettlebell or dumbbell in one hand.
Walk forward fifty paces with a tall, upright posture, resisting the urge to lean toward or away from the weight. Turn around, switch hands, and walk back. Complete three rounds per side. Carries build real-world work capacity while keeping spinal movement minimal.
To explore how holistic physical training supports musculoskeletal durability, visit our training and performance articles for broader conditioning frameworks.
Popular lifting advice often insists on rigid, absolute rules, claiming that any spinal rounding during lifting inevitably leads to structural damage. However, modern biomechanical research presents a more nuanced reality.
A systematic review published in the Journal of Orthopaedic and Sports Physical Therapy evaluated lifting mechanics between individuals with and without low back pain. The findings revealed that people experiencing back pain actually moved more slowly, guarded their spines with higher levels of muscle co-contraction, and bent their knees more deeply than pain-free individuals. In other words, people with back pain often adopt overly stiff, protective postures rather than reckless ones.
These findings show that spinal flexion is a natural physiological movement, not an inherently catastrophic error. Your spine is designed to bend, rotate, and extend. While maintaining a neutral spinal posture is a sensible, efficient strategy for lifting maximum heavy weights, rigid avoidance of all spinal motion can lead to heightened fear, deconditioning, and movement anxiety.
Instead of applying rigid, fear-based rules to every movement, use practical lifting principles that manage mechanical stress effectively:
Gradually exposing your spine to different angles, light rounding, and gentle rotational loads builds a resilient, adaptable body capable of handling real-world tasks.
When a specific movement has caused pain in the past, your brain naturally creates a protective response. This protective response often manifests as muscle spasm, elevated anxiety, and avoidant behavior. While this reaction is helpful during the first forty-eight hours of an acute injury, maintaining chronic avoidance prevents your tissues from adapting and weakens your confidence.
Graded exposure is the systematic, step-by-step reintroduction of movements, loads, or tasks that you have been avoiding due to pain or fear. By breaking a feared movement down into easier variations, you allow your nervous system and tissues to adapt gradually without triggering severe symptoms.
If bending down to pick up an object from the floor triggers fear or discomfort, do not jump straight to heavy floor deadlifts. Build tolerance along a graded ladder:
Running introduces repetitive ground reaction forces that can irritate a sensitive lower back if reintroduced too quickly.
Progressive loading requires patience. Adjust one variable at a time, such as weight, volume, speed, or range of motion, rather than changing multiple demands simultaneously.
A flare-up is a temporary increase in pain or sensitivity that occurs when physical, emotional, or environmental loads exceed your current capacity. Experiencing a flare-up does not mean you have destroyed your spine or erased all your previous rehabilitation progress.
Data from the Global Burden of Disease study highlights that low back pain affects over 600 million people worldwide and is a leading cause of disability. Research into the clinical course of back pain shows that recurrences and symptom fluctuations are a standard part of the condition. Understanding how to manage these fluctuations calmly prevents panic and unnecessary downtime.
Use this practical framework to evaluate your symptoms during and after exercise:
Do not judge an exercise session solely by how your back feels during the final repetition. Evaluate how your spine responds across a full twenty-four-hour window:
Physical load is not the only factor that influences back sensitivity. Systemic recovery variables play a massive role in regulating your central nervous system's threat threshold:
Navigating back pain research requires separating proven clinical facts from emerging concepts and commercial trends.
Applying these principles requires a clear, organized weekly structure. Use this step-by-step checklist to guide your rehabilitation over the coming weeks:
This guide is for educational and informational purposes only and does not constitute individual medical advice, diagnosis, or treatment. Back pain can stem from various underlying causes, some of which require specialized medical evaluation. Always consult with a qualified healthcare professional, physical therapist, or medical doctor before starting any new exercise or rehabilitation program, especially if you have pre-existing health conditions or experience radiating symptoms.
Most acute low back pain episodes show substantial improvement within four to six weeks of staying relatively active. However, minor symptom fluctuations are common, and full functional recovery may take longer depending on baseline fitness, overall stress, and previous episodes.
Both heat and ice are passive comfort modalities that can provide short-term symptom relief. Ice is often preferred during the first twenty-four to forty-eight hours if significant local inflammation is present, while heat helps relax tight musculature and reduce stiffness. Choose the option that provides the most comfort, but use them as temporary aids alongside active movement rather than standalone cures.
Yes, as long as your symptoms fall within the green light category of the traffic light model. If your discomfort is mild, does not worsen during lifting, and returns to baseline within a few hours without next-day flare-ups, continuing modified resistance training is safe and helps prevent deconditioning.
Pain radiating past your knee, especially when accompanied by pins and needles, numbness, or muscular weakness, indicates possible nerve root irritation. While many cases of sciatica improve with conservative management, you should consult a healthcare provider for a thorough neurological examination to establish an individualized care plan.
Follow BattleVet for practical guidance on military and veteran health, strength, recovery, testosterone, sleep and healthy aging. Stay connected for new articles, research backed insights and clear information to help you stay capable for the years ahead.


Build better habits around strength, recovery, sleep, hormones and healthy aging with practical guidance for active military personnel and veterans.
Explore BattleVet